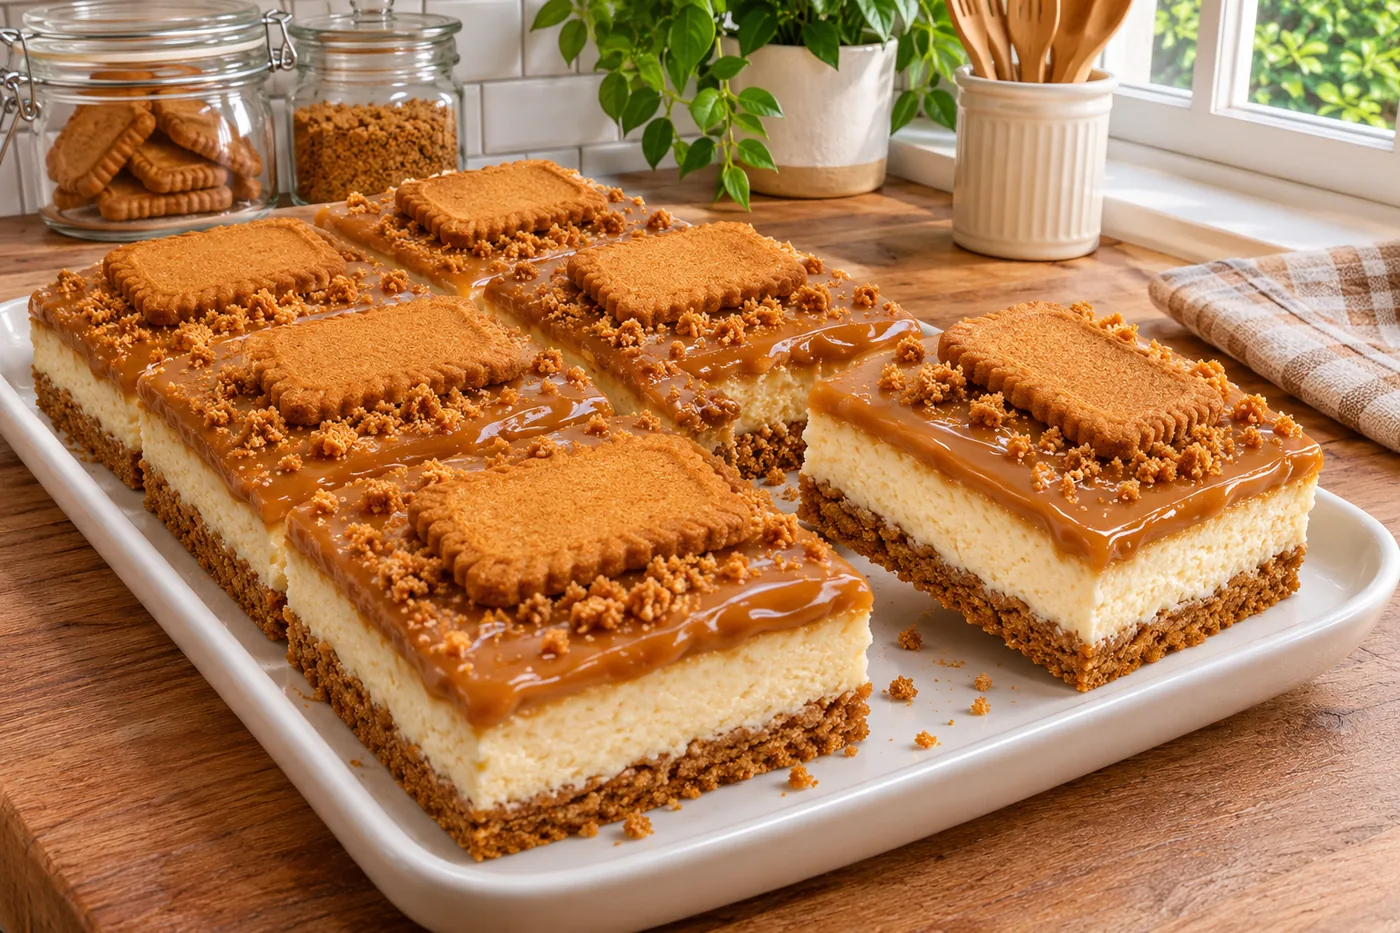
I remember the first time I tasted cookie butter — it was like a hug in a jar! That creamy, spiced sweetness inspired me to create cookie butter cheesecake bars that are rich and rich.
What sets this recipe apart is the smooth creamy topping that adds an extra layer of decadence. Trust me, these bars will have everyone asking for seconds!
Why This Recipe Works
- Graham cracker crumbs create a sturdy base: The crumbs bind together with melted butter and sugar, forming a crust that’s both crunchy and firm, providing a perfect contrast to the creamy filling. I found that using finely crushed graham crackers maximizes the surface area for better adhesion.
- Cream cheese gives richness and stability: Cream cheese is dense and helps create a smooth texture, while also stabilizing the cheesecake bars as they set. I tried this with both regular and low-fat cream cheese, and the regular version yielded a creamier, more satisfying bite.
- Cookie butter infuses flavor and moisture: The unique spices and sweetness in cookie butter add depth to the filling, while its smooth texture contributes to a rich mouthfeel. I made a batch with half cookie butter and half cream cheese, but it didn’t have the same rich flavor.
- Heavy cream ensures a silky texture: Whipping the heavy cream into soft peaks before folding it into the mixture adds airiness, resulting in a lighter cheesecake bar. I learned that over-whipping can cause it to turn grainy, so stop as soon as you see soft peaks forming.
Ingredients
What You'll Need
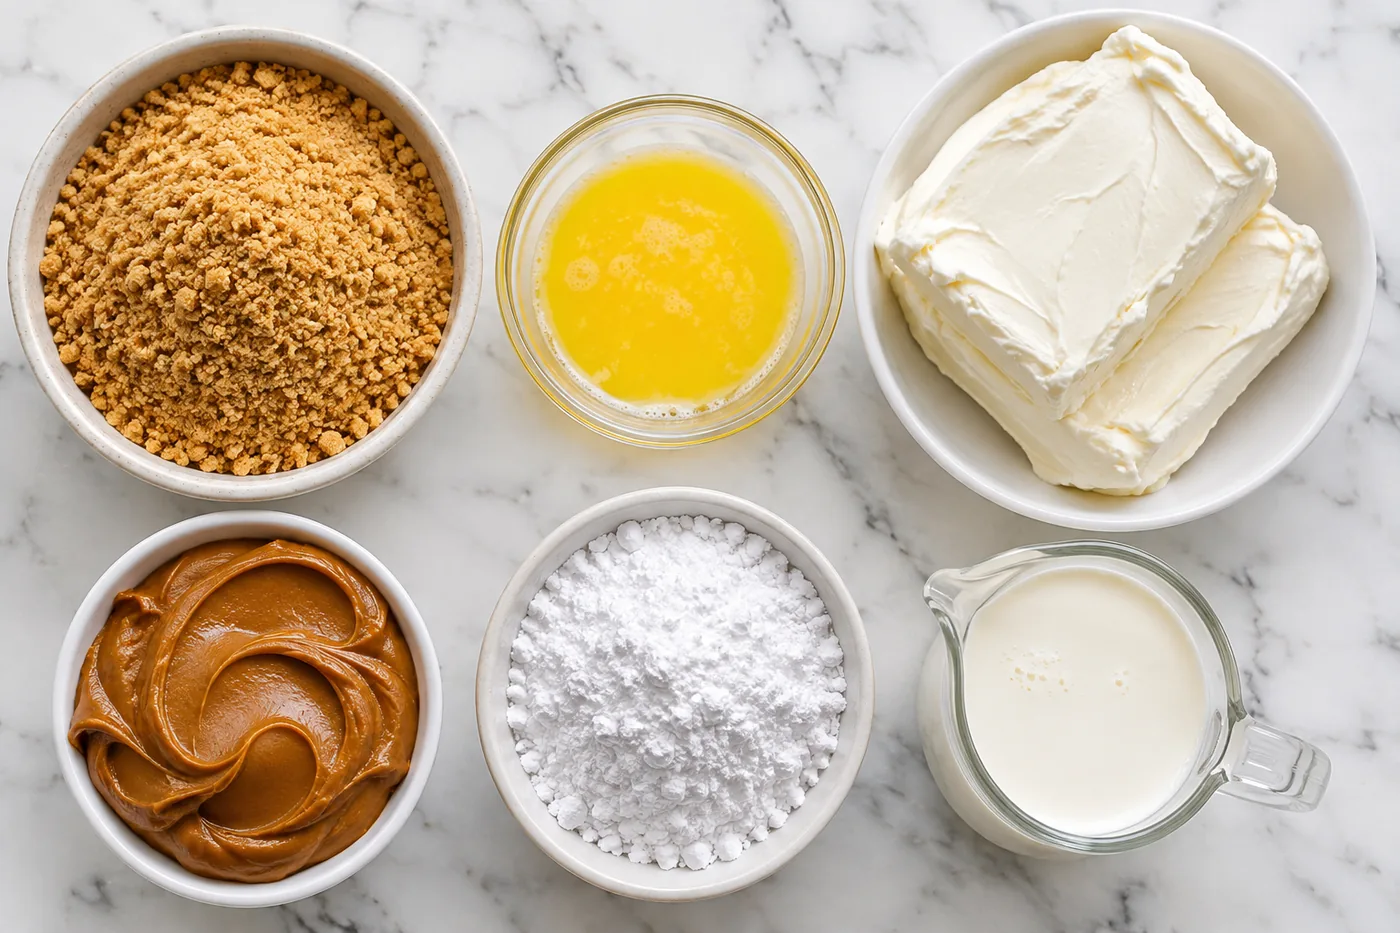
- 1 cup graham cracker crumbs look for finely crushed crumbs for a smooth crust texture.
- 1/4 cup granulated sugar adds sweetness and helps create a crispy crust.
- 1/2 cup unsalted butter, melted unsalted gives you control over the saltiness; melted helps bind the crust.
- 16 oz cream cheese, softened at room temperature softened cream cheese blends smoothly, ensuring a creamy filling.
- 1 cup cookie butter, smooth variety smooth cookie butter integrates well; choose a high-quality brand for best flavor.
- 1/2 cup powdered sugar, sifted sifting prevents clumps and ensures a velvety texture.
- 1 tbsp vanilla extract adds depth of flavor; pure vanilla extract is best.
- 1/2 cup heavy cream, chilled cold cream whips up better for a light, airy filling.
- 1/4 cup cookie butter, for topping this adds extra flavor and a beautiful finish.
- 1 tbsp milk, to thin topping if necessary optional, depending on desired consistency of the topping.
When making cookie butter cheesecake bars, high-quality cream cheese and cookie butter are key for a rich, rich flavor. Make sure your ingredients are fresh, especially the cream cheese, to achieve that smooth texture you're aiming for.
Easy Substitutions
- Dairy-free: swap cream cheese for dairy-free cream cheese — the texture may be slightly less creamy, but it still holds together well.
- Gluten-free: swap graham cracker crumbs for gluten-free cookie crumbs — this will give you a different flavor but still create a great crust.
- Lower calorie: swap heavy cream for Greek yogurt — this will result in a tangier flavor and a denser texture.
Step-by-Step Instructions
Crust Preparation
- In a medium bowl, combine 1 1/2 cups of graham cracker crumbs, 1/4 cup of granulated sugar, and 1/2 cup of melted butter. This mixture creates a sweet, buttery base for your cookie butter cheesecake bars that holds everything together. The texture should resemble wet sand. Press the mixture firmly into the bottom of an 8x8-inch baking dish to form an even crust, ensuring it’s compact so it holds its shape when cut. Bake the crust in a preheated oven at 350°F for 10 minutes until it's lightly golden and fragrant.
Cheesecake Filling
- In a large mixing bowl, beat 16 ounces of softened cream cheese with an electric mixer on medium speed until smooth, about 2 minutes. This step ensures a creamy texture, free of lumps. Add 1 cup of cookie butter, 1/2 cup of powdered sugar, and 1 teaspoon of vanilla extract to the cream cheese, mixing until well combined, about 1-2 minutes. The filling should be thick yet smooth. In a separate bowl, whip 1 cup of chilled heavy cream until stiff peaks form, which should take about 3-4 minutes. This adds lightness to the filling, making it fluffy. Gently fold the whipped cream into the cookie butter mixture until fully incorporated, being careful not to deflate the whipped cream.
Assembly and Chilling
- Pour the cheesecake mixture over the prepared crust and spread it evenly with a spatula, ensuring every bite has that delicious cookie butter flavor. Refrigerate the cheesecake bars for at least 4 hours or until set, allowing the flavors to meld and the texture to firm up. Once set, drizzle the remaining 1/4 cup of cookie butter over the top, thinning it with a little milk if necessary for easier drizzling. Cut into squares and serve chilled, enjoying the creamy, sweet layers of your cookie butter cheesecake bars.
Tips & Tricks
The Importance of Greasing Your Pan
I can’t stress enough how crucial it is to grease your baking pan properly before pouring in that smooth cheesecake mixture. This prevents the bars from sticking and makes for easy lifting once they’re set. I learned this the hard way when my first batch clung to the sides like they were in a relationship! A light coat of cooking spray or a bit of butter will do wonders.
Cooling Time is Key
After baking, give your cookie butter cheesecake bars ample time to cool before slicing. I usually let them chill in the fridge for at least four hours, but overnight is even better. This ensures the texture firms up beautifully, making it a breeze to cut clean slices. Trust me, the wait is totally worth it when you finally dig in!
Pro Tips
- Use Room Temperature Cream Cheese: Make sure your cream cheese is at room temperature before mixing. This helps create a smooth, lump-free cheesecake filling. I learned the hard way that cold cream cheese leads to a bumpy texture that just won’t blend well.
- Chill Before Cutting: After your cookie butter cheesecake bars cool, pop them in the fridge for at least 4 hours, preferably overnight. This allows the flavors to meld beautifully and makes cutting them much easier, resulting in clean, neat slices.
- Add a Pinch of Salt: Incorporating a tiny pinch of salt into your cheesecake filling enhances the sweetness and balances out the flavors. I always find that just a touch of salt brings the entire dessert to life.
- Use a Water Bath for Creaminess: For an ultra-creamy texture, try baking your cheesecake bars in a water bath. Just place your baking pan inside a larger pan filled with hot water. This method helps prevent cracks and keeps the cheesecake moist.
- Drizzle Extra Cookie Butter on Top: A final drizzle of cookie butter on top before serving adds a luxurious touch. It not only looks stunning but also amplifies that delicious flavor in every bite.
Variations & Customizations
Flavor Twists
Chocolate Chip Cookie Butter Bars
Fold in ½ cup mini dark chocolate chips after mixing. The chocolate melts into gooey pockets throughout the creamy cheesecake, adding a rich contrast to the sweet cookie butter flavor.
Cinnamon Swirl
Mix in 1 tsp ground cinnamon and swirl in ¼ cup of cinnamon sugar into the cream cheese mixture before pouring into the crust. The result is a warm, spiced flavor that complements the cookie butter beautifully, creating a cozy, aromatic treat.
Unexpected Twists
Matcha Cookie Butter Bars
Add 2 tbsp of matcha powder to the cream cheese mixture for a unique flavor. The vibrant green color gives these bars a striking appearance, while the earthy matcha taste pairs surprisingly well with the sweetness of the cookie butter.
Storage & Meal Prep
Room Temperature
Cookie butter cheesecake bars can be stored at room temperature for up to 2 hours in an airtight container. After that, they should be refrigerated to keep them fresh and safe to eat.
Refrigerator
In the refrigerator, these bars stay fresh for up to 5 days. Make sure they cool completely before wrapping them individually in plastic wrap or placing them in an airtight container to prevent them from drying out.
Freezer
You can freeze cookie butter cheesecake bars for up to 3 months. To do this, first flash freeze them on a sheet pan until solid, then wrap each bar individually in plastic wrap and place them in a freezer bag. Thaw them in the refrigerator overnight before enjoying.
Meal Prep
For meal prep, I recommend doubling the recipe to have extra bars on hand. You can prepare them the night before or over the weekend, and they'll stay fresh for up to 5 days in the fridge. Use a sturdy container or stack them with parchment paper in between to avoid sticking.
Frequently Asked Questions
Can I use a different type of cookie butter?
Yes, you can definitely experiment with different flavors of cookie butter! Just keep in mind that the taste and sweetness may vary, so adjust the sugar in the recipe accordingly.
Why did my cookie butter cheesecake bars crack?
Cracks often happen due to overheating or baking at too high a temperature. Make sure to bake them slowly and at the right temperature, and try not to open the oven door while they’re baking.
How can I make these cookie butter cheesecake bars gluten-free?
You can easily make this recipe gluten-free by using gluten-free graham cracker crumbs. Just double-check the labels to ensure all your ingredients are certified gluten-free.
Can I make these cookie butter cheesecake bars in advance?
Absolutely! These bars can be made a day or two in advance and stored in the fridge. Just be sure to cover them tightly so they stay fresh.
What can I serve with cookie butter cheesecake bars?
These bars pair wonderfully with a scoop of vanilla ice cream or a dollop of whipped cream. Fresh fruit, like sliced strawberries or bananas, also adds a nice contrast to the rich bars.
These cookie butter cheesecake bars are a rich treat that always impresses my friends and family with their creamy texture and rich flavor. For an extra touch, sprinkle some crushed cookies on top before baking for added crunch. I can't wait for you to try it — let me know how it turns out by dropping a comment or sharing your creation on Pinterest!