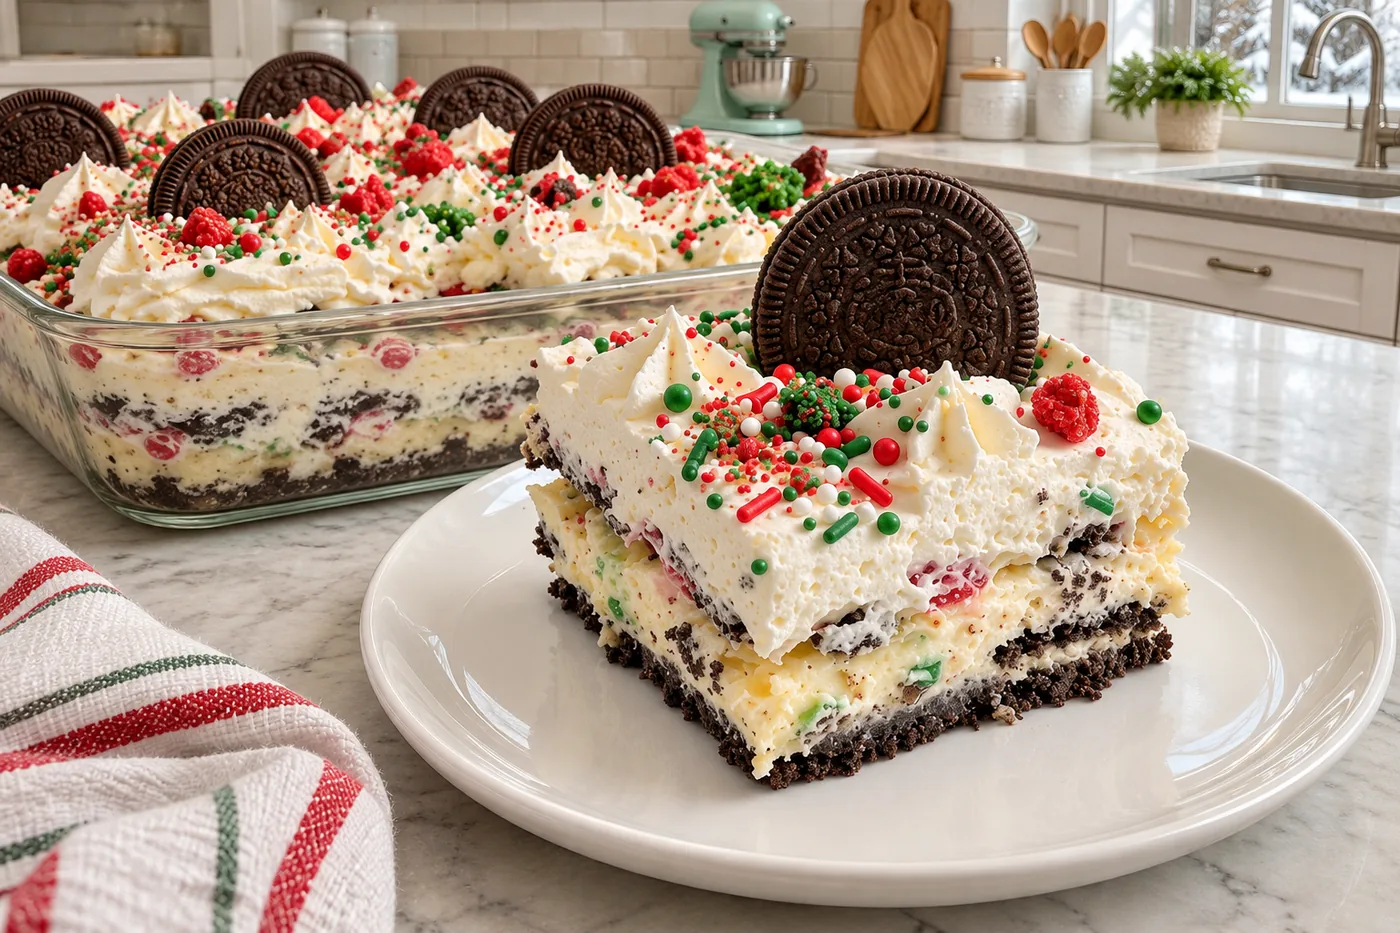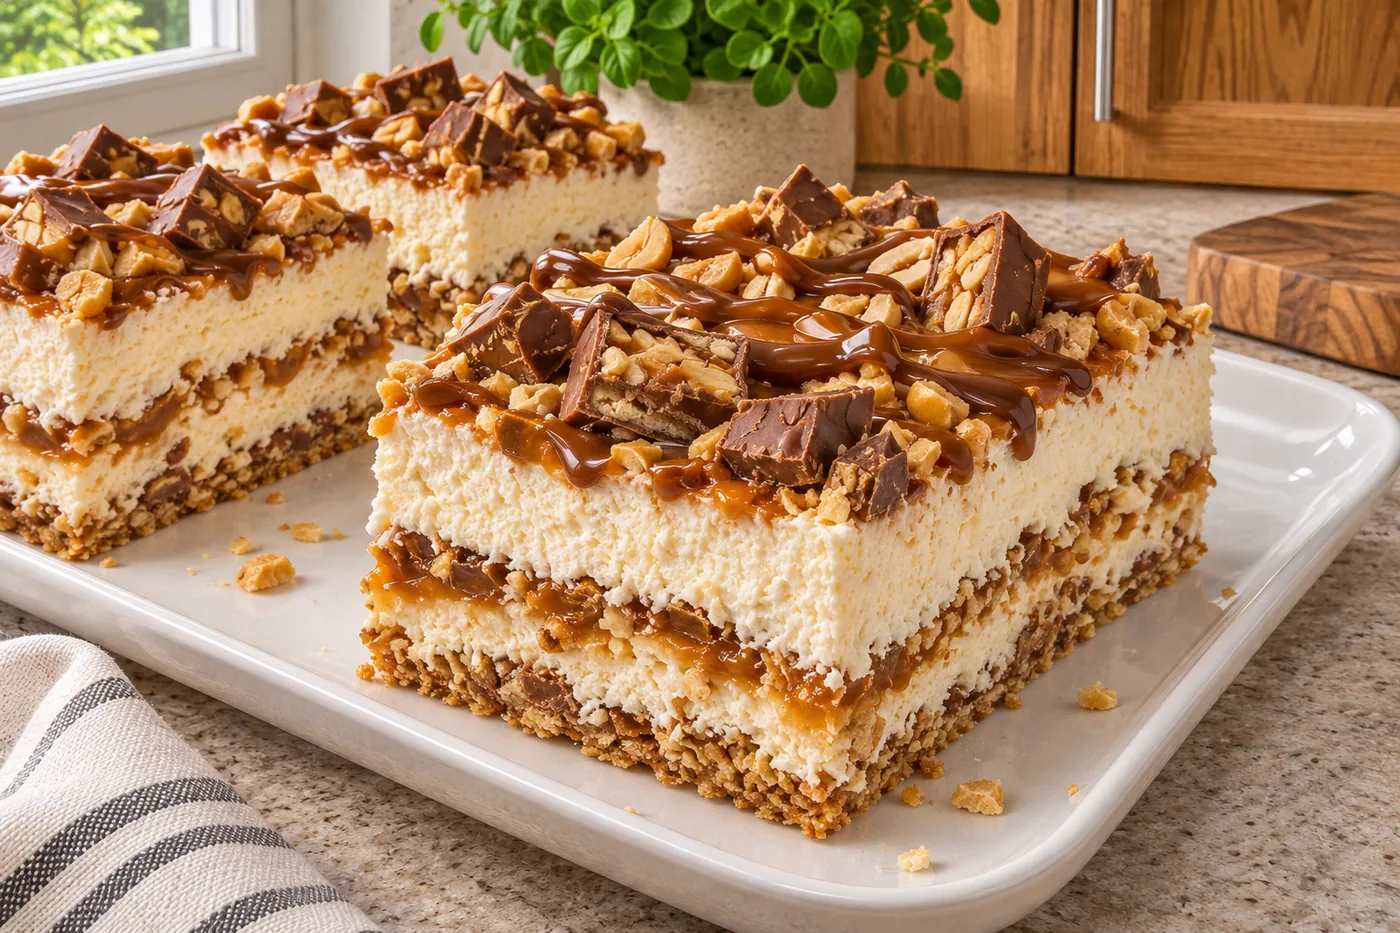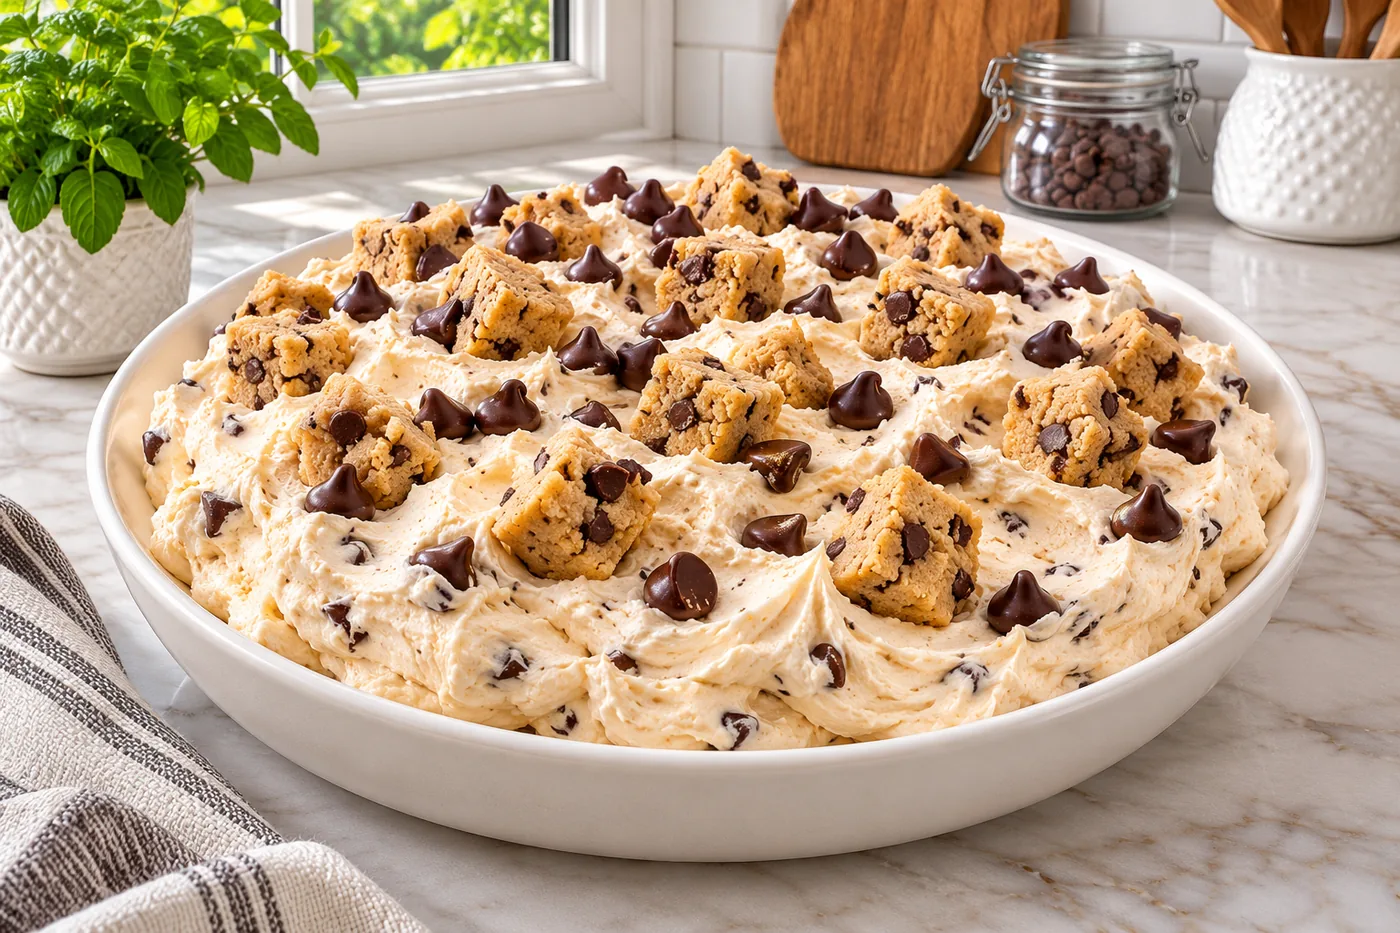
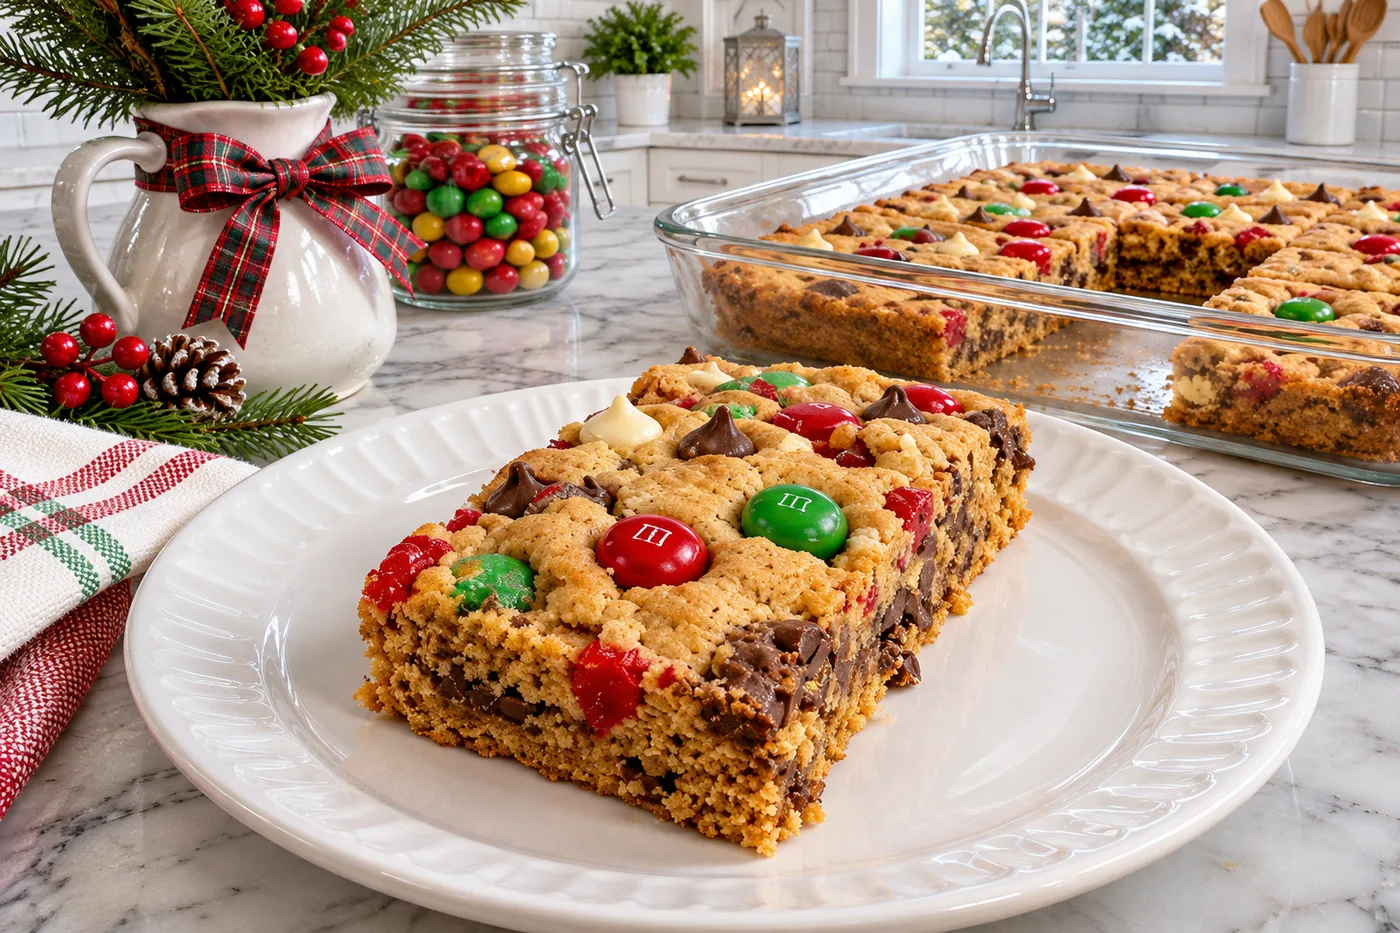
Last Christmas, I was knee-deep in holiday baking when I realized I had a mountain of leftover candy canes. That’s when I decided to make these Christmas candy cookie bars, combining rich cookie layers with a festive peppermint crunch.
What sets this recipe apart is the balance of chewy and crunchy textures, along with a drizzle of chocolate that brings it all together. These bars are a pleasureful treat that captures the essence of the season in every bite.
Why This Recipe Works
- Moisture Balance: The combination of unsalted butter and brown sugar creates a rich, moist base for these cookie bars. Brown sugar contains more moisture than granulated sugar, which helps keep the bars soft and chewy.
- Leavening Power: Using both baking powder and baking soda ensures the cookie bars rise perfectly. The baking soda reacts with the acidity in the brown sugar, while the baking powder provides an additional lift, resulting in a light and fluffy texture.
- Flavor Complexity: The addition of vanilla extract enhances the overall flavor profile, creating a warm, inviting aroma that complements the sweetness of the chocolate chips and M&M's. I made these bars several times, and the vanilla really rounds out the taste.
- Festive Crunch: Crushed peppermint candies not only add a pleasureful crunch but also infuse a refreshing minty flavor that screams holiday spirit. I found that using a mix of peppermint and chocolate enhances the cookie bars to a festive treat.
Ingredients
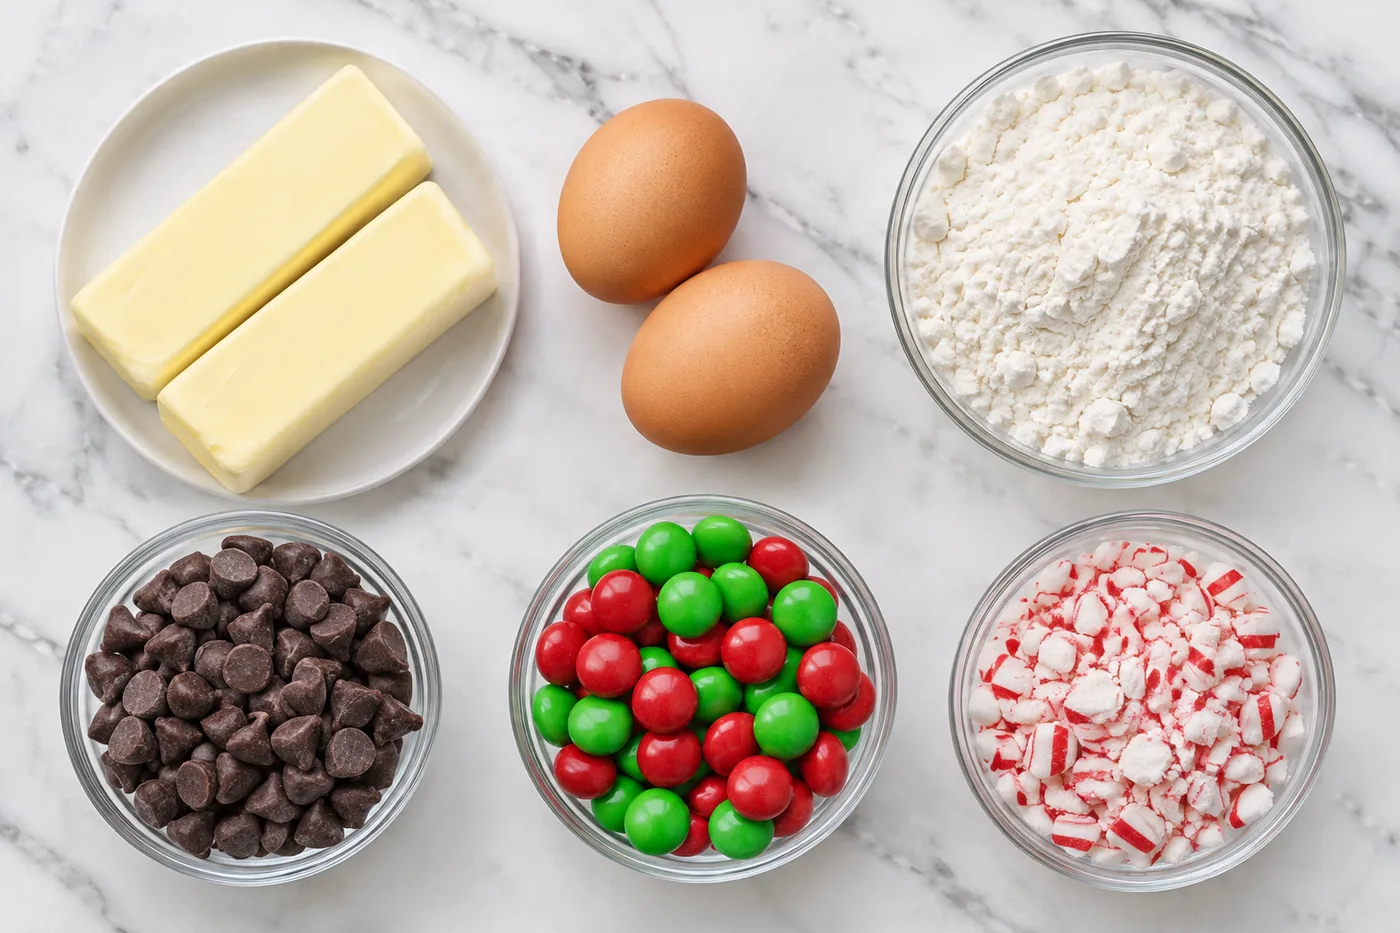
What You'll Need
- 1 cup unsalted butter, softened softened butter helps create a creamy texture, making the bars tender.
- 1 cup brown sugar, packed brown sugar adds moisture and a deeper flavor profile.
- 1 cup granulated sugar balances the brown sugar's richness and helps the bars rise.
- 2 large eggs, room temperature room temperature eggs blend more easily, ensuring a smooth batter.
- 2 tsp vanilla extract adds warmth and enhances the sweetness of the bars.
- 3 cups all-purpose flour, spooned and leveled spooning prevents packing, which keeps the bars from becoming too dense.
- 1 tsp baking powder helps the bars rise and gives them a light texture.
- 1 tsp baking soda works with the brown sugar to create a chewy texture.
- 1 tsp salt enhances the sweetness and balances the flavors.
- 1 cup chocolate chips, semi-sweet adds melty chocolate goodness and richness.
- 1 cup M&M's, holiday themed adds color and a fun crunch to the bars.
- 1 cup crushed peppermint candies brings a festive minty flavor that complements the chocolate.
For these Christmas candy cookie bars, using high-quality chocolate chips will make a noticeable difference in flavor. Look for semi-sweet chips that melt beautifully and balance the sweetness of the M&M's and peppermint candies. Always check the freshness of your baking powder and baking soda, as they are crucial for achieving the perfect texture.
Easy Substitutions
- Dairy-free: swap unsalted butter for coconut oil — the bars will be a bit softer and have a slight coconut flavor, but they will still hold together well.
- Gluten-free: swap all-purpose flour for a gluten-free flour blend — the texture may be slightly different, possibly denser, but they will still taste delicious.
- Egg-free: swap eggs for flax eggs (1 tbsp ground flaxseed mixed with 2.5 tbsp water per egg) — this will give the bars a nuttier flavor and a denser texture.
- Lower calorie: swap granulated sugar for a sugar substitute like erythritol — the sweetness will be similar, but the bars may be slightly less moist.
Step-by-Step Instructions
Prep & Mix
- Preheat your oven to 350°F (175°C) and grease a 9x13 inch baking pan — this ensures your cookie bars won’t stick and will come out cleanly when baked.
- In a large bowl, cream together 1 cup of softened butter, 1 cup of brown sugar, and 1 cup of granulated sugar until light and fluffy, about 3 minutes — this process incorporates air for a lighter texture in your bars.
- Add 2 eggs one at a time, mixing well after each addition, then stir in 2 teaspoons of vanilla extract — this builds flavor and richness throughout your cookie bars.
- In a separate bowl, whisk together 3 cups of flour, 1 teaspoon of baking powder, 1 teaspoon of baking soda, and ½ teaspoon of salt — this helps evenly distribute the leavening agents for consistent baking.
- Gradually add the dry ingredients to the wet mixture, mixing until just combined — be careful not to overmix, as that can make your bars tough. If the batter seems too thick, add 1 tablespoon of milk to loosen it.
Add Mix-Ins & Bake
- Fold in 1 cup of chocolate chips, 1 cup of M&M's, and ½ cup of crushed peppermint candies — this adds delightful flavors and textures to your cookie bars, making them festive and fun.
- Spread the batter evenly into the prepared baking pan, making sure the surface is smooth — this helps them bake evenly and gives them a nice appearance.
- Bake in the preheated oven for 25-30 minutes, until the edges are golden and a toothpick inserted into the center comes out clean — this is the perfect indicator that your christmas candy cookie bars are done.
- Remove the pan from the oven and let it cool in the pan for 10 minutes — this cooling time helps the bars set so they hold their shape when you cut them.
Cut & Serve
- Cut the cooled bars into squares and serve them warm or at room temperature — they taste best when enjoyed fresh, but they’re still delicious later!
- These christmas candy cookie bars are perfect for sharing or enjoying at home — their festive colors and flavors will bring smiles all around.
Tips & Tricks
The Perfect Peppermint Crush
When crushing your peppermint candies, use a sturdy zip-top bag and a rolling pin. I learned the hard way that if you don't crush them finely enough, the larger pieces can be hard and unpleasant to bite into. A light tap followed by a gentle roll usually does the trick, resulting in just the right texture to sprinkle throughout your cookie bars.
Chilling for Chewy Perfection
If you want your Christmas candy cookie bars to be extra chewy, consider chilling the dough for about 30 minutes before baking. This step helps the butter solidify again, which can prevent spreading during baking. I tried baking them right after mixing and ended up with flat cookie bars — definitely not the look I was going for!
Pro Tips
- Use Room Temperature Ingredients: Bringing your butter and eggs to room temperature allows for better blending and a smoother batter. I’ve found that this small step can really enhance the texture of your Christmas candy cookie bars, making them more tender.
- Don’t Skip the Chilling Step: Chilling the dough for at least 30 minutes before baking helps prevent spreading, resulting in thicker bars. I learned the hard way that skipping this step led to flat, crispy edges instead of the soft, chewy center I wanted.
- Experiment with Mix-Ins: Feel free to swap out the M&M's or add nuts for a unique twist. I once added crushed pretzels for a salty crunch, and it was a hit! Mixing flavors can bring your bars to the next level.
- Check for Doneness with a Toothpick: Insert a toothpick in the center; it should come out with a few moist crumbs, not clean. I’ve overbaked before, thinking they needed more time, and that made my cookie bars dry.
- Store Properly for Maximum Freshness: Keep your cookie bars in an airtight container at room temperature for up to a week. For longer storage, freeze them in layers separated by parchment paper; they taste just as good after thawing!
Variations & Customizations
Flavor Twists
Peanut Butter Chocolate
Substitute 1 cup of creamy peanut butter for half of the unsalted butter. The bars will have a rich, nutty flavor and a chewy texture that pairs wonderfully with the chocolate chips.
Coconut Delight
Add 1 cup of sweetened shredded coconut to the batter along with the chocolate chips. These bars take on a tropical flair, with a chewy texture and a pleasureful coconut aroma that will remind you of sunny days.
Unexpected Twists
Orange Zest
Incorporate the zest of 1 large orange into the batter along with the vanilla extract. This adds a bright, citrusy note that complements the sweetness, making the bars taste refreshing and festive.
Storage & Meal Prep
Room Temperature
Store your Christmas candy cookie bars in an airtight container at room temperature for up to 3 days. Make sure they are completely cool before sealing, or they'll get soggy on the bottom if you stack them while still warm.
Refrigerator
In the refrigerator, these bars will stay fresh for about a week. Use a container with a tight seal and wrap each bar individually in plastic wrap to keep them moist and prevent them from drying out.
Freezer
You can freeze these cookie bars for up to 3 months. For the best results, flash freeze them on a sheet pan first, then wrap each bar individually in plastic wrap and place them in a freezer-safe bag. Thaw them overnight in the fridge before enjoying.
Meal Prep
For meal prep, consider doubling the recipe to have plenty on hand. You can make them the night before a gathering or even on the weekend to enjoy throughout the week. Store in an airtight container, and they’ll stay fresh for about a week, with a quick reheat in the microwave at 10-15 seconds.
Frequently Asked Questions
Can I make these Christmas candy cookie bars gluten-free?
Yes, you can easily make these bars gluten-free by substituting all-purpose flour with a 1:1 gluten-free flour blend. Just make sure to check that the other ingredients, like baking powder, are also gluten-free.
Why did my Christmas candy cookie bars turn out dry?
If your cookie bars are dry, it’s likely due to overbaking or using too much flour. Make sure to measure your flour correctly, using the spoon-and-level method, and check them a few minutes before the baking time is up.
What can I use instead of peppermint candies?
You can substitute peppermint candies with crushed chocolate candies or even mini chocolate chips for a different flavor profile. Try adding butterscotch chips for a warm, caramel-like taste!
How can I make these cookie bars more festive?
Add festive sprinkles or colored sugar on top before baking for a cheerful touch. You can also incorporate holiday-themed chocolate pieces or dried cranberries for a pop of color.
Can I freeze these cookie bars for later?
Absolutely! You can freeze the cookie bars after they’ve cooled completely. Wrap them tightly in plastic wrap and store them in an airtight container for up to three months.
These Christmas candy cookie bars are a festive delight that will fill your home with sweet aromas and cheer — I always make them for holiday gatherings and they disappear in no time! For an extra pop of flavor, consider adding a sprinkle of sea salt on top before baking. I can't wait to see how yours turn out, so please leave a comment or share your creations on Pinterest!