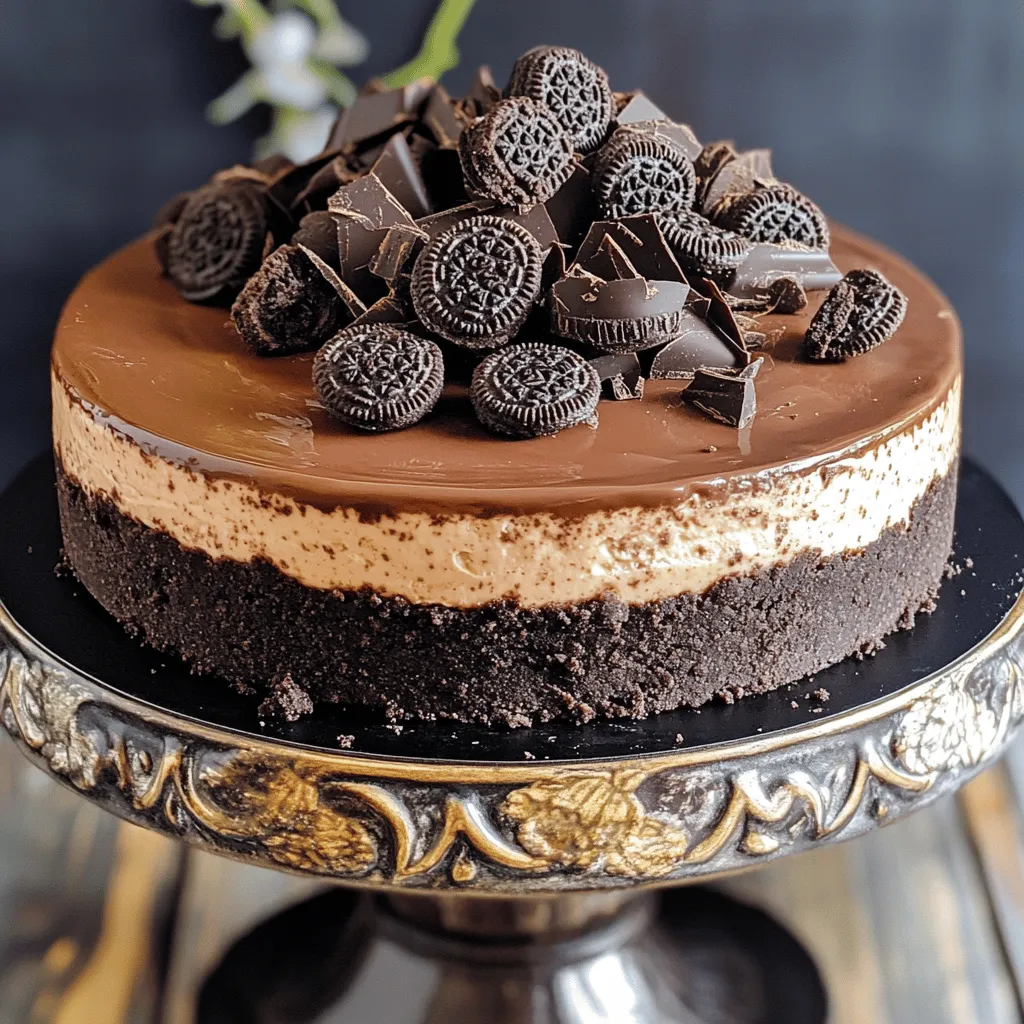
Are you ready to whip up a dessert so delicious it disappears in minutes? This No-Bake Oreo Cheesecake is the answer to your sweet cravings! With just a few simple ingredients, you can create a creamy, dreamy treat that doesn’t require any baking. Trust me, whether you’re a novice or pro in the kitchen, you’ll want to dive right into this easy recipe. Let’s get started!
Ingredients
List of Ingredients
– 24 Oreo cookies, crushed (plus extra for garnish)
– 6 tablespoons unsalted butter, melted
– 16 oz cream cheese, softened
– 1 cup powdered sugar
– 1 cup heavy whipping cream
– 1 teaspoon vanilla extract
– Pinch of salt
– Optional: chocolate shavings or cocoa powder for garnish
Ingredient Substitutions
You can swap the crust for other cookies like graham crackers. For a vegan option, look for dairy-free cream cheese. If you want a sugar-free treat, use sugar-free cookies and a suitable sweetener.
Tips for Ingredient Quality
Choose name-brand Oreo cookies for best taste. For cream cheese, use full-fat varieties for a rich texture. Always select fresh ingredients to ensure the best flavor. Fresh cream and cheese make a big difference in your cheesecake.
Step-by-Step Instructions
Preparation of the Crust
To start, take 24 Oreo cookies and crush them into fine pieces. You can use a food processor or put them in a zip-top bag and crush them with a rolling pin. Next, melt 6 tablespoons of unsalted butter in a small bowl. Combine the crushed Oreos with the melted butter in a mixing bowl. Stir until the mixture resembles wet sand.
Now, take a 9-inch springform pan. Pour the Oreo mixture into the pan, pressing it down firmly. Make sure it is even and compact. Place the crust in the refrigerator to set while you prepare the filling.
Making the Cheesecake Filling
For the filling, get 16 oz of softened cream cheese. In a large mixing bowl, beat the cream cheese until it is smooth and creamy. Gradually add 1 cup of powdered sugar to the cream cheese. Mix until well combined.
Next, in another bowl, whip 1 cup of heavy whipping cream with 1 teaspoon of vanilla extract and a pinch of salt. Whip until stiff peaks form. This step is key for a light cheesecake.
Assembling the Cheesecake
Gently fold the whipped cream into the cream cheese mixture. You want to do this carefully until there are no streaks left. Once mixed, add in some of the remaining crushed Oreos. Fold them in gently to keep the mixture light.
Now, pour the cheesecake filling over the chilled crust. Use a spatula to spread it evenly. Smooth the top to make it nice and neat.
Refrigeration and Setting
Cover the cheesecake with plastic wrap. Place it in the refrigerator for at least 4 hours. For the best texture, let it chill overnight. The longer it sets, the firmer it will be.
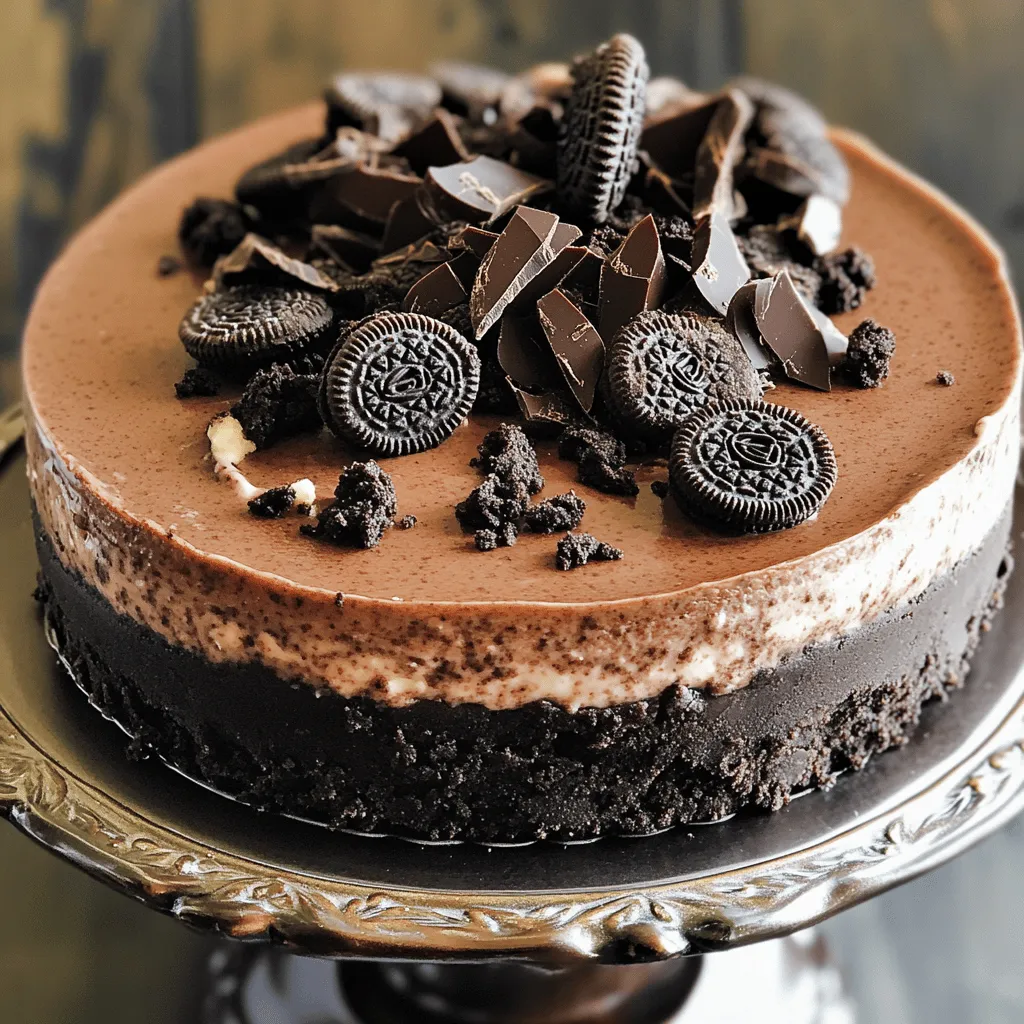
For the best results, make sure it is well-covered to avoid any fridge odors. When ready to serve, garnish with extra crushed Oreos or chocolate shavings for a special touch. Enjoy this delicious no-bake Oreo cheesecake!
Tips & Tricks
Common Mistakes to Avoid
When making No-Bake Oreo Cheesecake, watch out for these common mistakes:
– Overmixing the cream cheese: This can make the filling too airy. Mix just until smooth.
– Not chilling long enough: The cheesecake needs time to set. Chill it for at least 4 hours.
Enhancing Flavor
Want to add more depth to your cheesecake? Here are some easy ideas:
– Adding a touch of espresso powder: This adds a nice coffee note that pairs well with chocolate.
– Using different extract flavors: Try almond or hazelnut extract for a fun twist.
Presentation Ideas
How you serve your cheesecake can make a big difference:
– Creative plating and garnish suggestions: Serve slices on colorful plates. Add a swirl of whipped cream for flair.
– Using seasonal fruits for embellishment: Fresh berries or slices of citrus can brighten the dessert. They add color and flavor.
Variations
Flavor Combinations
You can switch up the flavor of your No-Bake Oreo Cheesecake in fun ways. Here are two tasty ideas:
– Mint Oreo Twist: Use mint-flavored Oreo cookies instead of regular ones. This adds a fresh twist. You can also mix in a bit of mint extract for extra minty flavor.
– Peanut Butter Oreo Cheesecake: Blend creamy peanut butter into the filling. This makes the dessert rich and nutty. It pairs well with the chocolate from the Oreos.
Dietary Variants
If you have dietary needs, fear not! Here are some easy swaps:
– Gluten-Free Version Options: Use gluten-free Oreo cookies for the crust. This way, everyone can enjoy it.
– Dairy-Free Substitutions: Swap cream cheese with dairy-free cream cheese. You can also use coconut cream instead of heavy cream. Both options taste great!
Serving Suggestions
Serving your cheesecake well can make a big difference. Here are some ideas:
– Pairing with Coffee or Dessert Wines: This cheesecake goes well with coffee. A rich espresso or a sweet dessert wine enhances the flavors nicely.
– Complementary Side Dishes: Serve fresh berries or a fruit salad alongside the cheesecake. The tartness of the fruit balances the sweetness of the dessert.
Storage Info
How to Properly Store Leftovers
To keep your No-Bake Oreo Cheesecake fresh, use a tight-fitting container. A springform pan works well. Cover it with plastic wrap or foil to prevent drying out.
Store it in the fridge for best results. If you need to save it for longer, you can freeze it. Just make sure it is well-wrapped to avoid freezer burn.
Shelf Life
In the fridge, this cheesecake lasts about 4 to 5 days. You will know it’s gone bad if you see mold or if it smells off. The texture may change, becoming grainy.
If you freeze it, it can last for up to 2 months. However, the texture may not be the same when thawed.
Reheating or Refreshing Tips
If you freeze your cheesecake, let it thaw in the fridge overnight. This keeps it from getting too soft. If it seems a bit mushy, you can refreeze it for a firmer texture.
Serve it chilled or at room temperature. For a fun twist, add fresh whipped cream or berries on top. This adds flavor and makes it look great!
FAQs
How long does No-Bake Oreo Cheesecake last?
No-Bake Oreo Cheesecake can last up to 5 days in the fridge. Keep it covered to maintain freshness. If you freeze it, it can last about 2 months. Always check for any signs of spoilage before serving.
Can I freeze No-Bake Oreo Cheesecake?
Yes, you can freeze it! To freeze, first wrap the cheesecake tightly in plastic wrap. Then, place it in an airtight container. To defrost, move it to the fridge for several hours. This helps to keep its texture smooth.
What can I use instead of cream cheese?
You can use Greek yogurt or mascarpone cheese as substitutes. These will change the taste slightly. Greek yogurt makes it a bit tangy, while mascarpone adds a rich flavor. Both options work well in this recipe.
How can I make this cheesecake less sweet?
To reduce sweetness, cut down on the powdered sugar by half. You can also add a pinch of salt. This balances the flavor without losing the creamy texture. Another option is to use unsweetened cocoa powder for the crust.
In this blog post, we explored how to make a delicious no-bake Oreo cheesecake. We covered ingredients, tips for quality, step-by-step instructions, and common mistakes to avoid. We also discussed fun variations and serving ideas to elevate your dessert.
In making this cheesecake, remember to use fresh ingredients for the best taste. You can always customize it to suit your diet or flavors you enjoy. Enjoy your baking journey and impress your friends with this easy yet delightful treat!