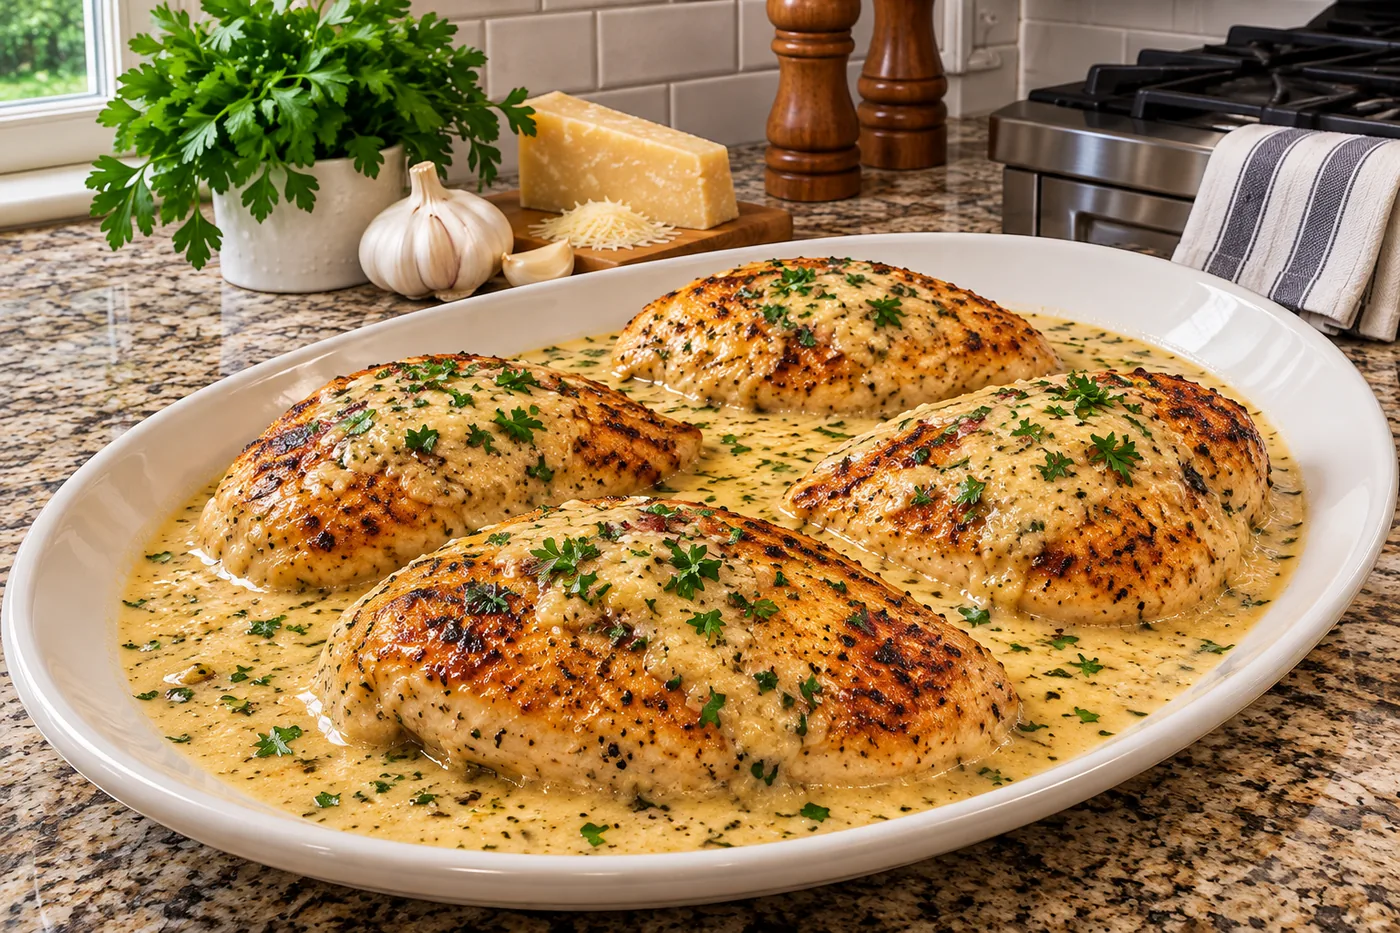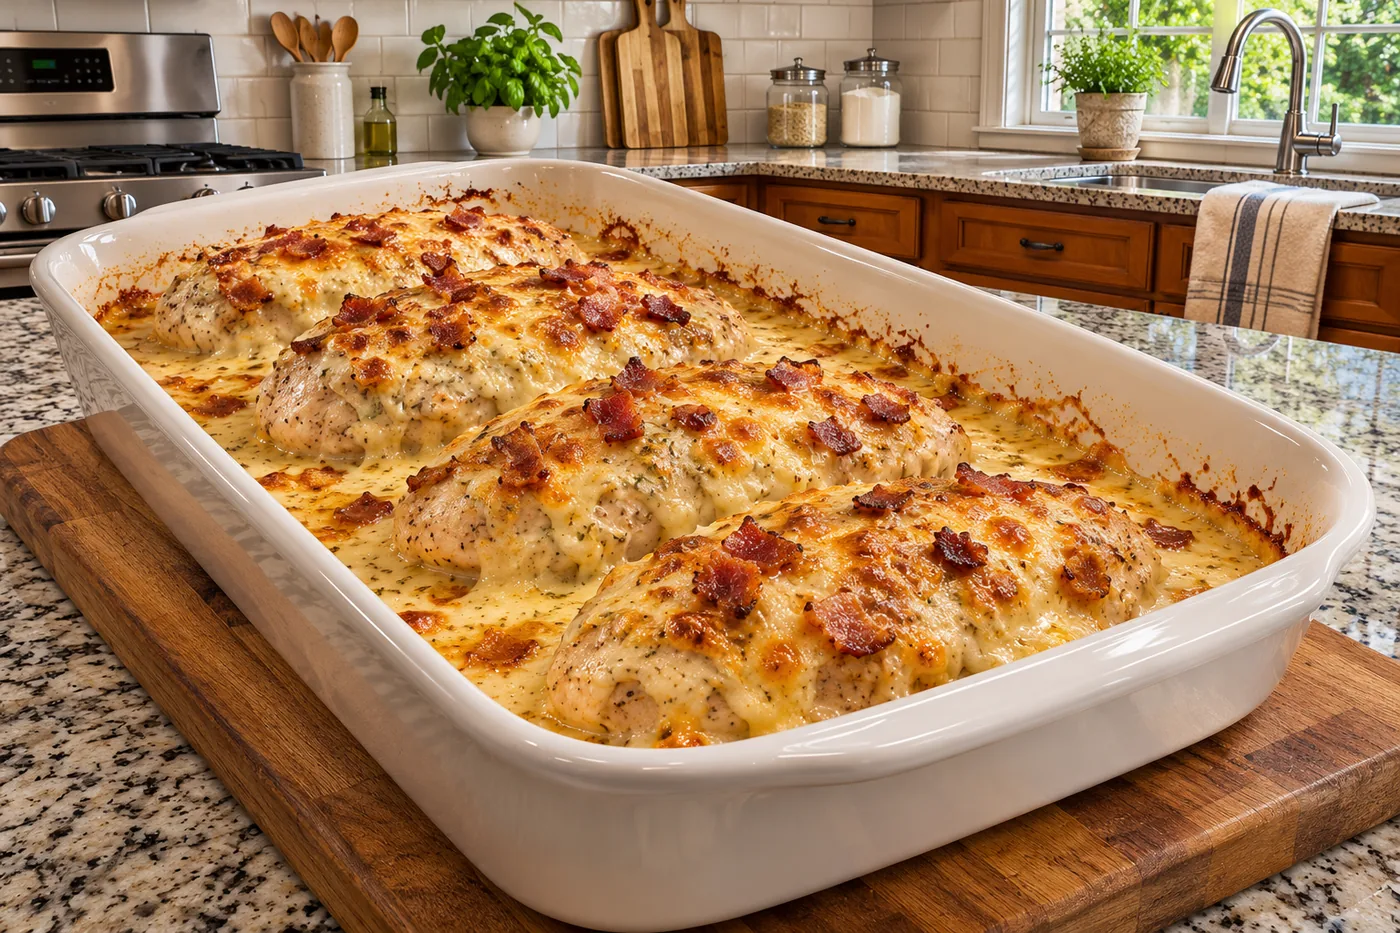
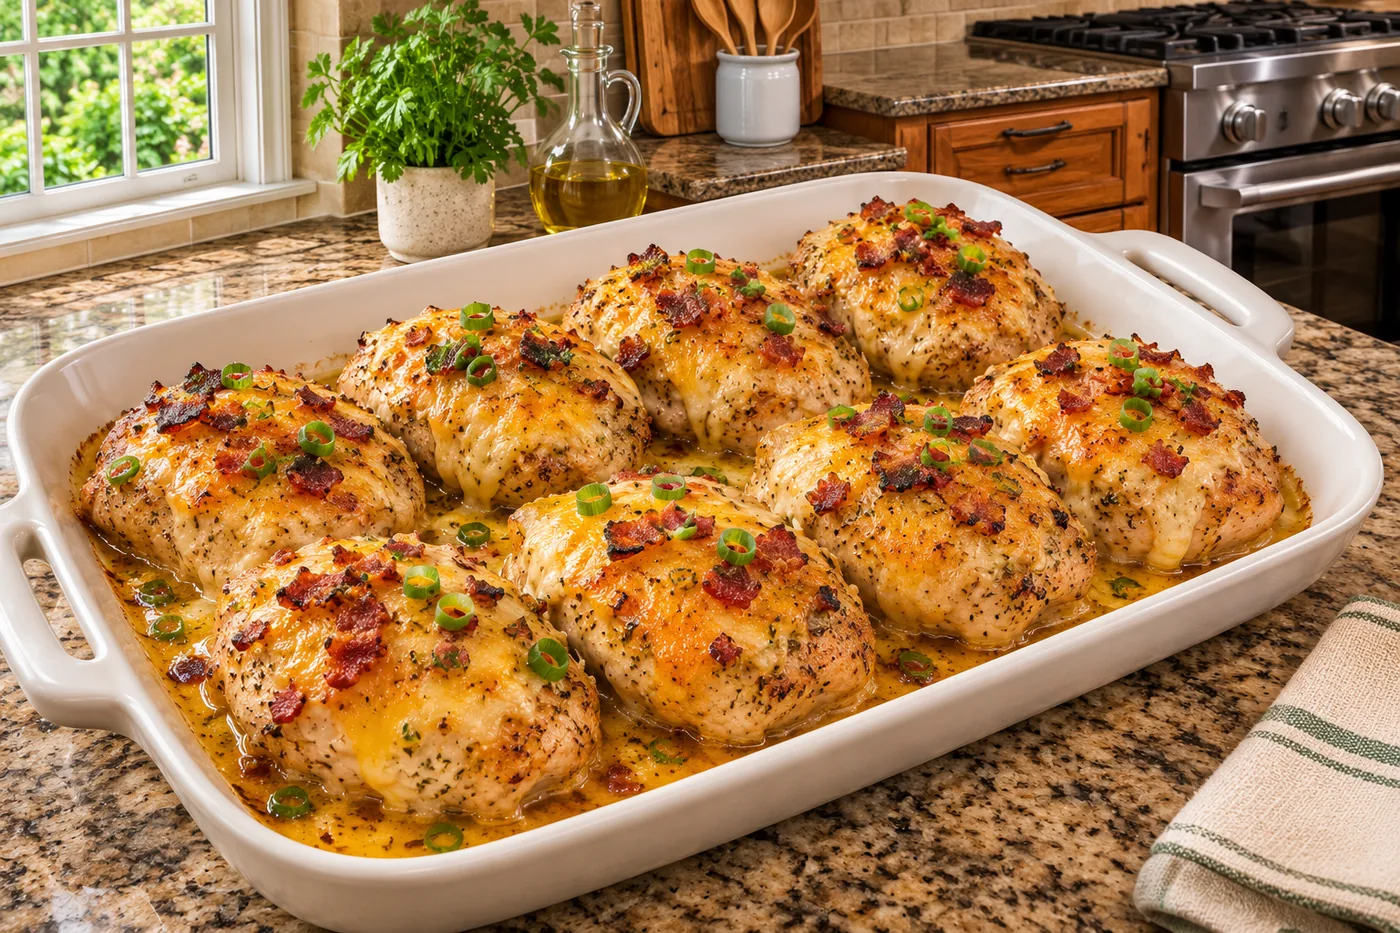
I remember the day I decided to transform simple chicken thighs into something extraordinary. Million dollar baked chicken thighs became my family's new favorite after just one bite — juicy, tender, and full of flavor.
What sets this recipe apart is the unique blend of spices and a secret ingredient that creates a delicious glaze. It’s not just another baked chicken; it’s a dish that leaves everyone asking for seconds.
Why This Recipe Works
- Meat Tenderization: Marinating the chicken thighs in soy sauce, honey, and lemon juice helps to tenderize the meat. The acidity from the lemon juice breaks down proteins, resulting in a juicier and more flavorful bite. I found that letting them marinate for at least 30 minutes made a noticeable difference in tenderness.
- Flavor Infusion: The combination of garlic powder, onion powder, and smoked paprika creates a robust flavor profile that permeates the chicken. The spices adhere to the meat during baking, allowing their essential oils to enhance every bite. I made a batch with extra spices and found it too overpowering; the original amounts are just right.
- Moisture Retention: Using chicken broth for deglazing not only adds depth to the sauce but also keeps the chicken moist during baking. This technique captures the fond from the pan, enriching the dish's overall flavor. I tried skipping the broth once, and the dish turned out drier than I wanted.
- Caramelization: The honey in the marinade promotes caramelization as the chicken bakes, creating a beautifully browned exterior. This adds both texture and sweetness, balancing the savory notes from the spices. I experimented with different sweeteners and found honey gave the best glaze.
Ingredients
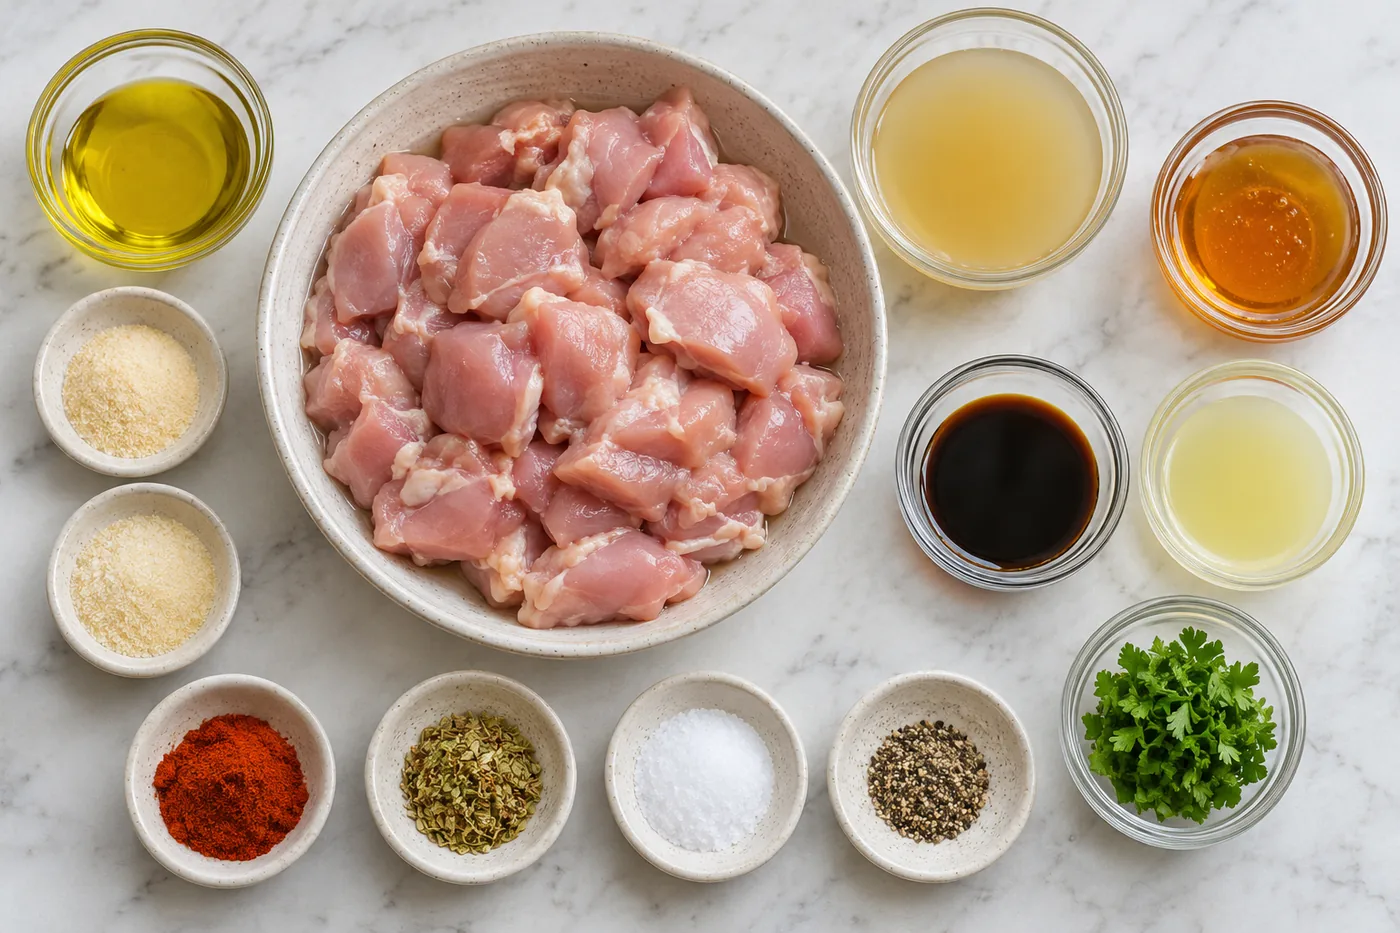
What You'll Need
- 1.5 lb boneless chicken thighs tender and juicy; cutting them into 1-inch pieces ensures even cooking.
- 2 tbsp olive oil adds richness and helps the spices stick to the chicken.
- 1 tsp garlic powder brings a warm, savory flavor without the hassle of fresh garlic.
- 1 tsp onion powder adds sweetness and depth, enhancing the overall flavor profile.
- 1 tsp smoked paprika provides a lovely smoky flavor, enhancing your million dollar baked chicken thighs.
- 1 tsp dried oregano gives an aromatic herbal note that pairs beautifully with chicken.
- 1 tsp salt essential for enhancing all the flavors; adjust to your preference.
- 1/2 tsp black pepper adds a bit of heat; feel free to adjust based on your spice tolerance.
- 1/4 cup chicken broth used for deglazing, it adds moisture and depth to the dish.
- 2 tbsp honey balances the savory flavors with a touch of natural sweetness.
- 1 tbsp soy sauce adds umami; tamari is a great gluten-free alternative.
- 1 tbsp fresh lemon juice brightens the dish and adds a fresh zing.
- 1 tbsp fresh parsley, chopped for garnish; adds a pop of color and freshness.
When selecting chicken thighs, look for ones that are plump and have a good amount of fat for extra flavor. Fresh herbs like parsley can really enhance the dish, so try to use them when possible. Each ingredient plays a vital role in making these million dollar baked chicken thighs tempting.
Easy Substitutions
- Dairy-free: swap honey for maple syrup — the sweetness will remain, but you'll get a different flavor profile.
- Gluten-free: use tamari instead of soy sauce — the taste stays similar, but it ensures no gluten is involved.
- Lower calorie: reduce honey to 1 tbsp — this will decrease the sweetness slightly but keep the dish flavorful.
Step-by-Step Instructions
Prep & Season
- Preheat your oven to 425°F and line a sheet pan with parchment paper — this ensures easy cleanup and prevents sticking.
- In a large bowl, toss the chicken thighs with olive oil, garlic powder, onion powder, smoked paprika, dried oregano, salt, and black pepper until they're evenly coated. This step adds layers of flavor and keeps the chicken juicy during baking.
- Spread the seasoned chicken thighs evenly on the prepared sheet pan, making sure they're not overcrowded. This allows them to cook evenly and develop a nice, crispy skin.
Bake & Sauce
- Bake the chicken in the preheated oven for 20 minutes, or until it reaches an internal temperature of 165°F. You'll know it's done when the skin is golden brown and crispy.
- While the chicken bakes, combine chicken broth, honey, soy sauce, and lemon juice in a small saucepan. This sauce will add a sweet and tangy glaze that makes the chicken truly special.
- Bring the sauce to a simmer over medium heat for about 5 minutes, stirring occasionally until it thickens slightly. Watch for it to bubble gently — that’s when it’s ready!
- Remove the chicken from the oven and drizzle the thickened sauce generously over each piece. This infuses the chicken with flavor and creates a delicious caramelized glaze.
Finish & Serve
- Return the chicken to the oven and bake for an additional 5 minutes to caramelize the sauce. You'll see it bubble and get sticky, which is exactly what you want!
- Remove from the oven and let the chicken rest for 5 minutes. This helps the juices redistribute, keeping the chicken moist.
- Garnish with fresh parsley before serving warm. The bright green adds a fresh touch and a pop of color to your million dollar baked chicken thighs.
Tips & Tricks
The Importance of Patting Dry
Before seasoning your chicken thighs, make sure to pat them dry with paper towels. This step helps to achieve that beautiful crispy skin we all crave. Trust me, the first time I skipped this, my chicken was a soggy mess! Drying the skin allows the fat to render properly and gives you that golden-brown finish.
Sauce Timing is Key
When it comes to the sauce, timing is everything. I like to start simmering it about halfway through the chicken’s baking time. This way, the sauce is perfectly thickened and ready to drizzle right when the chicken comes out of the oven. You don’t want to let it sit too long after thickening, or it can become too sticky!
Pro Tips
- Use Bone-In Thighs for Juiciness: Bone-in chicken thighs are more forgiving than boneless cuts. They retain moisture better during baking, resulting in juicy, tender meat. I often find that the bones help the chicken cook evenly, preventing dryness.
- Rest Chicken Before Serving: Letting the chicken rest for about 5-10 minutes after baking allows the juices to redistribute. This simple step makes a noticeable difference in flavor and texture. I've made the mistake of slicing too soon, and the results were less than impressive.
- Experiment with Different Herbs: While dried oregano is a classic, don't hesitate to switch it up. Fresh herbs like thyme or rosemary can add a whole new dimension. I recently tried fresh rosemary, and the aroma was wonderful.
- Double the Sauce for Extra Flavor: If you're a sauce lover like me, consider doubling the sauce recipe. You can reserve half for drizzling over the chicken right before serving. Just remember to keep it separate from the cooking sauce to avoid contamination.
- Use a Meat Thermometer for Precision: A meat thermometer takes the guesswork out of cooking chicken. Insert it into the thickest part of the thigh, and aim for 165°F for perfectly cooked meat. I can't tell you how many times I’ve overcooked chicken without one!
Variations & Customizations
Flavor Twists
Honey Mustard Delight
Replace the honey with 2 tablespoons of honey mustard and skip the soy sauce. The result is a tangy, sweet glaze that caramelizes beautifully, giving the chicken a glossy, golden finish. It’s a vibrant twist that pairs perfectly with roasted veggies.
Citrus Zing
Swap in 2 tablespoons of orange juice for the lemon juice and add 1 teaspoon of orange zest. You'll end up with a bright, refreshing flavor that bursts with citrusy goodness, making the chicken feel light and invigorating.
Seasonal Versions
Fall Harvest
Incorporate 1 teaspoon of ground cinnamon and 1 cup of diced apples along with the chicken broth. This variation brings a warm, cozy flavor that’s perfect for autumn, with the chicken taking on a sweet and savory profile, complemented by tender, juicy apples.
Storage & Meal Prep
Room Temperature
You can leave your million dollar baked chicken thighs at room temperature for up to 2 hours in a covered dish to keep them fresh. Beyond that, they should be refrigerated to maintain quality and safety.
Refrigerator
These chicken thighs will stay fresh for up to 4 days in an airtight container. Be sure to let them cool completely before storing to prevent condensation, which can make them soggy.
Freezer
In the freezer, they’ll last for about 3 months. For the best results, flash freeze them on a sheet pan first, then wrap each thigh individually in plastic wrap before placing them in a freezer-safe bag. Thaw them overnight in the fridge before reheating.
Meal Prep
I recommend doubling the recipe for meal prep; it makes for easy lunches throughout the week. Prepare them on the weekend and store in glass containers for up to 4 days. To reheat, pop them in the oven at 350°F for about 15-20 minutes, or until heated through.
Frequently Asked Questions
Can I use chicken breasts instead of thighs?
Yes, you can use chicken breasts, but they might dry out more easily. Adjust the cooking time, checking for doneness at around 20-25 minutes.
What can I substitute for soy sauce?
You can use tamari for a gluten-free option or coconut aminos for a slightly sweeter flavor. Both alternatives will still provide that salty depth.
Why did my chicken thighs come out tough?
Overcooking is the most common reason for tough chicken thighs. Make sure to monitor the internal temperature and remove them from the oven once they reach 165°F.
Can I make these ahead of time?
Absolutely! You can marinate the thighs a day in advance and keep them in the fridge. Just bake them right before serving for maximum flavor.
How can I make this recipe low-sodium?
To reduce sodium, use low-sodium soy sauce or simply cut down on the amount used. Pairing with fresh herbs can also enhance flavor without added salt.
These million dollar baked chicken thighs are a surefire way to impress your family with their juicy, tender meat and rich flavor. For a twist, try adding a sprinkle of fresh herbs right before serving to enhance the dish even further. I can't wait to hear how yours turn out, so share your experience in the comments or pin it for later!