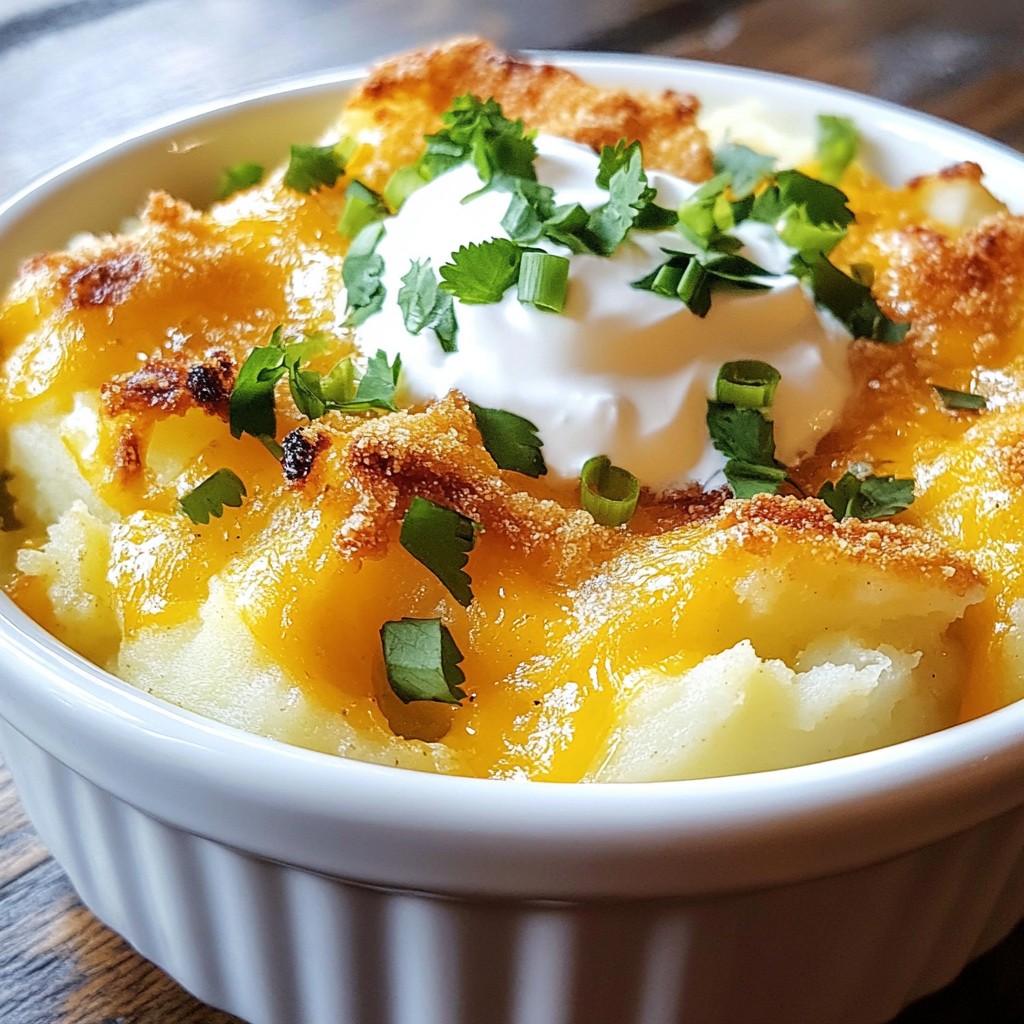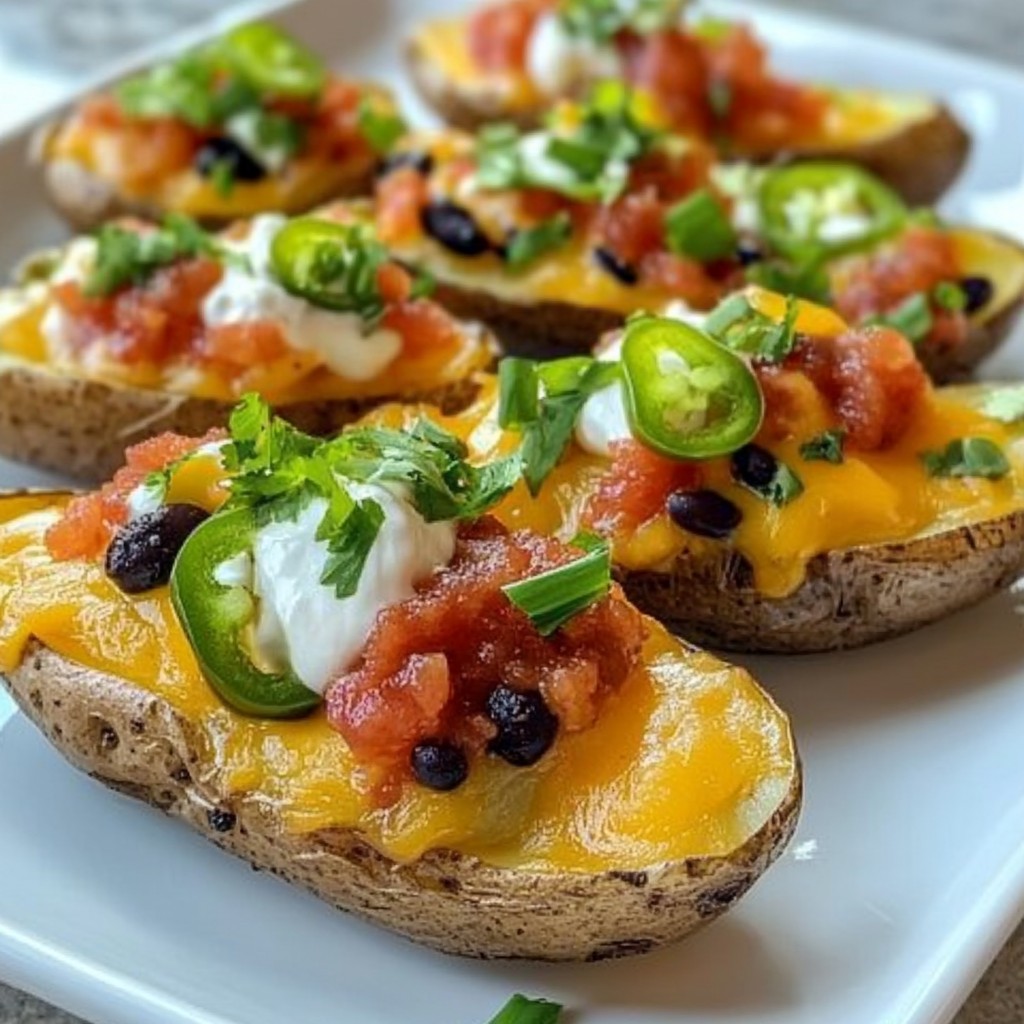
Are you ready to elevate your snack game? Loaded Nacho Potato Skins are fantastic for game day or any gathering. This easy recipe combines crispy potato skins with spicy toppings, creating a burst of flavor in every bite. You’ll love how simple it is to make them from scratch. Join me as I guide you through the steps to create this tasty treat! Let's get cooking!
Why I Love This Recipe
- Perfect for Sharing: These loaded nacho potato skins are a crowd-pleaser, making them ideal for parties and game days.
- Customizable Toppings: You can easily swap out the toppings based on your preferences, adding anything from guacamole to diced tomatoes.
- Easy to Make: With simple ingredients and straightforward instructions, even beginner cooks can whip these up with confidence.
- Comfort Food Delight: The combination of crispy potato skins and melty cheese offers a comforting and satisfying bite every time.
Ingredients
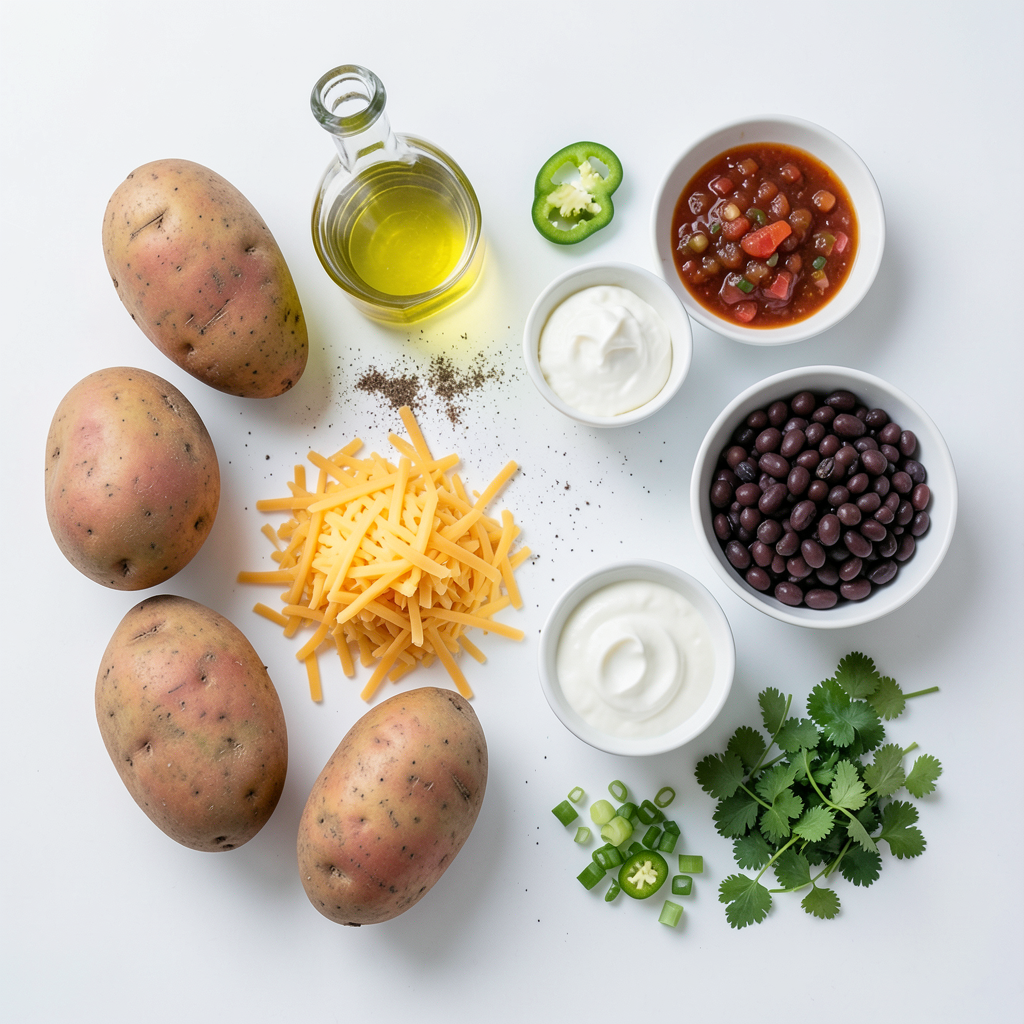
List of Main Ingredients
- 4 large russet potatoes
- 1 tablespoon olive oil
- Salt and pepper
The base of this dish is the russet potatoes. They have a thick skin that holds up well. The olive oil adds flavor and helps create a crispy texture. Don't forget to season with salt and pepper to enhance the taste.
Toppings and Garnishes
- 1 cup shredded cheddar cheese
- 1 cup black beans, rinsed and drained
- 1/2 cup salsa
- 1/2 cup sour cream
- 1 jalapeño, sliced (optional)
- 1/4 cup green onions, chopped
- 1/4 cup fresh cilantro, chopped
These toppings make your nacho potato skins truly loaded. The cheddar cheese melts beautifully and gives a rich flavor. Black beans add protein and a hearty touch. Salsa and sour cream bring creaminess and zest. If you like heat, the jalapeño is a great choice. Green onions and cilantro add a fresh finish that brightens every bite. Each layer of flavor makes this dish exciting and delicious!
Step-by-Step Instructions
Prepping the Potatoes
- First, preheat your oven to 400°F (200°C). This gets it ready for baking.
- Scrub the potatoes well under water, then pat them dry.
- Use a fork to poke several holes in each potato. This helps steam escape.
- Rub each potato with olive oil. Sprinkle salt over them for flavor.
Baking the Potatoes
- Place the potatoes on a baking sheet. Bake for 45-60 minutes.
- Check if they are fork-tender. This means they are ready to come out.
Preparing Potato Skins
- Once the potatoes cool slightly, cut each in half lengthwise.
- Scoop out some flesh from each half, leaving a thin layer of potato.
- Increase the oven temperature to 425°F (220°C).
- Brush the insides of the skins with olive oil. Add salt and pepper.
- Place them back on the baking sheet and bake for 10-15 minutes until crispy.
Filling and Final Baking
- Remove the crispy potato skins from the oven.
- Fill each skin with shredded cheddar cheese, black beans, and jalapeño slices if you like.
- Return the filled skins to the oven. Bake for another 5-10 minutes until the cheese is melted and bubbly.
- Once done, drizzle with salsa and sour cream. Top with chopped green onions and cilantro.
Tips & Tricks
Best Practices for Crispiness
To get the best crispy potato skins, follow these key steps:
- Choose the right potatoes. I prefer large russet potatoes for their thick skin.
- Poke holes. This allows steam to escape during baking.
- Use olive oil. Brush the insides with oil before the second bake.
- Season well. Salt and pepper enhance flavor and help achieve crispiness.
These steps ensure your skins turn out golden and crunchy. Proper seasoning is vital. If you skip this, your skins might taste bland.
Enhancing Flavor
To take your loaded nacho potato skins to the next level, consider these flavor tips:
- Spice it up. Add cumin or chili powder for a kick.
- Fresh herbs. Try adding cilantro or parsley for brightness.
- Alternative toppings. Consider adding grilled chicken or ground beef for heartiness.
- Sauces. Drizzle with hot sauce or your favorite barbecue sauce for extra flavor.
These suggestions create a tasty mix that makes every bite feel special. Don't hesitate to experiment with your favorite flavors!
Pro Tips
- Choose the Right Potatoes: Use large russet potatoes for the best texture and flavor. They have the ideal starch content for crispy skins.
- Don’t Overbake: Keep a close eye on the potatoes while baking. Overbaking can lead to dry skins, so aim for fork-tender consistency.
- Add Flavor to the Filling: Spice up your black beans by adding cumin or chili powder. This will enhance the overall flavor of your loaded nacho potato skins.
- Garnish for Freshness: Always top your potato skins with fresh ingredients like cilantro and green onions right before serving to add brightness and flavor.
Variations
Vegetarian vs. Meat Options
You can make loaded nacho potato skins for any taste. If you want a meat twist, add cooked chicken or ground beef. Both options add great flavor and protein. For cheese, try Monterey Jack or pepper jack for a spicy kick. Mixing cheeses can make the dish fun and tasty.
Dietary Modifications
For those needing gluten-free options, use gluten-free potatoes. Most toppings are already safe. If you want vegan options, swap the cheese for a plant-based version. You can also use cashew cream instead of sour cream. To cut calories, use low-fat cheese and skip the sour cream. These swaps keep the dish light but still delicious.
Storage Info
How to Store Leftovers
To keep your loaded nacho potato skins fresh, start by letting them cool. Place them in an airtight container. This helps lock in moisture and flavor. You can store them in the fridge for up to three days. If you want to keep them longer, consider freezing. Wrap each potato skin tightly in plastic wrap, then place them in a freezer bag. They can last up to two months this way.
Reheating Tips
When you're ready to enjoy your leftovers, reheating is key. You want to keep them crispy. The best way is to use the oven. Preheat it to 375°F (190°C). Place the potato skins on a baking sheet and heat for about 10-15 minutes. This method helps restore their crunch.
If you're short on time, the microwave is an option, but it can make them soggy. For a quick fix, microwave for 1-2 minutes, but know the texture will change. The stovetop is another method. Heat a non-stick pan over medium heat. Place the potato skins in the pan and cover. Heat for about 5-7 minutes, checking often. This way, you can achieve some crispiness while warming them through.
FAQs
Common Questions
How do I prevent soggy potato skins? To keep potato skins crispy, bake them at high heat. Make sure to poke holes in the potatoes before baking. This allows steam to escape. After scooping out the flesh, brush the insides with olive oil. Bake again until they're golden brown.
Can I make these ahead of time? Yes, you can prepare the potato skins ahead. Bake the potatoes and scoop them out. Store the skins in the fridge. When ready to serve, fill and bake them. They will still taste fresh and delicious.
What are the best dipping sauces? Some great dipping sauces include salsa, sour cream, and guacamole. You can also try cheese sauce or ranch dressing. Each adds a nice touch to your loaded nacho potato skins.
Nutritional Information
Caloric content per serving Each serving of loaded nacho potato skins has about 400 calories. This may vary based on toppings.
Key nutrients present in the dish These potato skins offer protein from cheese and black beans. They are also rich in fiber and vitamins from potatoes and toppings.
Substitutions
What can I use instead of russet potatoes? You can use Yukon gold or sweet potatoes instead. Both offer a nice flavor and texture.
Are there dairy-free cheese options? Yes, many brands offer dairy-free cheese that melts well. Look for options made from nuts or soy. They work great in this recipe.
In this blog post, we explored how to create delicious loaded baked potatoes. We covered the key ingredients, step-by-step instructions, and tips for texture and flavor. You learned about storage options and variations to suit different diets.
Crafting loaded baked potatoes is easy and fun. With simple tweaks, you can make this dish your own. Whether you prefer classic toppings or unique flavors, the possibilities are endless. Enjoy your new cooking adventure!