Are you ready to make delicious homemade strawberry jam? This tasty and simple recipe will guide you every step of the way. You only need fresh strawberries and a few key ingredients. I promise you’ll love spreading this sweet treat on your toast! Let’s dive into the world of jam-making and turn those ripe strawberries into something amazing. Your mornings will never be the same!
Ingredients
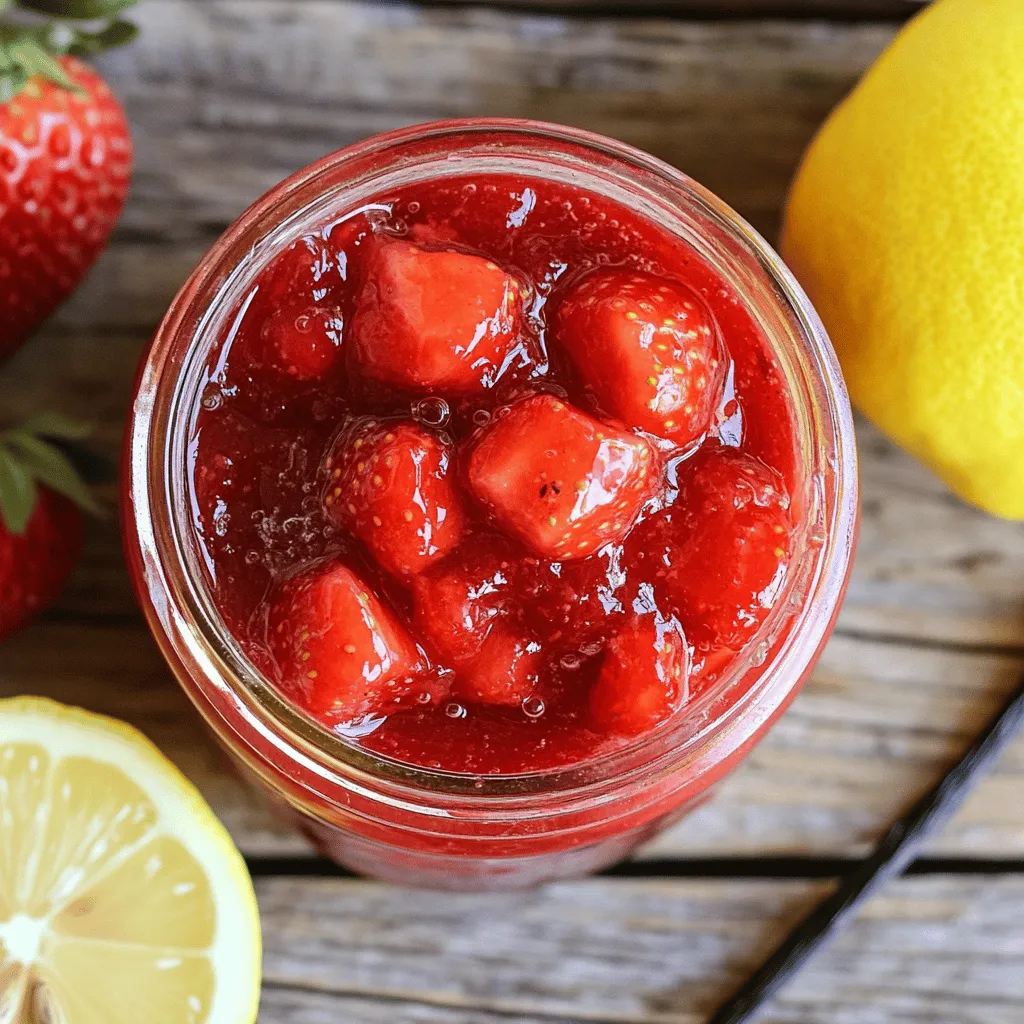
Fresh Strawberries
You need 2 pounds of fresh strawberries. Look for ripe, bright red berries. They should smell sweet and feel firm. Wash them gently under cool water. Remove the green tops and dice them into small pieces. This process helps release their juices during cooking.
Sweeteners and Flavorings
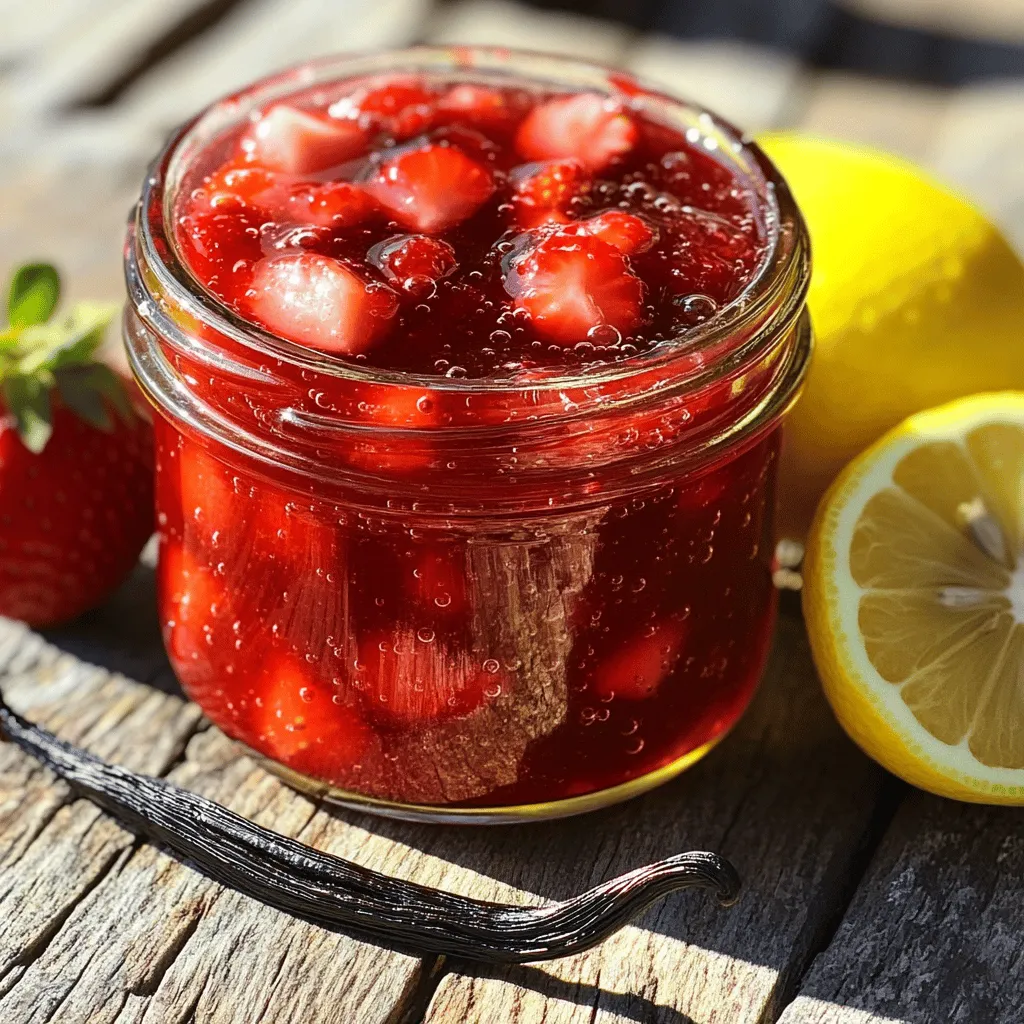
To sweeten the jam, use 1 ½ cups of granulated sugar. The sugar helps balance the tartness of the strawberries. You’ll also need 1 tablespoon of lemon juice. This adds a nice zing and helps the jam set. Adding 1 teaspoon of vanilla extract gives a lovely depth to the flavor.
Additional Ingredients
You will require 1 packet (1.75 oz) of fruit pectin, like Sure-Jell. Pectin helps the jam thicken. Finally, add a pinch of ¼ teaspoon salt. This enhances the overall taste of the jam.
These ingredients come together to create a sweet and fruity treat.
Step-by-Step Instructions
Preparing the Strawberries
Start by rinsing your strawberries well. Remove the green tops, called hulls. Dice the strawberries into small pieces. This helps them break down easily during cooking. In a large mixing bowl, add the diced strawberries and granulated sugar. Mix them gently. Let this sit for about 30 minutes. This waiting time helps the strawberries release their juices. You will see the mixture become syrupy.
Cooking the Jam
After 30 minutes, move the strawberry mix to a large pot. Add in the lemon juice, salt, and pectin. Stir it all together well. Place the pot on the stove over medium heat. Bring the mixture to a gentle boil. Stir it often to prevent sticking. Once it boils, lower the heat and let it simmer for about 10 minutes. Keep stirring as it cooks. You might notice foam forming on the top. Use a ladle to skim off any foam.
Testing for Doneness
To check if the jam is ready, take a spoonful and place it on a cool plate. Let it sit for a minute. Then, run your finger through the jam. If it holds its shape, it’s ready! If it runs back together, continue to boil for another 2-3 minutes. Repeat the test until you reach the right thickness. Once done, remove the pot from the heat and stir in the vanilla extract. Now, your homemade strawberry jam is almost ready!
Tips & Tricks
Achieving the Perfect Consistency
To make great jam, you need the right mix of fruit and pectin. Use fresh strawberries for the best flavor. If your jam seems too runny, don’t worry. You can cook it longer to thicken it up. Remember to test it on a cold plate. If it holds its shape, you’ve nailed it!
Enhancing Flavor Profiles
To make your jam stand out, think about adding extra flavors. Lemon juice brightens the taste. A touch of vanilla adds warmth. If you like spice, consider a pinch of cinnamon. These small tweaks create layers in flavor that will surprise your taste buds.
Common Mistakes to Avoid
One common mistake is not measuring ingredients correctly. Too much sugar can make jam too sweet. Another mistake is not stirring enough while boiling. This can cause the jam to burn. Lastly, don’t skip the foam removal step. It can affect both texture and look. Follow these tips for a successful batch of homemade strawberry jam.
Variations
Berry Combinations
You can mix strawberries with other berries for fun flavors. Try raspberries or blueberries. Each berry adds its own taste. For example, raspberries give a tart kick. Blueberries add sweetness. Use equal parts of each berry. This makes a jam that is both colorful and tasty.
Sugar Substitutes
If you want a lower sugar option, you can use honey or agave syrup. These sweeteners give a nice flavor. Remember to adjust the amount. Honey is sweeter, so use less. If you use agave, start with the same amount of sugar. Test the sweetness and adjust as needed.
Additional Flavor Infusions
Adding spices can take your jam to the next level. Consider cinnamon or nutmeg for warmth. A splash of balsamic vinegar can add depth. If you want a citrus boost, try orange zest. Each of these will change the flavor profile. Get creative and mix different flavors to find your favorite.
Storage Info
Best Practices for Jar Sealing
To keep your jam fresh, sealing jars properly is key. Start with clean, sterilized jars. After filling them with hot jam, leave a little space at the top. This gap helps the jam seal well. Use new lids each time to ensure a tight fit. Once you screw on the lids, let the jars cool completely. This cooling helps create a vacuum seal, keeping air out.
Refrigeration vs. Pantry Storage
You can store your homemade strawberry jam in two ways. If you seal the jars well, you can keep them in the pantry. They should stay good for a few months. If you open a jar, store it in the fridge. Open jars should last about two weeks in the fridge. This keeps the jam fresh and tasty.
Shelf Life and Usage Tips
Homemade strawberry jam can last long if stored right. Sealed jars in the pantry can stay fresh for up to a year. Once opened, use the jam within two weeks for best flavor. Always check the jam for any signs of spoilage before using it. If you see mold or feel unsure, it is best to toss it. Enjoy your tasty strawberry jam on toast, pancakes, or as a sweet treat!
FAQs
Can I use frozen strawberries for this recipe?
Yes, you can use frozen strawberries. Just thaw them first. Drain any extra liquid before mixing with sugar. This helps keep your jam thick and tasty. Frozen strawberries work well, but fresh berries will give the best flavor and texture.
How do I know if my jam has set properly?
To check if jam has set, do a plate test. Spoon a bit of jam onto a cool plate. Let it sit for a minute, then run your finger through it. If it holds a line, it’s ready. If it runs together, cook it a bit longer. Repeat the test until it sets.
Can I can this strawberry jam for long-term storage?
Yes, you can can this strawberry jam. After filling your sterilized jars, seal them tightly. Process the jars in a boiling water bath for about 10 minutes. This helps create a seal. Store in a cool, dark place for up to a year. Enjoy this homemade treat anytime!
You now know how to make a great strawberry jam. We discussed fresh strawberries, sweeteners, and other key ingredients. You learned simple steps for preparation, cooking, and testing your jam. We also shared tips on consistency, flavor, and mistakes to avoid. Variations like berry combos and sugar substitutes can make your jam unique. Lastly, we covered storage tips to keep your jam fresh. Enjoy making your jam and exploring new flavors!