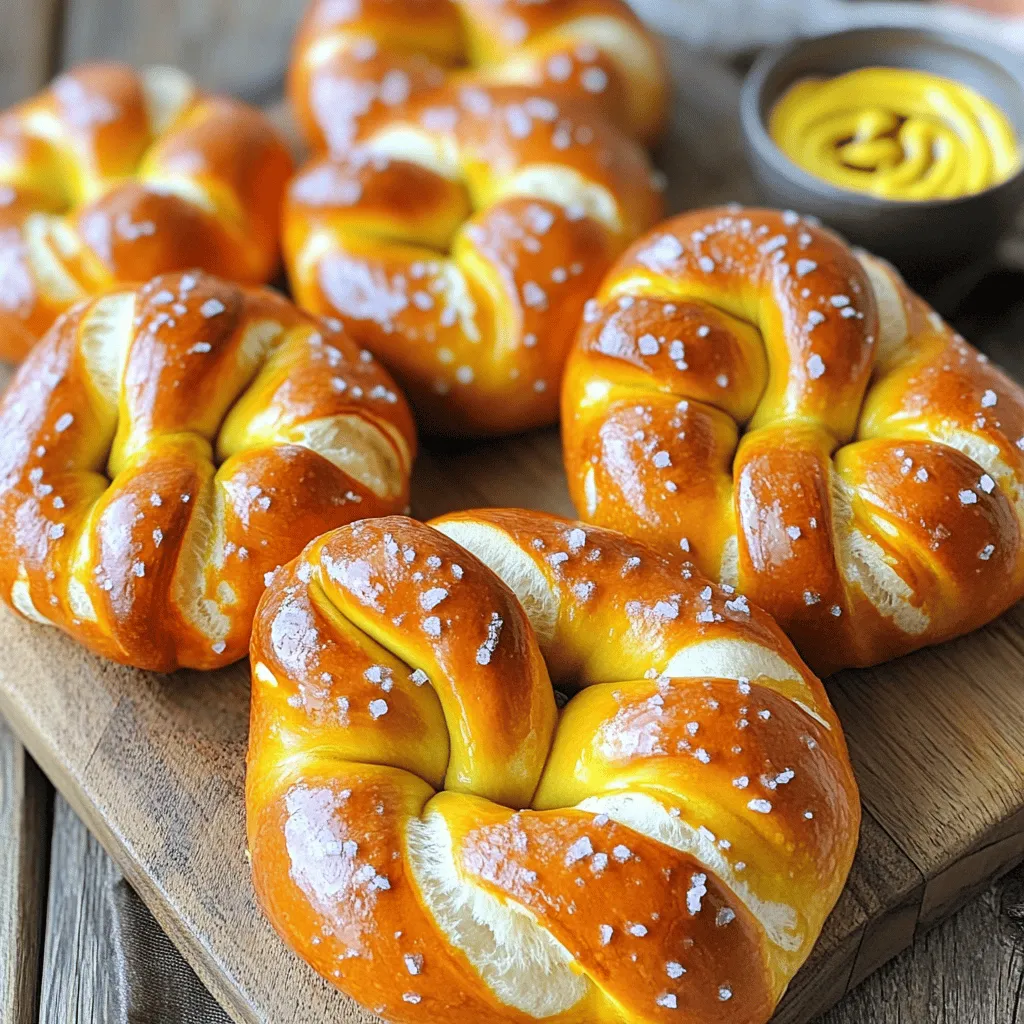
Craving a warm, salty snack? You’re in the right place! This simple recipe for homemade soft pretzels will have your kitchen smelling amazing and your taste buds dancing. With just a few basic ingredients, you’ll master the art of pretzel-making in no time. Join me as we explore easy steps, helpful tips, and tasty variations to elevate your pretzel game. Let’s get baking and enjoy a delicious treat together!
Ingredients
To make homemade soft pretzels, you’ll need a few simple ingredients. Here’s what you need:
– 4 cups all-purpose flour
– 1 packet (2 ¼ teaspoons) active dry yeast
– 1 teaspoon sugar
– 1 ½ teaspoons salt
– 1 ¾ cups warm water (110°F or 43°C)
– ⅓ cup baking soda
– 1 large egg, beaten (for egg wash)
– Coarse sea salt (for topping)
– Optional: melted butter (for brushing)
These ingredients work together to create soft, chewy pretzels. The flour gives the pretzels structure. The yeast makes them rise. Sugar feeds the yeast, helping it grow. Warm water activates the yeast quickly. Salt adds flavor, making each bite tasty. Baking soda helps create that classic pretzel color and texture when boiling. The egg wash gives a nice shine, and coarse sea salt tops it off perfectly.
Once you gather these items, you’ll be ready to make your pretzels. If you want a buttery flavor, keep that melted butter handy for brushing once they’re out of the oven. This is a key step for adding richness.
Step-by-Step Instructions
Mixing the Dough
First, I mix warm water, sugar, and yeast in a large bowl. This mixture should sit for 5-10 minutes until it becomes frothy. Next, I add salt and slowly mix in the flour. I do this one cup at a time. This helps form a soft dough.
Kneading and Rising
Now it’s time to knead the dough. I transfer it to a lightly floured surface. I knead for about 5-7 minutes until the dough is smooth and elastic. After kneading, I form the dough into a ball. I place it in a greased bowl and cover it with a damp cloth. I let it rise in a warm area for about 1 hour. It should double in size during this time.
Shaping and Boiling
Once the dough has risen, I punch it down to release air. Then, I divide the dough into 8 equal pieces. I roll each piece into a long rope, about 24 inches long. I shape each rope into a U and twist the ends together. I fold the ends back onto the bottom of the U. This creates the pretzel shape. Next, I boil 10 cups of water with ⅓ cup of baking soda. I carefully drop each pretzel into this boiling water for about 30 seconds. I use a slotted spoon to remove them. Then, I place the pretzels on prepared baking sheets.
Baking
Now I brush each pretzel with a beaten egg. I sprinkle coarse sea salt on top for flavor. I bake them in a preheated oven at 450°F (230°C) for 12-15 minutes. They should turn golden brown. If I want extra richness, I brush them with melted butter right after baking. Enjoy these warm and soft delights!
Tips & Tricks
Achieving the Perfect Texture
To make soft pretzels, kneading is key. Proper kneading helps develop gluten. This gives the pretzels their chewy texture. Knead the dough for about 5-7 minutes. You want it to feel smooth and elastic.
Rising the dough correctly is also important. Place the dough in a warm spot. A temperature around 75°F to 80°F works best. Cover it with a damp cloth. This keeps the dough warm and moist. Let it rise until it doubles in size, about one hour.
Troubleshooting Common Issues
Dough can sometimes be too sticky or too dry. If your dough sticks to your hands, add a bit more flour. A tablespoon at a time works well. For dry dough, add a little warm water. This helps bring it back to life.
If your pretzels do not brown well, check your oven temperature. Make sure it is set to 450°F. Also, ensure you brush them with the egg wash. This gives a nice golden color.
Presentation Tips
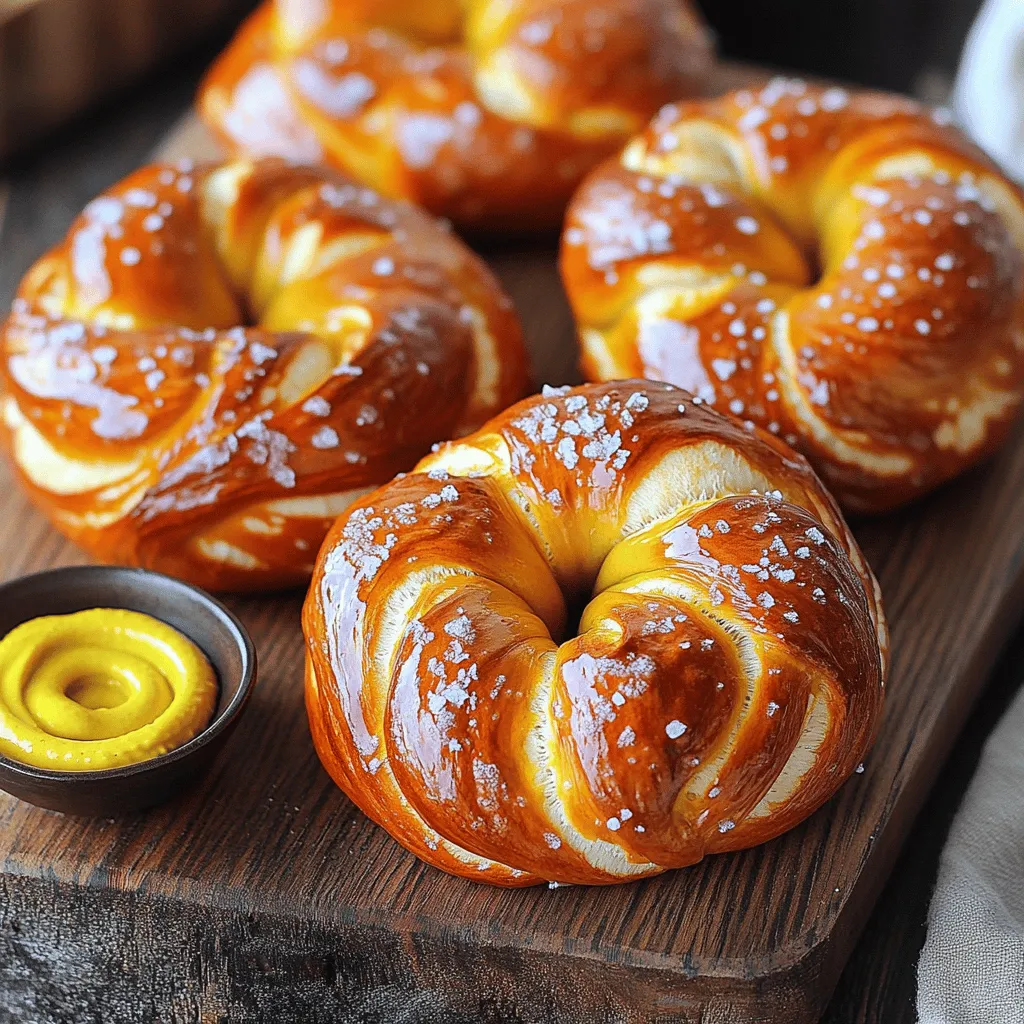
Serve your pretzels warm for the best taste. Pair them with mustard or cheese dip. These dips add flavor and fun.
For a nice display, arrange the pretzels on a wooden board. Adding some fresh herbs can make it look even better. The rustic touch invites everyone to dig in. Enjoy your delightful creations!
Variations
Flavored Pretzels
You can add fun flavors to your pretzels. Garlic and herb pretzels are a great choice. Just mix minced garlic and fresh herbs into your dough. You’ll get a savory twist that’s hard to resist. For a sweet treat, try cinnamon sugar pretzels. After baking, brush them with butter and coat them in cinnamon sugar. This version is perfect for dessert or a snack.
Stuffed Pretzels
Stuffed pretzels take your snack game to the next level. A cheese-stuffed version is a crowd favorite. You can use any cheese you love, like cheddar or mozzarella. Just place a piece of cheese in the center of the dough before shaping it. Sweet fillings are also an option. Try using chocolate or Nutella for a tasty surprise inside.
Gluten-Free Alternatives
If you need gluten-free options, don’t worry! You can use gluten-free flour blends. Look for ones that mimic all-purpose flour well. Brands like Bob’s Red Mill or King Arthur Flour offer great choices. Adjust the recipe slightly by adding more water. This helps the dough stay moist and easy to handle. Enjoy delicious pretzels without gluten using these simple swaps.
Storage Info
Storing Leftovers
To keep your soft pretzels fresh, store them in an airtight container. This helps keep out moisture. If you want to refrigerate them, place a paper towel inside. This towel absorbs extra moisture and keeps the pretzels soft. They will last about 3 days in the fridge.
For longer storage, consider freezing your pretzels. Wrap each one in plastic wrap. Then, place them in a freezer bag. This way, they can last up to one month. When you want to enjoy them, just take out what you need.
Reheating Tips
To make pretzels taste fresh again, reheat them in the oven. Preheat your oven to 350°F (175°C). Place the pretzels on a baking sheet. Heat for about 5-10 minutes. This warms them up and makes the crust crispy again.
Avoid sogginess by not using the microwave. Microwaving can make pretzels chewy and wet. If you must use a microwave, wrap them in a paper towel and heat for only a few seconds. Enjoy your warm, tasty pretzels!
FAQs
How long do homemade soft pretzels last?
Homemade soft pretzels taste best when fresh. However, they can last for up to 2 days at room temperature. Store them in a paper bag to keep them soft. If you want to keep them longer, freeze them. They stay good in the freezer for about 3 months. Just wrap them well to avoid freezer burn.
Can I make the dough in advance?
Yes, you can make the dough in advance. Prepare the dough and let it rise. After that, punch it down and cover it tightly. You can place it in the fridge for up to 24 hours. When you’re ready to bake, take it out and let it come to room temperature before shaping.
What type of salt is best for topping?
Coarse sea salt is the best choice for topping soft pretzels. It adds a nice crunch and flavor. You can also use pretzel salt, which is similar. Avoid using fine table salt, as it can make the pretzels too salty.
Is there a vegan option for this recipe?
Yes, you can make this pretzel recipe vegan. Simply skip the egg wash. Instead, brush the pretzels with a mixture of water and a bit of maple syrup or plant-based milk. This will help the salt stick and give a nice finish.
Making homemade pretzels can be fun and easy. You learned about key ingredients and their roles. You followed a clear method from mixing to baking. I shared tips for texture and ways to fix common problems. You even explored fun variations, such as flavored and stuffed pretzels.
By storing leftovers properly, you can enjoy them longer. Now you can create tasty pretzels at home. Get creative and enjoy your baking journey. Happy pretzel making!