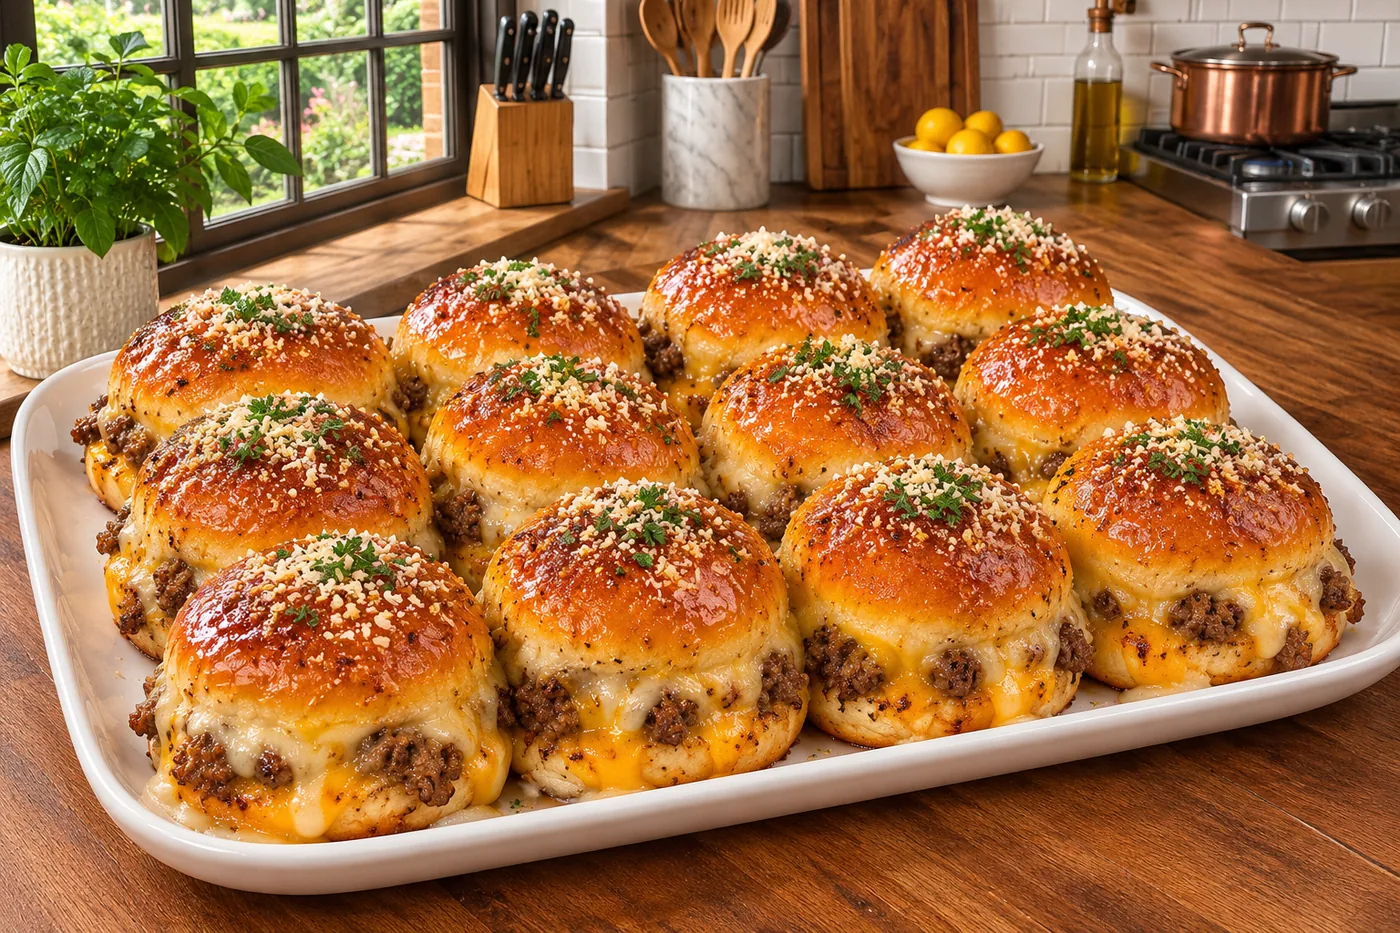
The first time I made garlic parmesan cheeseburger bombs, my kitchen was filled with the most intoxicating aroma. I couldn't believe how something so simple could be so delicious, and my family devoured them in minutes!
What sets this recipe apart is the perfect balance of juicy beef, rich garlic, and nutty parmesan, all enveloped in a golden, flaky dough. Trust me, these bombs are a crowd-pleaser that you won't find anywhere else!
Why This Recipe Works
- Juicy Beef Blend: Using an 80/20 ground beef blend ensures a perfect balance of fat and meat. The fat renders while cooking, keeping the patties juicy and flavorful. I tried this with leaner beef, but it just didn’t have the same satisfying richness.
- Cheesy Goodness: The combination of mozzarella and parmesan creates a stretchy, gooey texture that melts beautifully. I found that using freshly shredded cheese gave me a creamier filling compared to pre-shredded varieties, which can contain anti-caking agents.
- Garlic Flavor Boost: Minced garlic adds a robust kick that permeates the dough and meat. I tested different garlic preparations and found that fresh garlic delivers a more vibrant flavor compared to garlic powder or jarred options.
- Buttery Biscuit Base: Brushing the biscuit dough with melted butter before baking enhances browning and creates a flaky texture. The butter also helps seal in moisture, resulting in a tender, flavorful explosion when you take a bite.
Ingredients
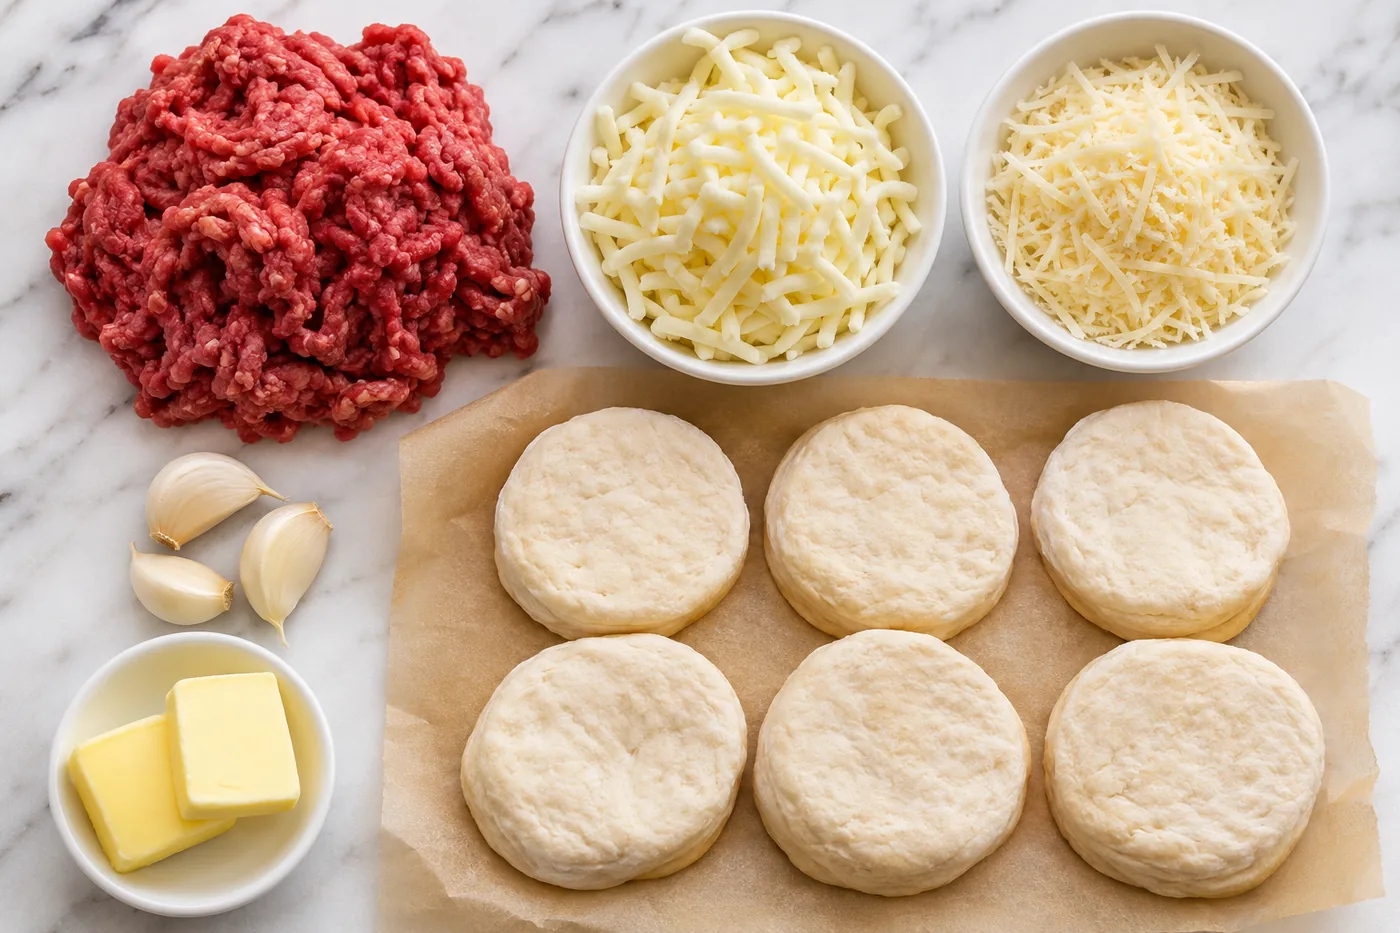
What You'll Need
- 1 lb ground beef 80/20 blend for juiciness; it keeps the bombs moist and flavorful.
- 1 cup shredded mozzarella cheese meltable and stretchy; it gives that gooey cheese pull.
- 1 cup shredded parmesan cheese adds a sharp, nutty flavor that complements the garlic.
- 1 package refrigerated biscuit dough, 8-count easy and flaky; it forms the perfect outer layer.
- 3 cloves garlic, minced fresh garlic brings a robust flavor; use more if you love garlic!
- 2 tbsp butter, melted adds richness and helps the dough brown beautifully.
- 1 tsp dried oregano for a hint of herbal flavor that balances the richness.
- 1 tsp garlic powder enhances the garlic flavor without adding moisture.
- 1 tsp salt essential for bringing out all the flavors.
- 1/2 tsp black pepper adds a bit of warmth and depth.
- 1 tbsp fresh parsley, chopped, for garnish brightens the dish with color and freshness.
- 1 tbsp olive oil, for brushing helps achieve a golden, crispy crust.
When selecting ground beef, look for good marbling for the best flavor and juiciness. Fresh garlic is a must for that aromatic punch, and don't skimp on the parmesan—its unique taste really enhances these garlic parmesan cheeseburger bombs.
Easy Substitutions
- Dairy-free: swap mozzarella and parmesan with dairy-free cheese — the texture will be slightly different, and the flavor might be milder but still delicious.
- Gluten-free: replace refrigerated biscuit dough with gluten-free dough — the bombs may turn out less flaky but will still be enjoyable.
- Lower calorie: use lean ground turkey instead of ground beef — it will be lighter but may lack some richness.
Step-by-Step Instructions
Prep & Mix
- Preheat your oven to 375°F (190°C) and line a baking sheet with parchment paper — this keeps the cheeseburger bombs from sticking and makes cleanup a breeze.
- In a large bowl, combine the ground beef, minced garlic, oregano, garlic powder, salt, and black pepper. Mix until everything is well combined, creating a flavorful filling. You should smell the garlic and herbs coming together beautifully.
- Divide the beef mixture into 8 equal portions and shape each into a ball. This helps ensure each bomb has the same amount of delicious filling, so every bite is equally satisfying.
- Open the biscuit dough and separate it into 8 pieces. Flatten each piece into a circle, about 4 inches wide — this creates a sturdy base to hold all the goodness inside.
Assemble & Bake
- Place a beef ball in the center of each biscuit circle and top with 2 tablespoons of mozzarella and 2 tablespoons of parmesan cheese. The cheese will melt into gooey deliciousness, enhancing the flavor of the beef.
- Gather the edges of the biscuit dough around the beef and cheese, pinching to seal tightly. Make sure there are no gaps; otherwise, the filling might escape while baking.
- Place the filled bombs seam-side down on the prepared baking sheet. This helps them stay sealed and creates a nice, round shape as they bake.
- Brush the tops with melted butter and olive oil for a golden, crispy finish. You’ll love the aroma wafting through your kitchen as they bake!
- Bake in the preheated oven for 20-25 minutes, or until golden brown and the internal temperature reaches 160°F (71°C). You want them to look perfectly golden and smell tempting.
Cool & Serve
- Remove the cheeseburger bombs from the oven and let them cool for 5 minutes — this helps the cheese set slightly, making them easier to eat.
- Sprinkle with fresh parsley before serving to add a pop of color and a fresh flavor contrast. They’ll look so inviting!
- Serve warm and enjoy these garlic parmesan cheeseburger bombs that are full of flavor in every bite.
Tips & Tricks
Seal It Tight
When you're wrapping the biscuit dough around the beef and cheese, make sure to pinch it securely. I learned the hard way that if you leave any gaps, the filling can ooze out while baking, making a mess and losing all that delicious gooeyness. Trust me, a good seal will keep all those flavors locked in.
Chill the Cheese
For an extra melty experience, consider chilling your mozzarella and parmesan before adding them to the beef. I often pop them in the freezer for about 10 minutes. This simple trick helps the cheese hold its shape during baking, ensuring you get that perfect, gooey center without it melting away too quickly.
Pro Tips
- Chill Your Dough Before Baking: Chilling the biscuit dough for about 15 minutes helps it hold its shape in the oven. I find that a colder dough results in a fluffier texture since it puffs up beautifully without spreading too much.
- Use Fresh Garlic for Best Flavor: Freshly minced garlic packs a punch that garlic powder just can't match. I learned this the hard way when my first batch lacked the bold flavor I was aiming for; fresh garlic made all the difference in my second attempt.
- Experiment with Cheese Blends: While mozzarella and parmesan are fantastic, mixing in some cheddar or pepper jack can add a pleasureful twist. I tried a batch with pepper jack, and the extra kick took these cheeseburger bombs to a whole new level.
- Brush with Garlic Butter Before Baking: For a tempting finish, brush the tops of the bombs with melted garlic butter just before they go in the oven. The aroma that fills your kitchen is simply divine, and it gives the tops a golden, crispy texture.
- Serve with Dipping Sauces: Pair these bombs with your favorite dipping sauces like ranch or spicy ketchup. I like to set up a little dipping station; it enhances the whole experience and keeps everyone coming back for more!
Variations & Customizations
Flavor Twists
Buffalo Chicken Bombs
Substitute 1 lb shredded cooked chicken for the ground beef, and mix in 1/2 cup buffalo sauce with the mozzarella and parmesan. The result is a spicy, tangy twist that pairs beautifully with the cheesy goodness, giving each bite a kick that’ll make your taste buds dance.
Italian Herb Bombs
Use 1 lb ground beef and mix in 1/2 cup chopped sun-dried tomatoes, 1 tsp dried basil, and 1 tsp crushed red pepper flakes. These bombs will have a touch of Mediterranean flavor, with the sun-dried tomatoes adding a sweet, tangy bite and the herbs providing an aromatic, savory depth.
Kid-Friendly
Cheesy Pizza Bombs
Replace the ground beef with 1 lb cooked Italian sausage and add 1/2 cup mini pepperoni. The result is a fun, pizza-inspired treat that kids will love, with gooey cheese and meaty bites that remind them of their favorite slices.
Storage & Meal Prep
Room Temperature
Garlic Parmesan cheeseburger bombs can sit at room temperature for about 2 hours in an airtight container. Just make sure they're not stacked while warm to avoid sogginess on the bottom.
Refrigerator
You can store them in the fridge for up to 4 days. Be sure to let them cool completely before wrapping each bomb individually in plastic wrap or placing them in a single layer in an airtight container.
Freezer
These bombs can be frozen for up to 3 months. For the best results, flash freeze them on a baking sheet first, then wrap each one tightly in plastic wrap. When you're ready to enjoy, thaw them overnight in the fridge before reheating.
Meal Prep
I recommend doubling the recipe for meal prep, as they disappear quickly! Prep them the night before for an easy heat-and-eat option during the week. Store in a single layer in an airtight container, and they’ll stay fresh for about 4 days. Reheat in the oven at 350°F for about 10-12 minutes until warmed through.
Frequently Asked Questions
Can I use turkey instead of beef for these garlic parmesan cheeseburger bombs?
Yes, you can substitute ground turkey for the beef. Just keep in mind that turkey is leaner, so you might want to add a bit of olive oil to keep the bombs juicy.
Why did my garlic parmesan cheeseburger bombs come out dry?
If your bombs turned out dry, it might be due to overcooking or using too lean of a meat. Always stick with the recommended 80/20 beef blend and check them a few minutes before the suggested bake time.
Can I make garlic parmesan cheeseburger bombs ahead of time?
Absolutely! You can assemble them ahead of time and store them in the fridge for up to 24 hours before baking. Just remember to let them sit at room temperature for about 15 minutes before popping them in the oven.
What can I use instead of biscuit dough?
If you want to switch things up, you can try using crescent roll dough or even pizza dough for a different texture. Each option will give your garlic parmesan cheeseburger bombs a unique twist!
Are these garlic parmesan cheeseburger bombs gluten-free?
To make them gluten-free, use a gluten-free biscuit dough and ensure all ingredients, like the cheese and seasonings, are certified gluten-free. It's an easy adaptation that still delivers on flavor!
Garlic parmesan cheeseburger bombs are a pleasureful twist on a classic that will impress your friends and family at any gathering. For an extra touch of flavor, consider adding a sprinkle of fresh herbs like parsley or chives before serving. I can't wait for you to try this recipe — share your thoughts in the comments or tag me on Pinterest when you make them!