Are you ready to bake the lightest, fluffiest milk bread ever? This Extra Fluffy Milk Bread recipe will make your kitchen smell amazing and your taste buds dance. With simple ingredients and easy steps, you’ll impress everyone—whether it’s a cozy family dinner or a fun brunch with friends. Let’s dive into how to create this delightful loaf that’s soft, tender, and simply delicious!
Why I Love This Recipe
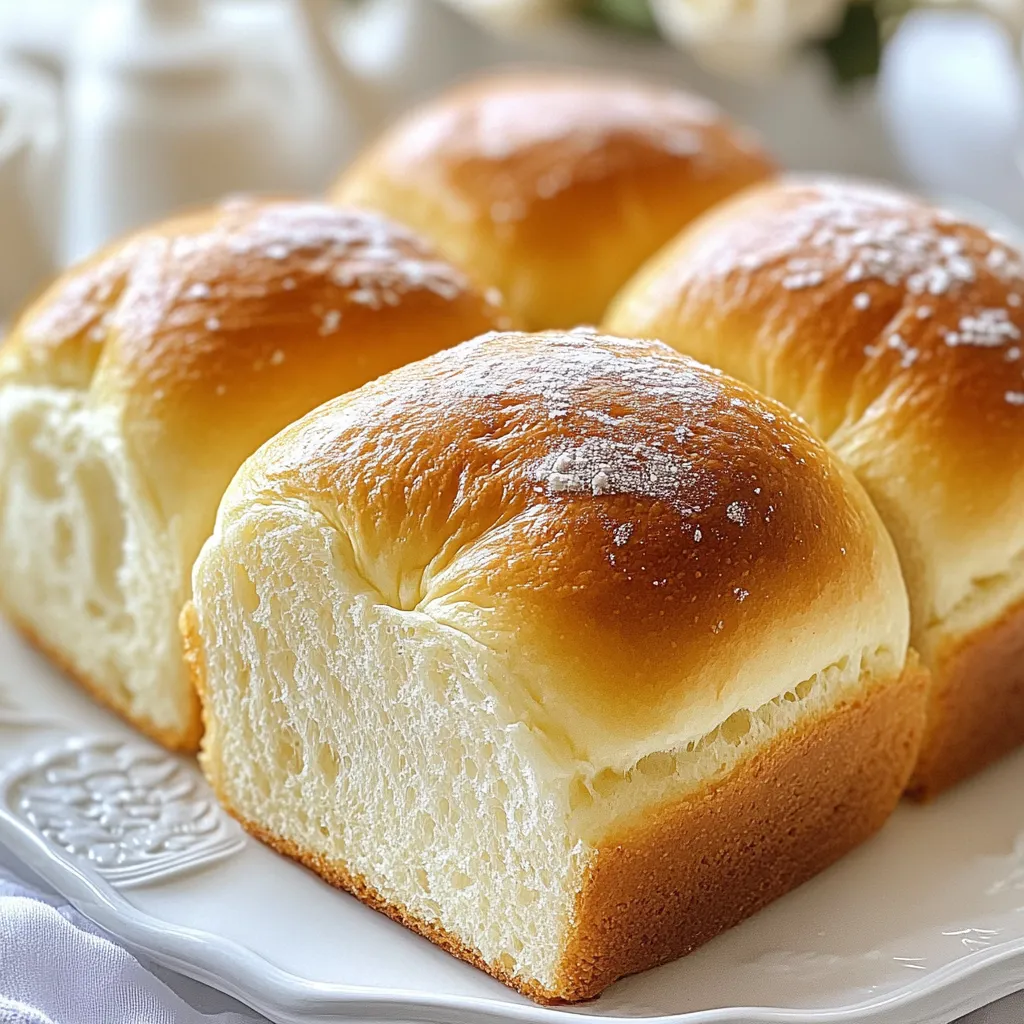
- Incredibly Fluffy Texture: This milk bread is known for its soft, airy texture that melts in your mouth, making it a delightful treat for any occasion.
- Perfect for Any Meal: Whether you’re enjoying it at breakfast with butter and jam or using it for sandwiches, this bread is versatile and complements any meal.
- Simple Ingredients: With just a few basic ingredients, this recipe is approachable for both novice and experienced bakers, allowing anyone to create delicious bread at home.
- Beautiful Presentation: The golden crust and fluffy interior make this bread not only tasty but also visually appealing, perfect for serving at gatherings or special occasions.
Ingredients
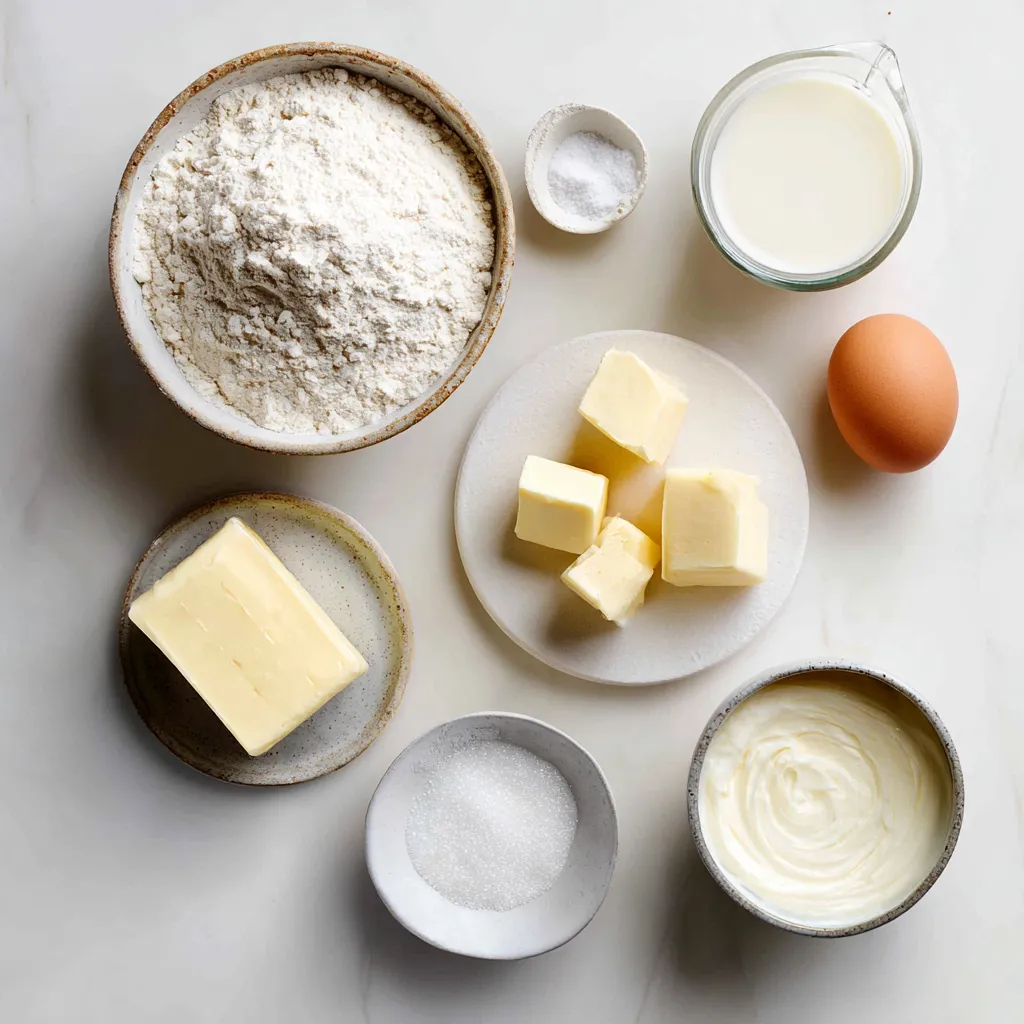
List of Ingredients for Extra Fluffy Milk Bread
– 4 cups all-purpose flour
– 1 cup warm milk (110°F)
– 1/4 cup sugar
– 1/4 cup unsalted butter, softened
– 1 large egg
– 2 1/4 teaspoons active dry yeast (1 packet)
– 1 teaspoon salt
– 1/4 cup heavy cream (for brushing)
Ingredient Notes and Substitutions
– All-purpose flour: This gives the bread its structure. You can use bread flour for an even chewier texture.
– Warm milk: Warm milk helps the yeast grow. If you need a dairy-free option, try almond or oat milk.
– Sugar: This adds sweetness and feeds the yeast. You can swap it with honey or maple syrup.
– Unsalted butter: Softened butter adds richness. You can use coconut oil for a dairy-free version.
– Egg: The egg adds moisture and richness. For a vegan option, use a flaxseed egg.
– Active dry yeast: Make sure it is fresh. You can also use instant yeast for a quicker rise.
– Salt: This balances the flavors. You can reduce the amount for a low-sodium diet.
– Heavy cream: This gives a nice golden color. Milk or melted butter can work in a pinch.
Importance of Each Ingredient
– Flour: The base of our bread. It holds everything together.
– Milk: It enriches the dough and helps it rise.
– Sugar: It feeds the yeast and helps the bread brown.
– Butter: Adds flavor and makes the bread tender.
– Egg: Binds the ingredients and adds moisture.
– Yeast: This magical ingredient makes the bread rise.
– Salt: Enhances flavor and controls yeast growth.
– Cream: Adds richness and makes the crust shiny.
These ingredients work together to create a soft, fluffy loaf. When combined, they create a tender crumb and a beautiful crust. Enjoy the process and the delightful aroma!
Step-by-Step Instructions
Preparing the Yeast Mixture
Start by taking a small bowl. Pour in one cup of warm milk at 110°F. Add a quarter cup of sugar. Sprinkle two and a quarter teaspoons of active dry yeast on top. Let this sit for about five minutes. You will see bubbles form. This shows the yeast is active and ready to go.
Mixing the Dough
Next, grab a large mixing bowl or a stand mixer. Add four cups of all-purpose flour and one teaspoon of salt. Mix them together well. Then, make a well in the center. Pour the yeast mixture into this well. Also, add a quarter cup of softened unsalted butter and one large egg. Mix until a soft dough forms.
Kneading Techniques
Now it is time to knead. If you are using a flat surface, lightly flour it. Place the dough on this surface. Knead it for about ten minutes. You want the dough to be smooth and elastic. If you are using a stand mixer, knead with a dough hook for about five to seven minutes.
First Rise: Proofing the Dough
Once the dough is ready, place it in a greased bowl. Cover this bowl with a clean towel. Let the dough rise in a warm spot. This should take about one to two hours. You want it to double in size.
Shaping the Bread
After the dough has risen, punch it down gently. This releases air. Shape it into a rectangle. Fold in the edges, then roll it tightly into a log. Place this log into a greased loaf pan. Cover it again and let it rise for another thirty to forty-five minutes.
Second Rise
This second rise is important. The dough should rise above the edge of the pan. Make sure to keep it warm and covered. This helps create a light and fluffy texture.
Baking the Bread
Preheat your oven to 350°F (175°C). Brush the top of the bread with a quarter cup of heavy cream. This gives it a golden finish. Bake for thirty to thirty-five minutes. The bread should sound hollow when tapped and be golden brown.
Cooling Directions
Once baked, remove the bread from the oven. Let it cool in the pan for ten minutes. Then, transfer it to a wire rack. Allow it to cool completely before slicing. Enjoy the smell of fresh bread!
Tips & Tricks
Achieving the Fluffiest Texture
To make your milk bread extra fluffy, start with warm milk. The milk should be around 110°F. This warmth helps activate the yeast. Make sure to knead the dough well. Knead it for about 10 minutes. A smooth, elastic dough means good gluten development. Let it rise in a warm spot. This allows the dough to double in size and become airy.
Common Mistakes to Avoid
One common mistake is using cold milk. Cold milk slows down yeast activity. Another mistake is not kneading enough. If the dough is not smooth, it won’t rise well. Also, avoid skipping the second rise. This step is key for a light texture. Finally, don’t open the oven door too early. This can cause the bread to deflate.
How to Know When Bread is Done
To check if your bread is done, tap the bottom. If it sounds hollow, it’s ready. The top should be a golden brown color. Another way is to use a thermometer. The internal temperature should be around 190°F. If you follow these tips, you’ll have a perfect loaf every time!
Pro Tips
- Tip for Perfect Dough: Ensure your milk is warm (about 110°F). This temperature activates the yeast effectively, resulting in a fluffy texture.
- Kneading Technique: Whether by hand or mixer, knead the dough until it becomes smooth and elastic. This develops gluten, which is essential for the bread’s structure.
- Optimal Rising Conditions: Let the dough rise in a warm environment, like an oven preheated to the lowest setting for a few minutes, then turned off. This helps the dough to rise properly.
- Testing for Doneness: To ensure your bread is fully baked, tap the bottom of the loaf; it should sound hollow. This indicates that moisture has evaporated and the bread is cooked through.
Variations
Adding Flavors: Herbs, Cheese, or Spices
You can easily change the flavor of your milk bread. Try adding herbs like rosemary or thyme for a savory twist. Cheese adds richness; sharp cheddar or creamy mozzarella work well. You may also sprinkle in spices like garlic powder or paprika for extra taste. Mix these ingredients into your dough during the mixing stage. This will let the flavors blend in beautifully.
Making Mini Loaves or Rolls
If you want smaller portions, make mini loaves or rolls. Shape the dough into small balls instead of one big loaf. Place them in greased muffin tins or on a baking sheet. This method gives you bite-sized treats that are great for snacks or sandwiches. Bake them for about 15 to 20 minutes, checking for a golden color.
Sweet Variants: Cinnamon or Raisin Milk Bread
For a sweet treat, add cinnamon or raisins to your dough. Mix in about 1 tablespoon of cinnamon and a cup of raisins for a delightful flavor. Roll the dough into a rectangle, sprinkle the cinnamon and raisins on top, then roll it up tightly. This will create a beautiful swirl. Bake as usual, and you’ll have a sweet milk bread that’s perfect for breakfast or dessert.
Storage Info
How to Store Extra Fluffy Milk Bread
To keep your Extra Fluffy Milk Bread fresh, store it in an airtight container or bag. This helps prevent it from drying out. You can keep it at room temperature for about three days. Make sure to place it in a cool, dry spot away from sunlight.
Freezing Tips for Longer Storage
If you want to keep your bread longer, freezing is a great option. First, let the bread cool completely. Then, slice it into pieces for easy use. Wrap the slices tightly in plastic wrap. After that, place them in a freezer bag or container. This way, the bread can last up to three months. Remember to label the bag with the date.
Reheating Instructions
To enjoy your Extra Fluffy Milk Bread again, you can reheat it in a few ways. For quick warming, use a microwave. Heat a slice for about 15-20 seconds. If you prefer a crispy crust, use an oven. Preheat it to 350°F (175°C) and bake the slices for about 10 minutes. This keeps the bread soft and fluffy. Enjoy your warm bread with butter or your favorite spread!
FAQs
Can I make Extra Fluffy Milk Bread without a stand mixer?
Yes, you can make Extra Fluffy Milk Bread without a stand mixer. You just need to mix and knead by hand. Start by combining the flour and salt in a bowl. Then, add the yeast mixture, butter, and egg. Mix until a dough forms. Knead on a floured surface for about 10 minutes. You want the dough to be smooth and elastic.
How do I know if my yeast is active?
To check if your yeast is active, mix warm milk and sugar. Sprinkle the yeast on top and wait for about 5 minutes. If it bubbles and becomes frothy, your yeast is active. If there are no bubbles, your yeast might be old. It’s best to start fresh with new yeast for the recipe.
What can I serve with Extra Fluffy Milk Bread?
You can serve Extra Fluffy Milk Bread with many tasty options. It goes great with butter and jam. You can also make sandwiches or serve it with soups. For a fun treat, try it with Nutella or cream cheese. The options are endless!
How long does this bread last?
Extra Fluffy Milk Bread can last for about 3 to 5 days at room temperature. Keep it in a bread box or a sealed bag to maintain freshness. If you want it to last longer, you can freeze it. Just slice it and store it in a freezer-safe bag.
Can I use whole wheat flour instead of all-purpose?
You can use whole wheat flour, but the bread may be denser. Whole wheat flour absorbs more liquid, so you might need to adjust the amount of milk. Start with a little less flour and add more if needed. This way, you can still enjoy that fluffy texture!
Extra fluffy milk bread is a true delight, as we explored. You learned about essential ingredients, step-by-step techniques, and common mistakes. Using this guide, you can make the perfect loaf. Don’t forget to try fun flavors and shapes for variations. Proper storage keeps your bread fresh for longer. With these tips, you’ll soon master this skill. Enjoy baking and tasting your fluffy milk bread! It will bring joy to any mea