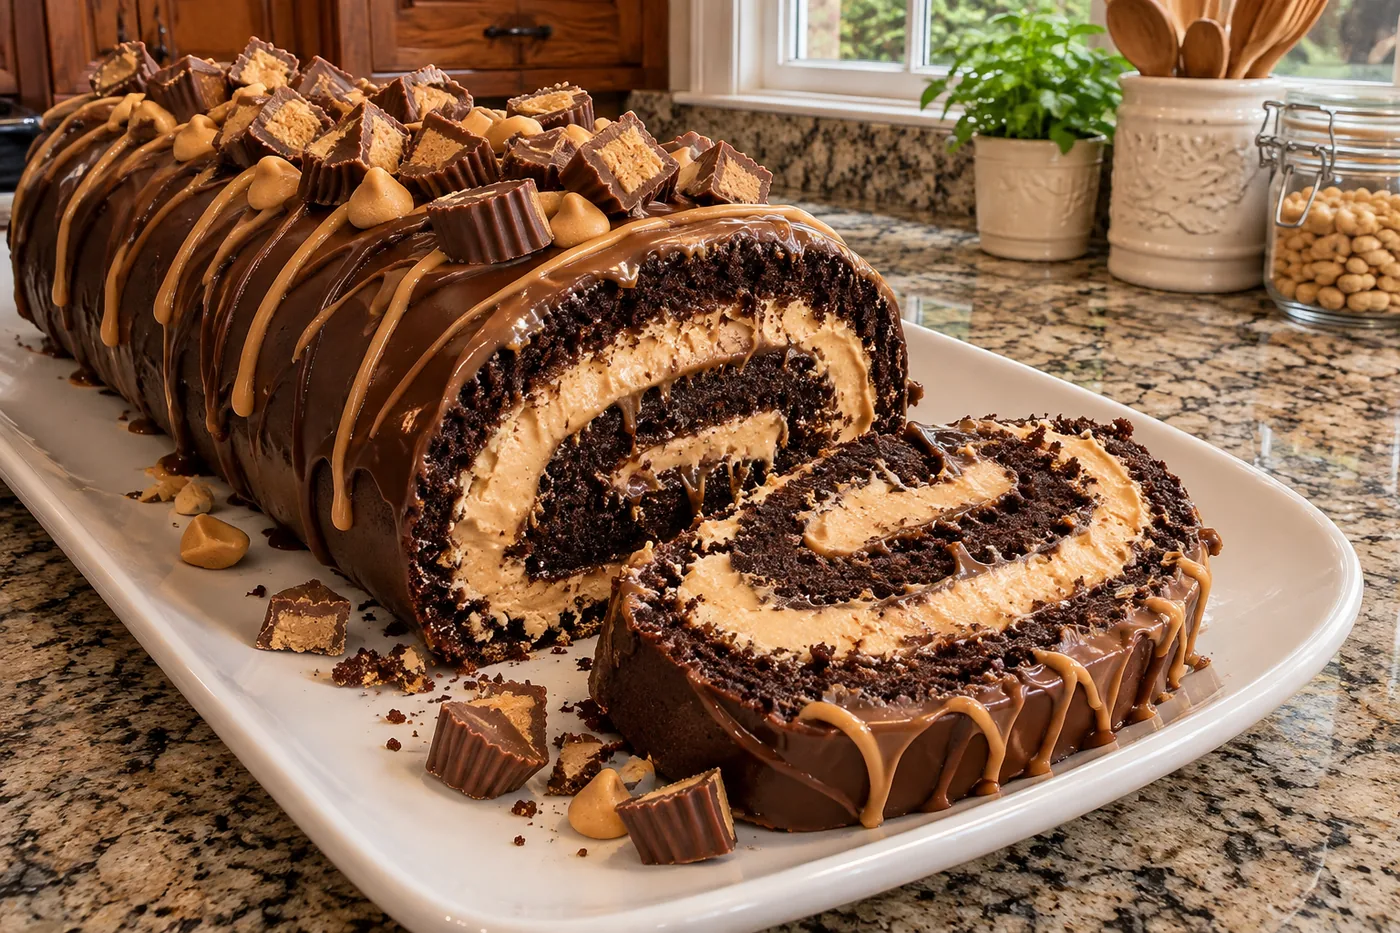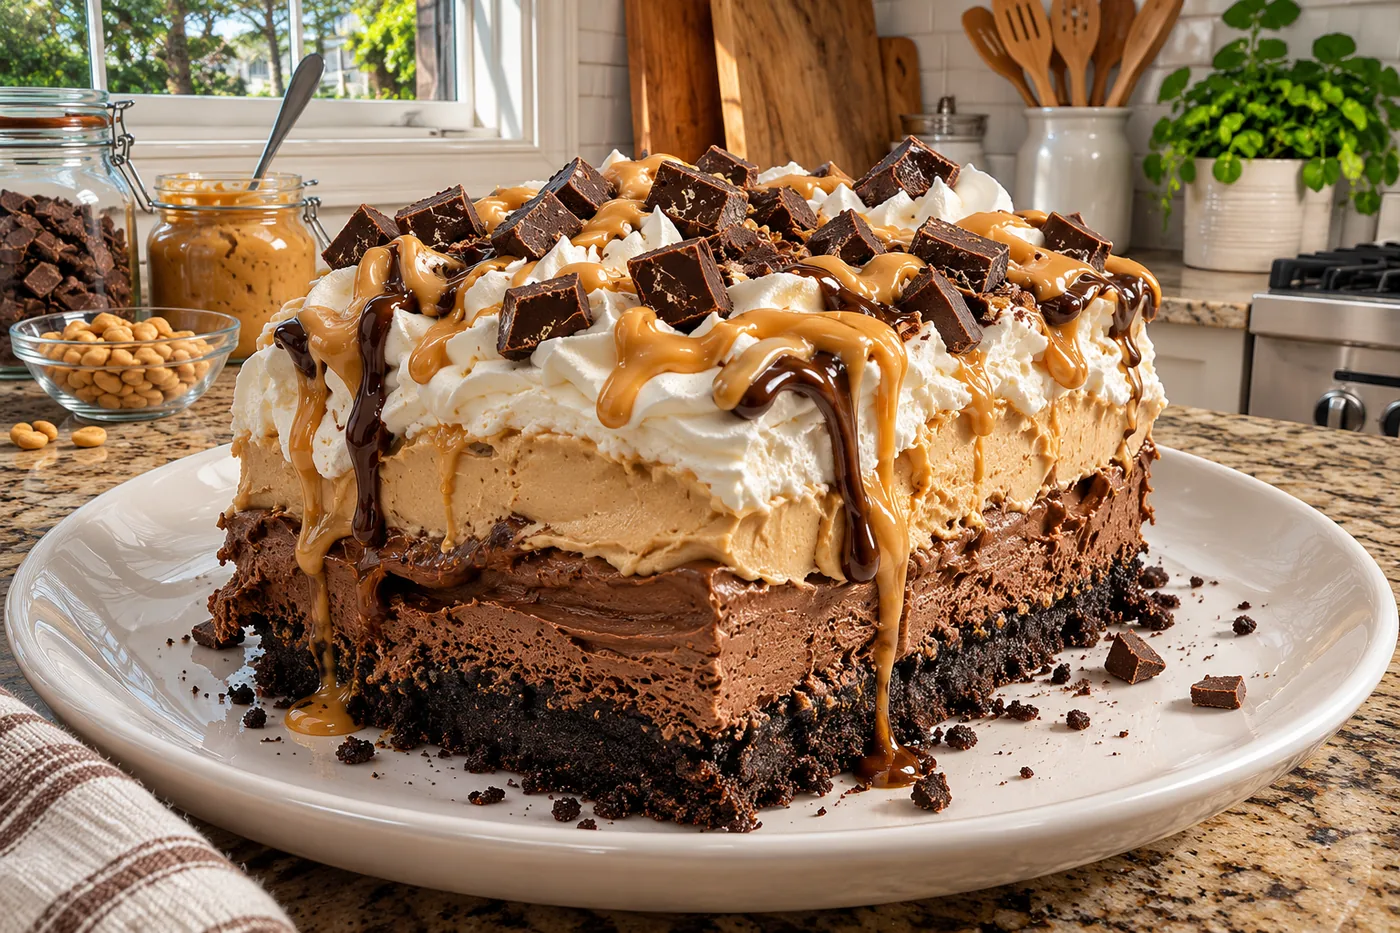
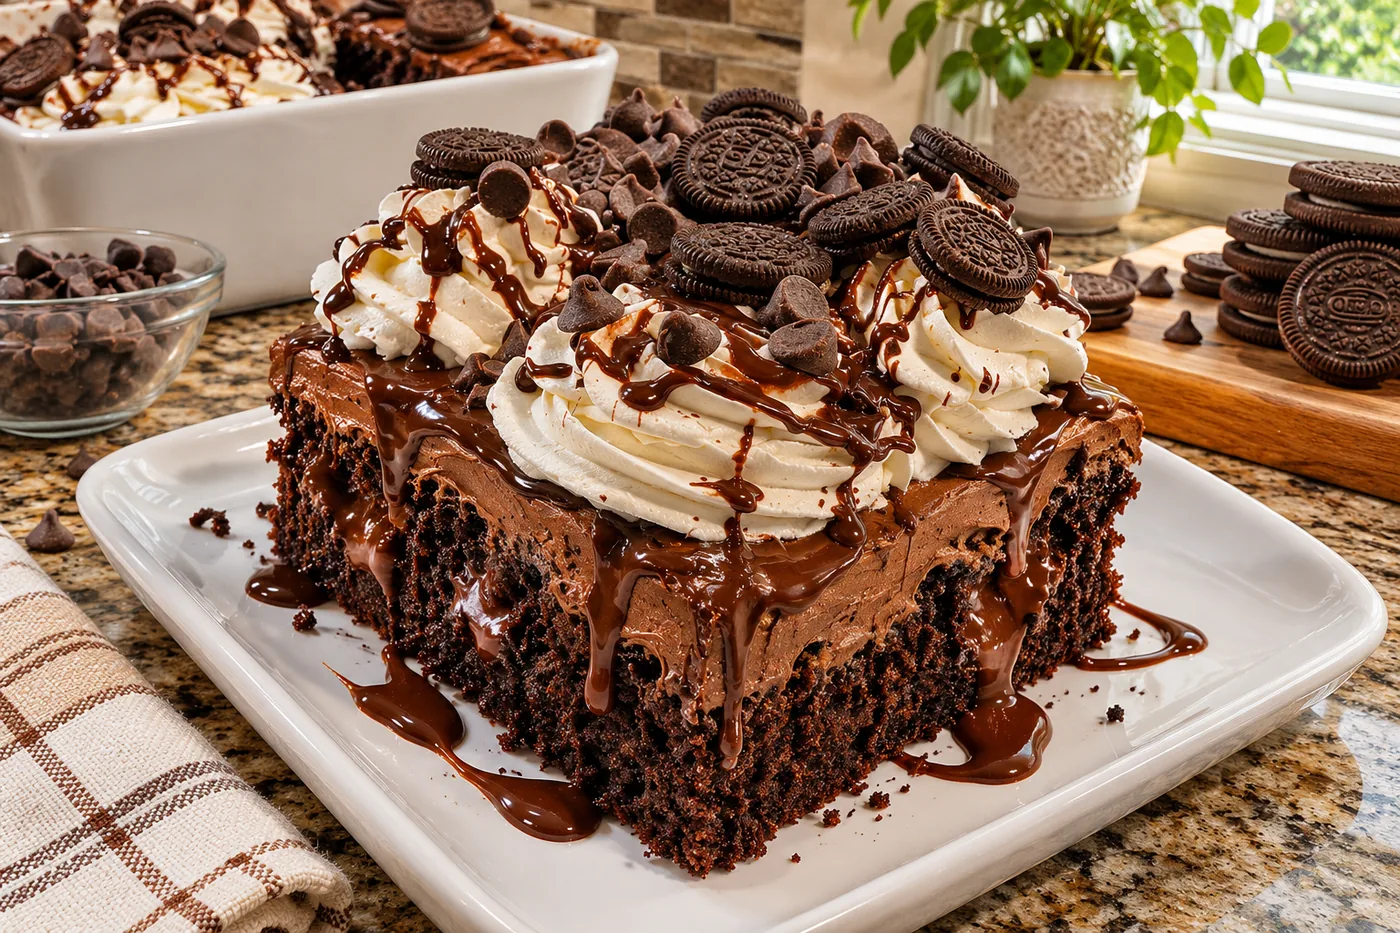
The first time I took a bite of death by chocolate poke cake, I was instantly transported to dessert heaven. Rich chocolate flavor and creamy filling combined in a way that made my taste buds dance with joy.
What sets this recipe apart is the smooth chocolate ganache poured over the top, soaking into every inch of the cake, creating a moist, decadent experience that's simply tempting.
Why This Recipe Works
- Chocolate cake mix provides a rich base: Using a box chocolate cake mix ensures a consistent flavor and texture, while the added eggs and oil create a moist crumb that holds up well to the poke cake method.
- Sweetened condensed milk infuses flavor and moisture: The sweetened condensed milk seeps into the holes created in the cake, adding a smooth creaminess that enhances the chocolate flavor and keeps the cake moist for days.
- Chocolate syrup adds a glossy finish: Drizzling chocolate syrup on top not only intensifies the chocolate experience but also creates a beautiful, shiny layer that makes the cake visually appealing and inviting.
- Whipped topping balances the richness: The lightness of the whipped topping contrasts beautifully with the dense chocolate cake, providing a pleasureful textural balance that keeps each bite from feeling overly heavy.
Ingredients
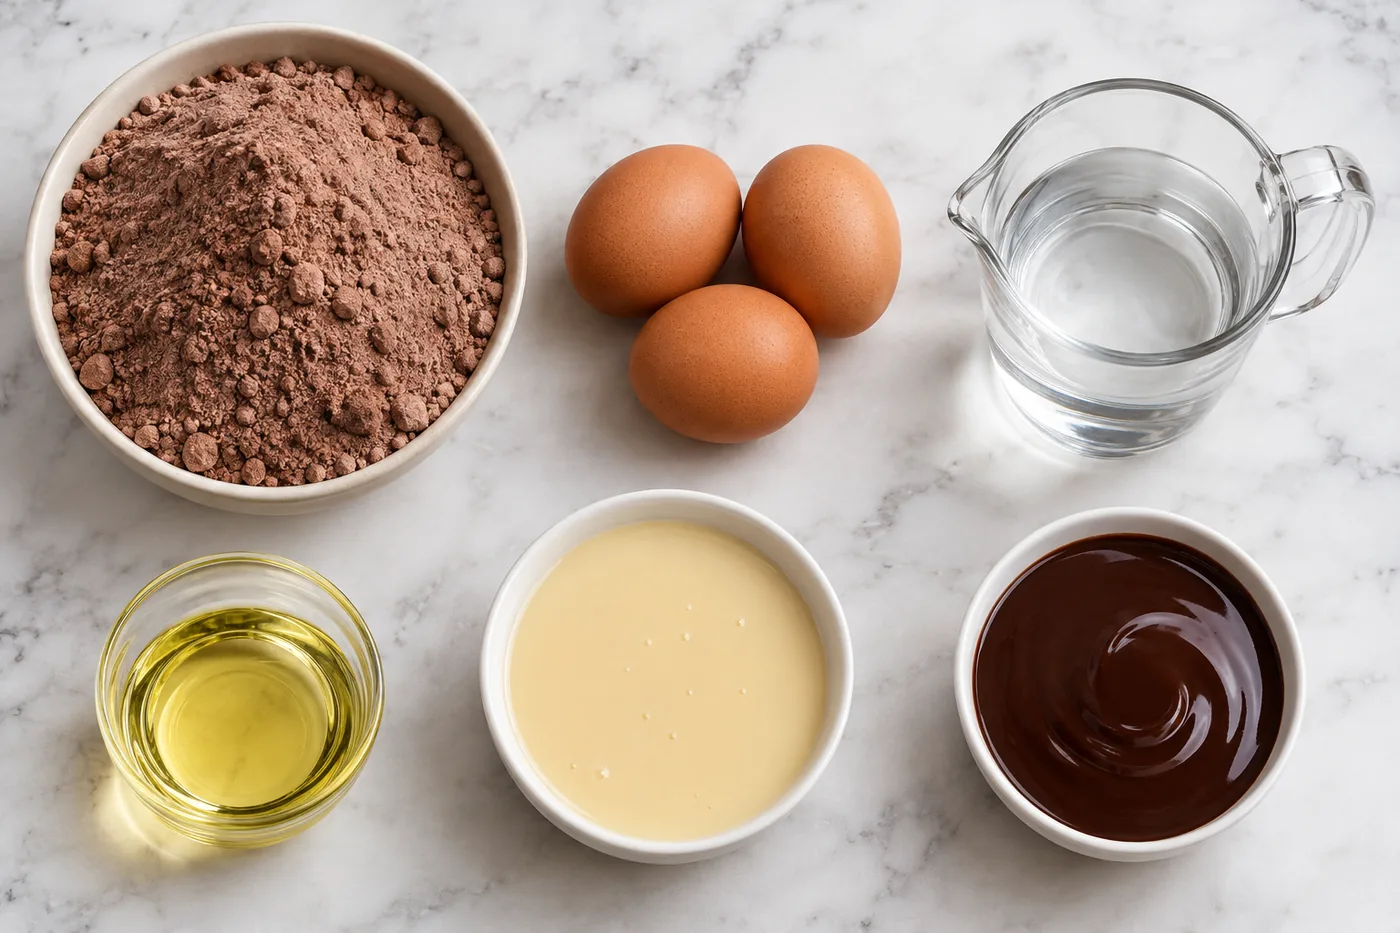
What You'll Need
- 1 box chocolate cake mix choose a high-quality mix for a rich chocolate flavor; look for one with cocoa in the first few ingredients.
- 3 large eggs these provide structure and moisture; room temperature eggs will help your cake rise better.
- 1 cup water this helps to hydrate the cake mix; use room temperature water for better mixing.
- 1/2 cup vegetable oil adds moisture and tenderness; can substitute with melted coconut oil for a hint of flavor.
- 1 can sweetened condensed milk this creates a moist, rich cake; it's the secret to that delightful poke effect.
- 1/2 cup chocolate syrup for drizzling on top; look for a thicker syrup for a more luxurious finish.
- 1 cup whipped topping this lightens up the cake; choose a non-dairy version if you're avoiding dairy.
- 1/2 cup mini chocolate chips these add extra chocolate bursts; opt for semi-sweet for a balanced taste.
- 1/4 cup chocolate shavings these are for garnish; use a good-quality chocolate for a richer flavor.
When you're making this Death by Chocolate Poke Cake, quality ingredients really shine through. Look for cake mixes with natural ingredients, and don't skimp on the chocolate syrup; it makes all the difference in flavor and texture. I love using mini chocolate chips for that extra chocolatey goodness on top.
Easy Substitutions
- Dairy-free: swap whipped topping for coconut whipped cream — the cake will be just as light and airy, but with a subtle coconut flavor.
- Gluten-free: swap chocolate cake mix for a gluten-free chocolate cake mix — the texture might be slightly different, but it will still be delicious.
- Lower calorie: swap sweetened condensed milk for a low-calorie sweetened condensed milk alternative — the cake will be less sweet but still moist.
- Egg-free: swap eggs for 1/4 cup unsweetened applesauce per egg — the cake will be denser but still tasty and moist.
Step-by-Step Instructions
Prep & Mix
- Preheat your oven to 350°F, ensuring it’s ready for baking and helps the cake rise perfectly.
- In a large mixing bowl, combine the chocolate cake mix, eggs, water, and vegetable oil. Mix until well combined, about 2 minutes, until you have a smooth, thick batter that’s free of lumps. This ensures an even texture in your death by chocolate poke cake.
- Pour the cake batter into a greased 9x13 inch baking dish. Spreading it evenly ensures a uniform bake, which is crucial for a soft, moist cake.
Bake & Poke
- Bake in the preheated oven for 30-35 minutes, or until the tops are firm and a toothpick inserted comes out clean. This indicates the cake is fully cooked and ready for the next step.
- Remove the cake from the oven and let it cool for 10 minutes. This cooling period helps the cake settle, so it doesn’t fall apart when you poke holes in it.
- Using the handle of a wooden spoon, poke holes all over the top of the cake, about 1 inch apart. This allows the chocolate mixture to seep in, creating those delicious, gooey pockets of flavor.
Mix & Serve
- In a medium bowl, mix the sweetened condensed milk and chocolate syrup until well combined. This creates a rich, chocolatey sauce that will soak into the cake, enhancing its flavor.
- Pour the chocolate mixture over the cake, ensuring it seeps into the holes. Watching it ooze into the cake is pure bliss; it’s what makes this dessert so decadent!
- Allow the cake to cool completely for about 1 hour. Patience is key here, as you want the chocolate mixture to set.
- Spread whipped topping over the cooled cake for a light, creamy layer that balances the rich chocolate. This adds a nice contrast in texture, too.
- Sprinkle mini chocolate chips and chocolate shavings on top for garnish, adding visual appeal and extra chocolatey goodness. Cut the cake into squares and serve, watching your friends’ eyes light up with delight.
Tips & Tricks
Use the Right Cocoa Powder
When making a death by chocolate poke cake, I always reach for a high-quality unsweetened cocoa powder. The flavor really shines through, and you’ll notice the difference in richness. Trust me, using a generic brand can leave your cake tasting flat. For an extra boost, I sometimes mix in a tablespoon of espresso powder—it intensifies the chocolate flavor without making it taste like coffee.
Don’t Skip the Soaking Step
Poking holes in the cake is crucial for the soaking process. I made the mistake of skipping this once, thinking it wouldn’t matter, and the result was a dry cake. The holes allow the chocolate pudding to seep in, creating that deliciously moist texture. So go ahead and poke those holes generously; it’s worth every minute!
Pro Tips
- Use Instant Pudding for Moisture: Incorporating instant chocolate pudding mix into your batter adds an extra layer of richness and keeps the cake incredibly moist. I've tested it, and the texture is just divine—almost like a fudge brownie.
- Chill the Cake Before Soaking: Letting the cake cool completely in the fridge before you soak it allows the chocolate mixture to penetrate deeper into the cake. I once skipped this step, and the soaking was uneven—definitely not the experience I wanted!
- Add Espresso for Depth of Flavor: Mixing in a tablespoon of instant espresso powder with your chocolate cake mix amplifies the chocolate flavor without making it taste like coffee. I learned this trick when experimenting with chocolate desserts and it’s a must-try for any chocolate lover.
- Use Room Temperature Ingredients: Ensure your eggs and water are at room temperature before mixing. This helps the batter come together smoothly and results in a fluffier cake, which I found made a noticeable difference after several tests.
- Top with Shaved Chocolate for Elegance: Once your cake is set, garnish it with chocolate shavings or curls for a beautiful presentation. It adds a pleasureful texture and enhances the dessert—trust me, your guests will be impressed!
Variations & Customizations
Flavor Twists
Peanut Butter Chocolate Delight
Replace the chocolate syrup with 1/2 cup creamy peanut butter, warmed slightly. After poking the cake, drizzle the peanut butter over the holes, allowing it to seep in. This version is rich and nutty, with a creamy texture that complements the chocolate perfectly.
Mint Chocolate Indulgence
Add 1 teaspoon of peppermint extract to the cake batter before baking. Once the cake has cooled and you’ve poked it, drizzle with 1/2 cup chocolate syrup mixed with 1/4 teaspoon of peppermint extract. The result is a refreshing twist that tastes like a chocolate mint cookie, with a cool aftertaste.
Kid-Friendly
Cookie Dough Chocolate Poke Cake
Fold in 1/2 cup mini chocolate chip cookie dough pieces into the batter before baking. Once the cake is done and cooled, poke and drizzle with 1/2 cup chocolate syrup. This version is a fun surprise, with chewy bits of cookie dough throughout, adding a playful texture that kids will adore.
Storage & Meal Prep
Room Temperature
Store your Death by Chocolate Poke Cake in an airtight container at room temperature for up to 2 days. It’s best to keep it covered to prevent it from drying out, but remember, they’ll get soggy on the bottom if you stack them while still warm.
Refrigerator
In the refrigerator, it lasts 4-5 days if you cover it tightly with plastic wrap or store it in an airtight container. Make sure to let it cool completely before wrapping to maintain its texture.
Freezer
You can freeze this cake for up to 3 months. The best method is to slice it first, flash freeze the pieces on a sheet pan, then wrap each slice individually in plastic wrap and foil. Thaw in the fridge overnight before enjoying or at room temperature for about an hour.
Meal Prep
I recommend doubling the recipe if you’re planning to serve a crowd or want leftovers. You can prep it the night before and store it in an airtight container. It will stay fresh for up to 5 days, and to reheat, pop it in the microwave for 15-20 seconds.
Frequently Asked Questions
Can I use a different cake mix for death by chocolate poke cake?
Yes, you can use a devil's food or even a chocolate fudge cake mix for a different flavor profile. Just keep in mind that the texture and sweetness might vary slightly based on the mix you choose.
Why did my death by chocolate poke cake turn out dry?
A dry poke cake often results from overbaking or not adding enough liquid ingredients. Make sure to check for doneness a few minutes early and follow the liquid measurements closely.
Can I make death by chocolate poke cake gluten-free?
Absolutely! You can substitute the regular cake mix with a gluten-free chocolate cake mix. Just ensure that the other ingredients, like pudding and toppings, are also gluten-free.
What toppings pair well with death by chocolate poke cake?
You can go wild with toppings! Whipped cream, chocolate shavings, or even crushed cookies add great texture and flavor, while fresh berries provide a nice contrast.
How long can I keep death by chocolate poke cake in the fridge?
You can store it in the fridge for about 3-5 days. Just cover it tightly with plastic wrap or keep it in an airtight container to maintain its moisture.
This Death by Chocolate Poke Cake is the ultimate indulgence for chocolate lovers, and trust me, it will disappear faster than you can say 'seconds, please!' For an extra touch, try adding a sprinkle of sea salt on top before serving to balance the sweetness. I can't wait to hear how it turns out for you, so be sure to share your experience in the comments or pin it for later!