I remember the first time I made a classic icebox cake for a summer barbecue. The moment I pulled it from the fridge, my friends couldn't believe how simple yet stunning it looked, layered with fresh strawberries and blueberries.
What sets this recipe apart is the balance of flavors and textures; the rich creaminess perfectly complements the tart berries, making every bite a refreshing delight.
Why This Recipe Works
- Cream Whipping Technique: Chilling the heavy whipping cream ensures that it whips up to a fluffy consistency, trapping air bubbles that create a light texture in the cake. I always make sure to chill my mixing bowl too; it really helps with achieving that perfect whipped cream.
- Cream Cheese Richness: Using softened cream cheese in the filling adds a smooth creaminess that balances the lightness of the whipped cream. I found that letting the cream cheese sit at room temperature for about an hour before mixing makes it super easy to blend, resulting in a smooth texture.
- Chocolate Wafer Absorption: The chocolate wafer cookies soften as they sit in the cream mixture, creating a cake-like texture that’s both delightful and unique. I tried letting them soak for different lengths of time, and found about 4 hours strikes the perfect balance between soft and sturdy.
- Fresh Fruit Brightness: The fresh strawberries and blueberries not only add vibrant color but also contribute acidity that cuts through the richness of the cream. I love using seasonal fruit because it enhances the overall flavor profile, making each bite feel refreshing.
Ingredients
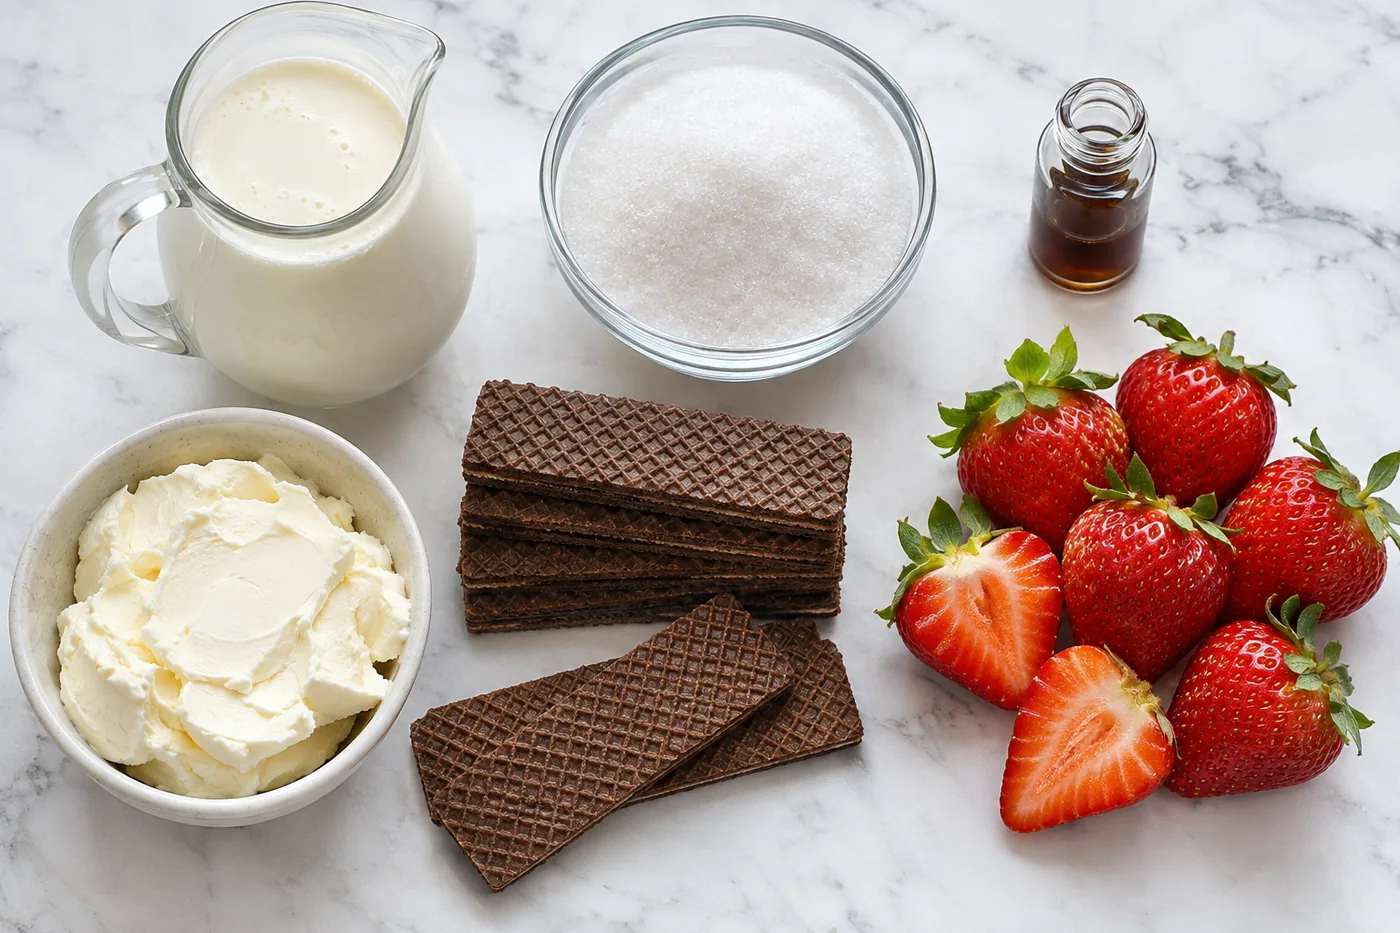
What You'll Need
- 2 cups heavy whipping cream, chilled the higher fat content makes the cake creamy and rich, so don’t skimp here.
- 1 cup granulated sugar, divided this sweetens the cream and balances the tartness of the fruit.
- 1 tsp vanilla extract adds a warm, aromatic flavor that enhances the sweetness.
- 1 cup cream cheese, softened provides a tangy richness and helps stabilize the whipped cream.
- 1 cup milk adds moisture; whole milk works best for creaminess.
- 1 package chocolate wafer cookies, about 9 oz these provide a crunchy texture and chocolate flavor that complements the cream.
- 1 cup fresh strawberries, sliced the sweetness and tartness of fresh berries add brightness to the cake.
- 1 cup fresh blueberries these contribute a juicy burst of flavor and beautiful color.
Easy Substitutions
- Dairy-free: swap heavy whipping cream with coconut cream — this will create a lighter texture with a subtle coconut flavor.
- Gluten-free: swap chocolate wafer cookies for gluten-free chocolate cookies — the texture will be slightly different, but the flavor will still shine.
- Lower calorie: swap granulated sugar for a sugar substitute like erythritol — the sweetness will remain, but the cake will have fewer calories.
Step-by-Step Instructions
Prep & Whip
- In a large mixing bowl, beat the chilled heavy whipping cream with an electric mixer on medium speed for 2-3 minutes until soft peaks form — this aeration creates a light texture in the cake.
- Gradually add 3/4 cup of granulated sugar and the vanilla extract while continuing to beat until stiff peaks form, about 2 more minutes — stiff peaks ensure the cream holds its shape when layered.
- In a separate bowl, beat the softened cream cheese and the remaining 1/4 cup of granulated sugar until smooth and creamy, about 2 minutes — a smooth mixture will blend easily with the whipped cream for a smooth filling.
Layer & Chill
- Fold the whipped cream mixture into the cream cheese mixture gently until well combined — this step is crucial for keeping the mixture airy and light, so be gentle to avoid deflating it.
- Pour the milk into a shallow dish, which will soften the cookies for layering — the milk should be just deep enough to dip the cookies without soaking them.
- Dip each chocolate wafer cookie into the milk for about 1 second to soften, then layer them in the bottom of a 9x13 inch dish — this quick dip ensures the cookies are moist but not mushy, creating a perfect base.
- Spread a layer of the cream mixture over the cookies, then add a layer of sliced strawberries and blueberries for freshness and color — the fruity layer adds both flavor and visual appeal.
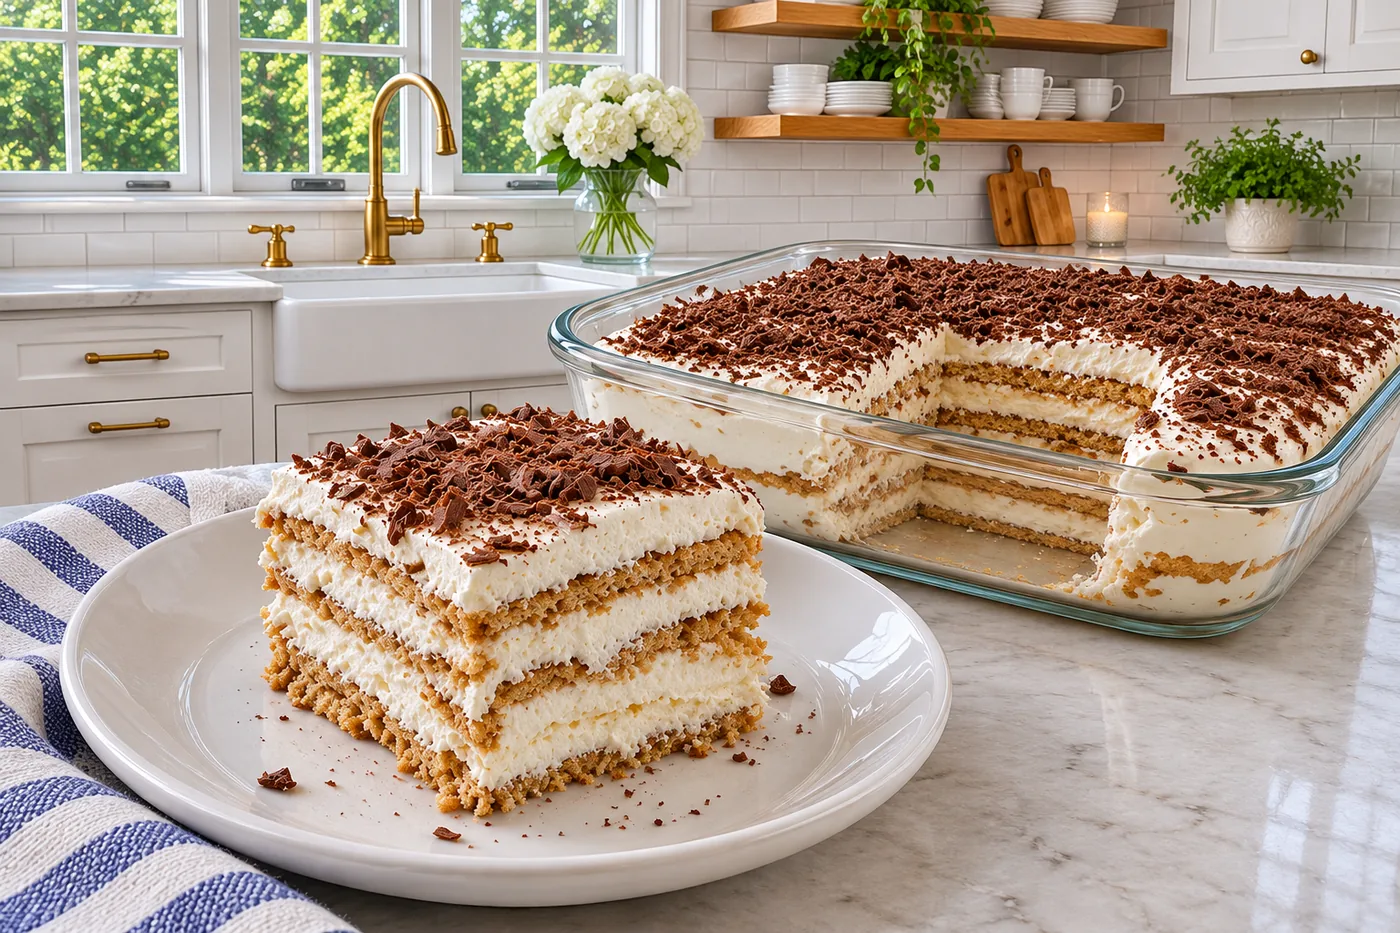
- Repeat the layering process until all cookies and cream mixture are used, finishing with a layer of the cream mixture on top — this final layer creates a beautiful presentation.
Chill & Serve
- Cover the dish with plastic wrap and refrigerate for at least 4 hours, or overnight for best results — chilling allows the flavors to meld and the cake to set properly.
- Before serving, garnish with additional fresh berries on top for a pop of color and freshness — the berries will enhance the visual appeal and add a refreshing bite.
- Slice into squares and serve chilled — each slice should reveal the beautiful layers of cream and fruit, making it as delightful to look at as it is to eat.
Tips & Tricks
The Right Cookie Choice
I always opt for chocolate wafer cookies for my classic icebox cake. Their rich, chocolatey flavor pairs beautifully with the creamy filling, creating a pleasureful contrast. If you can't find chocolate wafers, vanilla wafers work too, but be prepared for a different taste and texture. Trust me, the chocolate is worth it!
Chill for Best Results
After assembling your cake, make sure to give it plenty of time in the fridge. I usually let mine chill overnight. This allows the cookies to fully soften and absorb the creamy filling, resulting in a smooth, cake-like texture. Rushing this step will lead to a crumbly mess instead of the smooth, rich treat you want!
Pro Tips
- Use High-Quality Cocoa Powder: The cocoa powder you choose can make or break the flavor of your classic icebox cake. I prefer Dutch-processed cocoa for its rich, deep flavor, which really enhances the chocolate notes in the wafers.
- Chill Your Mixing Bowls: For an extra boost in whipping your cream, chill your mixing bowls and beaters beforehand. I pop them in the freezer for about 10 minutes; this keeps the cream cold, helping it whip faster and achieve those perfect stiff peaks.
- Layer with Fresh Berries: Consider adding a layer of fresh berries between the cookie layers for a pop of flavor and color. I love using raspberries or strawberries; their tartness beautifully balances the sweetness of the cream.
- Make It a Day Ahead: This cake tastes even better after sitting in the fridge overnight. The extra time allows the flavors to meld and the cookies to soften perfectly, creating that dreamy texture. Trust me, it’s worth the wait!
- Experiment with Flavored Extracts: Try adding a splash of almond or mint extract to the cream for a unique twist. I once used almond extract, and it added a lovely depth that surprised everyone!
Variations & Customizations
Flavor Twists
Chocolate Hazelnut Delight
Substitute 1 cup of chocolate hazelnut spread for the cream cheese. The result is a rich, creamy cake with a deep chocolate flavor and a nutty undertone. The hazelnut spread adds a luxurious, velvety texture that melts in your mouth.
Lemon Berry Bliss
Add 1 tbsp of lemon zest and 2 tbsp of fresh lemon juice to the cream mixture. Layer in 1 cup of raspberries along with the strawberries and blueberries. This variation has a bright, tangy flavor that perfectly complements the sweetness of the berries, creating a refreshing, summer-inspired treat.
Seasonal Versions
Autumn Spice
Incorporate 1 tsp of cinnamon and ½ tsp of nutmeg into the cream mixture. Layer in 1 cup of diced apples instead of berries. The cake takes on a warm, cozy flavor profile reminiscent of apple pie, with the spices adding a lovely warmth and aroma.
Storage & Meal Prep
Room Temperature
You can keep your classic icebox cake at room temperature for up to 2 hours if it's a warm day. Always use a covered container to protect it from dust and insects, but be aware that it’s best enjoyed chilled.
Refrigerator
In the refrigerator, it stays fresh for up to 5 days. Use an airtight container, and make sure the cake is cool completely before storing to avoid condensation. You might want to slice it into pieces and wrap them individually to prevent the layers from sticking together.
Freezer
You can freeze the cake for up to 2 months. The best method is to flash freeze individual slices on a sheet pan, then wrap them tightly in plastic wrap and store in a freezer bag. When you're ready to enjoy, thaw it in the refrigerator overnight.
Meal Prep
For meal prep, consider doubling the recipe to have extra slices on hand. Preparing it the night before is ideal, allowing the flavors to meld beautifully. Store it in an airtight container, and it will stay fresh for up to 5 days. No reheating is needed; just slice and serve straight from the fridge.
Frequently Asked Questions
Can I use a different type of cookie for the classic icebox cake?
Yes, you can use graham crackers or even vanilla wafers if you prefer! Just keep in mind that the flavor and texture will change slightly, but it can still be delicious.
Why did my classic icebox cake not set properly?
If your cake didn’t set, it could be due to not whipping the cream enough or using a lower fat content cream. Make sure your heavy whipping cream is well chilled and whipped to stiff peaks for the best results.
How long can I keep the classic icebox cake in the fridge?
You can keep your icebox cake in the fridge for about 3 to 4 days. Just cover it well to prevent it from absorbing any odors from the fridge.
Can I make a gluten-free version of the classic icebox cake?
Absolutely! Just swap in gluten-free chocolate wafers or cookies, and you’ll have a tasty gluten-free dessert that everyone will enjoy.
What can I serve with classic icebox cake?
Fresh berries or a drizzle of chocolate sauce make great accompaniments. They add a nice contrast in flavor and color, enhancing the overall presentation.
This classic icebox cake is such a nostalgic treat that brings back memories of summer gatherings and family picnics. For the best results, let it chill overnight to achieve that perfect creamy texture. I can't wait for you to try it — share your thoughts in the comments or pin it for later!