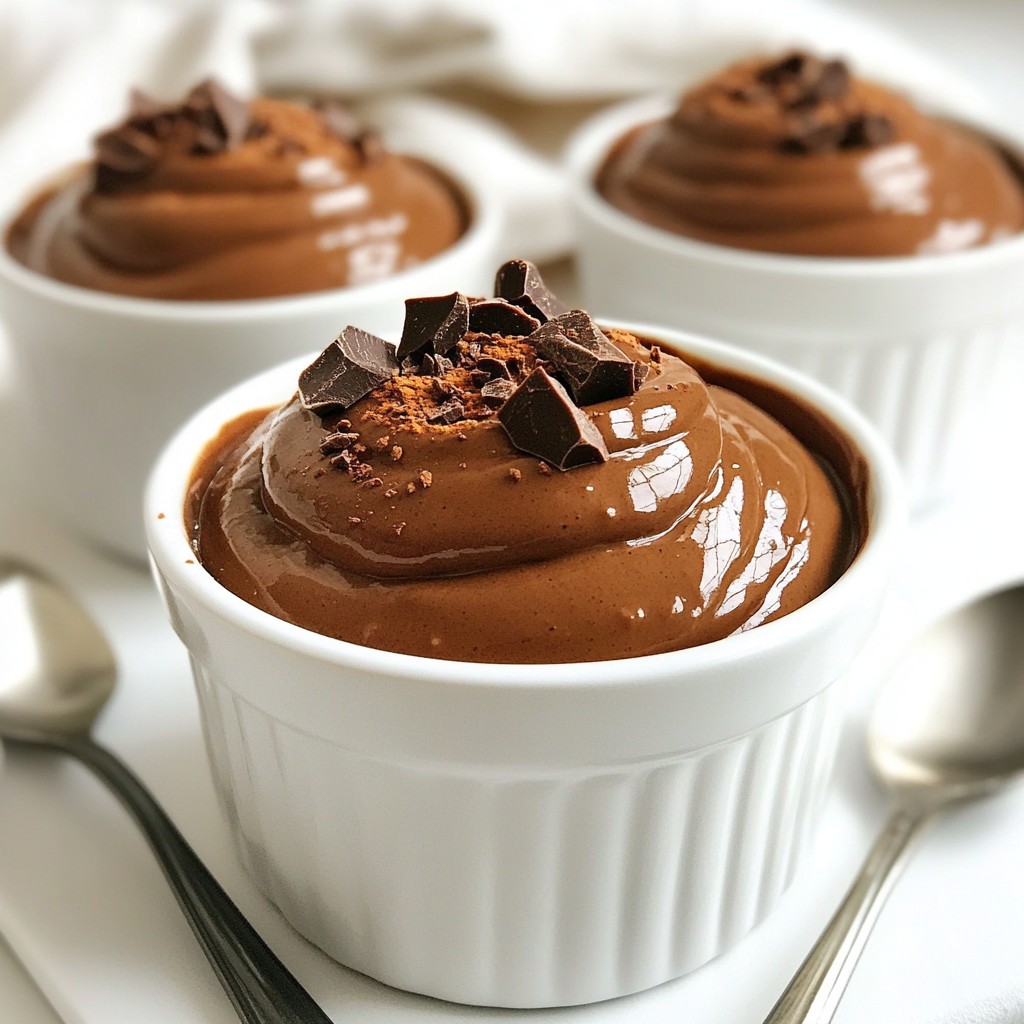
Craving a dessert that combines decadence and ease? Look no further than my Chocolate Hazelnut Crepe Cake! This delightful treat layers soft crepes with creamy hazelnut spread and whipped topping. It’s a feast for the eyes and the taste buds. Perfect for special occasions or a sweet treat at home, this recipe is simple enough for anyone to master. Let’s dive in and make dessert magic together!
Error: Connection error.
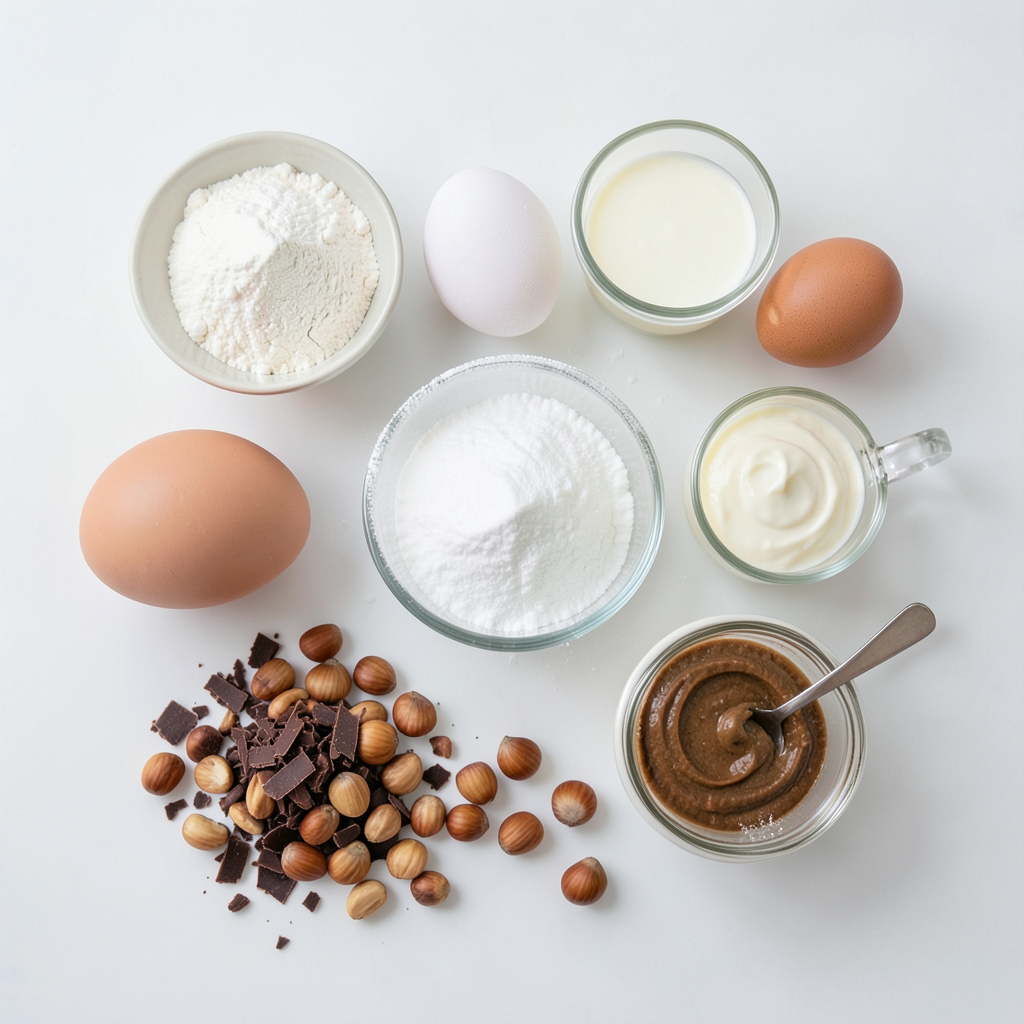
Ingredients
To make a Chocolate Hazelnut Crepe Cake, gather these simple ingredients:
- 2 cups all-purpose flour
- 4 large eggs
- 3 cups milk
- 1/4 cup granulated sugar
- 1/4 teaspoon salt
- 4 tablespoons melted butter (plus extra for cooking)
- 1 cup hazelnut spread (like Nutella)
- 1 cup heavy cream
- 1/4 cup powdered sugar
- 1 teaspoon vanilla extract
- 1/2 cup toasted hazelnuts, chopped (for garnish)
- Chocolate shavings (for garnish)
Each ingredient plays a key role. The flour gives structure, while the eggs help bind the crepes. Milk adds moisture, and sugar brings sweetness. Salt enhances flavor, and butter keeps everything rich and smooth.
The hazelnut spread is the star of the show. It brings that creamy, nutty flavor we crave. Heavy cream adds lightness when whipped, creating a fluffy texture. Powdered sugar sweetens the cream without adding graininess.
Garnishes like chopped hazelnuts and chocolate shavings make your cake look stunning. They add a touch of crunch and extra chocolatey goodness. With these ingredients, you will create a dessert that is not only tasty but also visually appealing. Enjoy collecting these items; they set the stage for a delightful cooking journey!
Step-by-Step Instructions
Preparing the Crepe Batter
- Mixing the Ingredients
Start with a big bowl. Add 2 cups of all-purpose flour. Crack in 4 large eggs. Pour in 3 cups of milk. Add 1/4 cup of granulated sugar and 1/4 teaspoon of salt. Whisk the mix until smooth. Make sure there are no lumps. Then, stir in 4 tablespoons of melted butter. This adds flavor and helps the crepes cook well.
- Resting the Batter
Let the batter sit for at least 30 minutes. Resting helps the flour absorb the liquid. It makes the crepes soft and tender. Cover it with a clean cloth or plastic wrap while it rests.
Cooking the Crepes
- Greasing the Skillet
Heat a non-stick skillet over medium heat. Use a brush or paper towel to lightly grease it with melted butter. This keeps the crepes from sticking.
- Swirling and Cooking Techniques
Pour about 1/4 cup of batter into the skillet. Quickly swirl the pan to spread the batter evenly. Cook for about 2 minutes. Watch for the edges to lift and the center to set. Flip it gently with a spatula. Cook for another minute. Transfer the crepe to a plate and repeat. Stack the cooked crepes on top of each other. You will want about 15 to 18 crepes for the cake.
Assembling the Crepe Cake
- Layering the Crepes with Hazelnut Spread and Whipped Cream
Take one crepe and spread a thin layer of hazelnut spread on top. Use about 2 tablespoons of hazelnut spread per crepe. Next, add a layer of whipped cream. You can make whipped cream by whisking 1 cup of heavy cream with 1/4 cup of powdered sugar and 1 teaspoon of vanilla extract.
- Final Layering and Refrigeration
Place another crepe on top and repeat the process. Keep layering until all crepes are used. Finish with a crepe on top. Cover the cake with plastic wrap and refrigerate it. Let it chill for at least 2 hours or overnight. This helps all the flavors mix and the layers to set.
Now you're ready to enjoy your Chocolate Hazelnut Crepe Cake!
Tips & Tricks
Perfecting Your Crepes
Achieving the Right Consistency To make great crepes, your batter needs to be smooth and thin. Start by mixing flour, eggs, milk, sugar, and salt well. Let it rest for 30 minutes; this helps the gluten relax. If the batter seems too thick, add more milk to reach a pouring consistency.
Cooking Temperature Tips Use a non-stick skillet for easy flipping. Heat it over medium heat. If it’s too hot, your crepes might burn. A good test is to sprinkle a drop of water on the skillet. If it sizzles, you are ready to pour.
Whipping Cream for Optimal Texture
Storing Whipped Cream After whipping your cream, store it in an airtight container in the fridge. It stays fresh for a day. If you plan to use it later, add a bit of powdered sugar to keep it stable.
Avoiding Flat Whipped Cream Whip your cream until it forms soft peaks. If you whip too long, it can turn into butter. Stop as soon as it holds its shape. Adding a bit of cornstarch can also help keep it fluffy longer.
Presentation Tips
Garnishing Suggestions For a beautiful finish, sprinkle chopped hazelnuts and chocolate shavings on top. You can also drizzle extra hazelnut spread for a nice touch. Fresh berries can add color and flavor too.
Serving Suggestions for Best Appearance Slice your crepe cake carefully for clean edges. Serve on decorative plates to impress your guests. Consider adding a side of whipped cream for extra indulgence.
Error: Connection error.
Variations
Flavor Variations
Using Different Nut Spreads You can switch up the hazelnut spread for almond, peanut, or cashew spread. Each nut spread brings its own flavor and charm. Almond spread adds a light, fruity taste. Peanut butter gives a rich, nutty flavor. Cashew spread offers a creamy texture and mild taste. Feel free to mix and match your favorite spreads for a fun twist.
Adding Fruit Layers Fruits can brighten your crepe cake. Try adding sliced strawberries, bananas, or raspberries between the layers. The fruit adds freshness and a nice contrast to the rich nut spread. You can also mash the fruits for a more jam-like layer. Just remember, the fruit must be thinly sliced or pureed for easy layering.
Dietary Modifications
Gluten-Free Alternatives To make this cake gluten-free, simply swap the all-purpose flour for gluten-free flour. Many blends work well, like almond flour or a store-bought gluten-free mix. Ensure all other ingredients are gluten-free too. Your cake will still be delicious and enjoyable for everyone.
Dairy-Free Options For a dairy-free version, use almond or oat milk instead of regular milk. You can also replace heavy cream with coconut cream or a dairy-free whipped topping. This keeps your cake creamy and rich without dairy. Just make sure to check labels on your nut spreads to avoid any hidden dairy.
Creative Serving Ideas
Cupcake Style Crepe Cakes You can create mini versions of the cake by stacking crepes in cupcake liners. This makes for perfect single servings and is great for parties. Just layer the crepes with nut spread and whipped cream, then place them in a muffin tin. They look cute and are easy to grab and enjoy!
Mini Crepe Stack Variations Try making small stacks of crepes for a fun presentation. Use smaller crepes, if you can, and stack two or three with layers of hazelnut spread and cream. Top each stack with nuts and chocolate shavings for flair. These mini stacks are great for sharing and make for an eye-catching dessert.
Storage Info
How to Properly Store the Crepe Cake
- Refrigeration Tips: After you assemble the cake, wrap it in plastic wrap. Store it in the fridge. This keeps it fresh and moist. If you want to serve it later, let it chill for at least 2 hours. Overnight is even better.
- Freezing Instructions: If you have leftovers, you can freeze the cake. Slice it into pieces and wrap each slice in plastic wrap. Place the wrapped slices in a freezer-safe bag. This way, you can enjoy it later without losing flavor.
How Long Does the Cake Last?
- Shelf Life in the Fridge: The crepe cake lasts about 3 to 5 days in the fridge. However, for the best taste, try to eat it within 2 days. The flavors will be fresher.
- Effects of Freezing on Texture: Freezing the cake may change its texture. When you thaw it, the crepes may feel softer. The cream may separate a bit too. Still, it will taste yummy! Enjoy your cake however you store it.
FAQs
Can I use premade crepes?
Yes, you can use store-bought crepes. They save time and effort. However, they might lack the fresh taste of homemade crepes. Store-bought crepes can also be thicker, which may affect the cake's texture.
Pros of Using Store-Bought Crepes:
- Quick and easy to use.
- No need to cook crepes yourself.
- Consistent size and shape.
Cons of Using Store-Bought Crepes:
- May have added preservatives.
- Often less flavorful than fresh crepes.
- Might not fit your specific recipe needs.
How do I make my crepes thinner?
To make thinner crepes, adjust your batter. Start by adding more milk. This helps create a lighter mix. Use a whisk to blend well until smooth.
- Tips for Adjusting Crepe Batter:
- Add a little more milk, one tablespoon at a time.
- Let the batter sit longer; this helps it relax.
- Use a non-stick pan for even cooking.
Can I make this recipe ahead of time?
Yes, you can prepare this cake ahead of time. Make the crepes and store them in the fridge. Layer and assemble the cake later.
- Suggestions for Preparation and Storing Ahead:
- Keep cooked crepes between sheets of wax paper.
- Store them in an airtight container.
- Assemble the cake up to two days in advance.
This helps flavors blend nicely!
You now know how to make a delicious crepe cake from scratch. We covered the ingredients, steps, and tips to perfect your creation. Remember, a great cake starts with a smooth batter and careful cooking. Don't hesitate to try different flavors and dietary options. This recipe is flexible and fun. Enjoy your culinary journey and impress friends and family with your tasty crepe cake. Keep experimenting and have fun in the kitchen!