Are you ready for a sweet adventure? Chocolate Covered Strawberry Brownies blend rich flavors and textures for a treat everyone loves. You’ll find the right mix of melted chocolate, fresh strawberries, and chewy brownies, making each bite a delight. In this post, I’ll guide you through the easy steps and share tips to make your brownies shine. Let’s dive into this delicious recipe and impress your friends!
Why I Love This Recipe
- Decadent Flavor Combination: The rich chocolate brownie base pairs perfectly with the fresh strawberries, creating a delightful balance of sweetness and tartness.
- Easy to Make: This recipe is simple and straightforward, making it a great option for both novice and experienced bakers.
- Perfect for Any Occasion: Whether it's a party, a family gathering, or a cozy night in, these brownies are sure to impress your guests.
- Beautiful Presentation: The chocolate-covered strawberries on top make these brownies not only delicious but visually stunning, ideal for sharing.
Ingredients
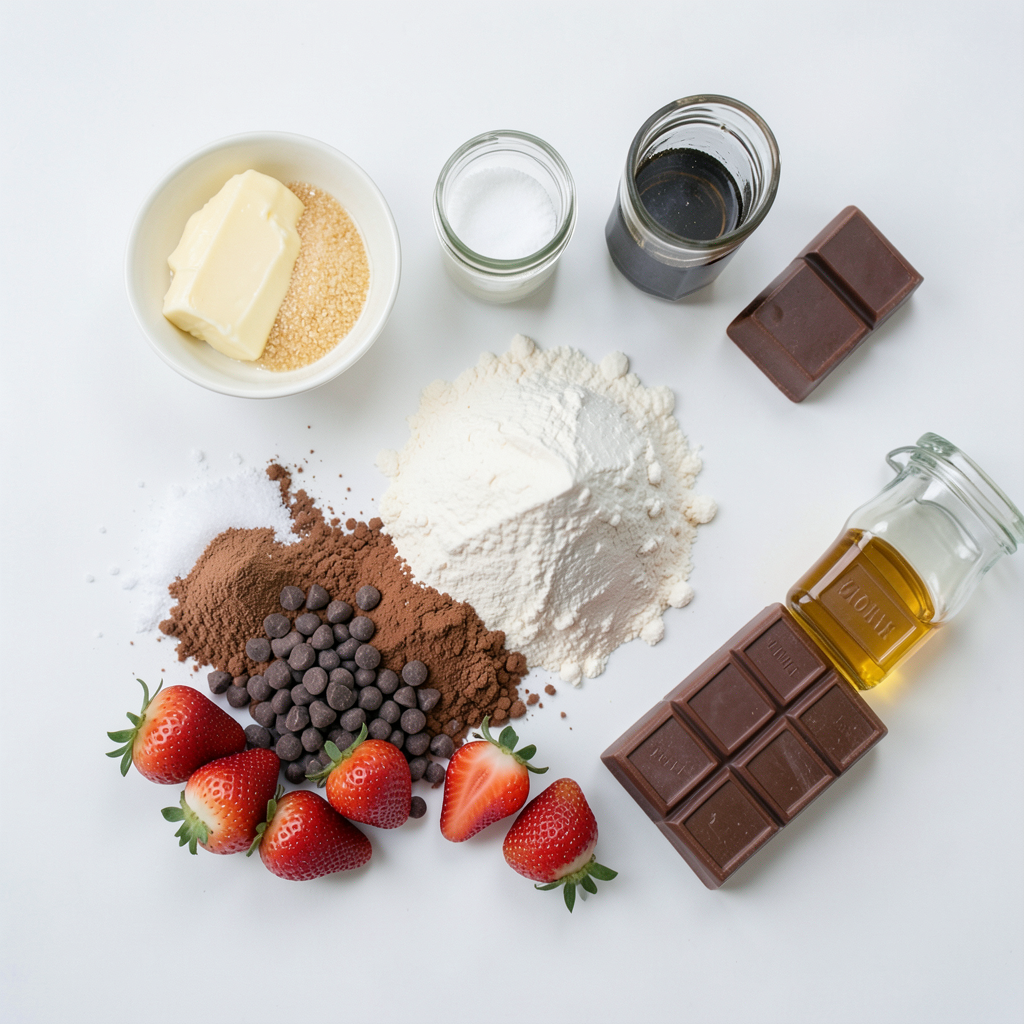
List of Ingredients
- 1 cup unsalted butter, melted
- 2 cups granulated sugar
- 4 large eggs
- 1 teaspoon vanilla extract
- 1 cup all-purpose flour
- 1/2 cup unsweetened cocoa powder
- 1/4 teaspoon salt
- 1/2 cup chocolate chips
- 1 cup fresh strawberries, hulled and halved
- 1 cup semi-sweet chocolate, for coating
- 1 tablespoon coconut oil (optional, for smoothness)
Substitutions for Ingredients
You can swap unsalted butter with coconut oil for a dairy-free option. If you need a lower sugar option, try using coconut sugar instead of granulated sugar. For a gluten-free version, use almond flour or a gluten-free flour blend in place of all-purpose flour. You can also replace fresh strawberries with raspberries or blueberries if you prefer.
Kitchen Tools Needed
You will need a 9x13 inch baking pan, a mixing bowl, a whisk, and a spatula. For melting the chocolate, a microwave-safe bowl works best. You should also have parchment paper, a sifter for the dry ingredients, and a wire rack for cooling. A toothpick will help check the brownies for doneness, and a sharp knife is needed to cut the brownies into squares.
Step-by-Step Instructions
Preheating and Preparing the Baking Pan
Start by preheating your oven to 350°F (175°C). This step is key for even baking. Next, take a 9x13 inch baking pan. Grease it well and line it with parchment paper. Leave some paper overhang. This makes removing the brownies easy later.
Mixing Wet and Dry Ingredients
In a large bowl, combine melted butter and granulated sugar. Whisk them together until they blend well. Then, add the eggs one by one. Mix well after each egg. Don't forget to add the vanilla extract. In another bowl, sift the flour, cocoa powder, and salt. Slowly add this dry mix to the wet ingredients. Stir until just combined. Be careful not to overmix! Finally, fold in the chocolate chips for a gooey texture.
Layering the Brownies and Baking
Pour half of the brownie batter into the prepared pan. Spread it out evenly. Now, layer the halved strawberries on top. Pour the rest of the batter over the strawberries. Make sure they are fully covered. Place the pan in the preheated oven. Bake for 25 to 30 minutes. Use a toothpick to check doneness. A few moist crumbs are okay. Once done, take the pan out and let it cool completely on a wire rack.
Tips & Tricks
Perfecting the Brownie Texture
To get the best brownie texture, mix your ingredients well. Start with melted butter and sugar. Use a whisk to blend them until smooth. When adding eggs, mix each one in well. This keeps your brownies light and fluffy. Sift your dry ingredients together to prevent lumps. Mix them in gently, and don't overwork the batter. Folding in the chocolate chips adds a gooey touch.
Achieving Smooth Chocolate Coating
To make a smooth chocolate coating, choose good quality chocolate. I recommend semi-sweet chocolate for rich flavor. Melt it in short bursts in the microwave. Add coconut oil to help it stay smooth and glossy. Stir until fully melted, and dip each strawberry carefully. Let the excess chocolate drip off. This step helps the coating set nicely.
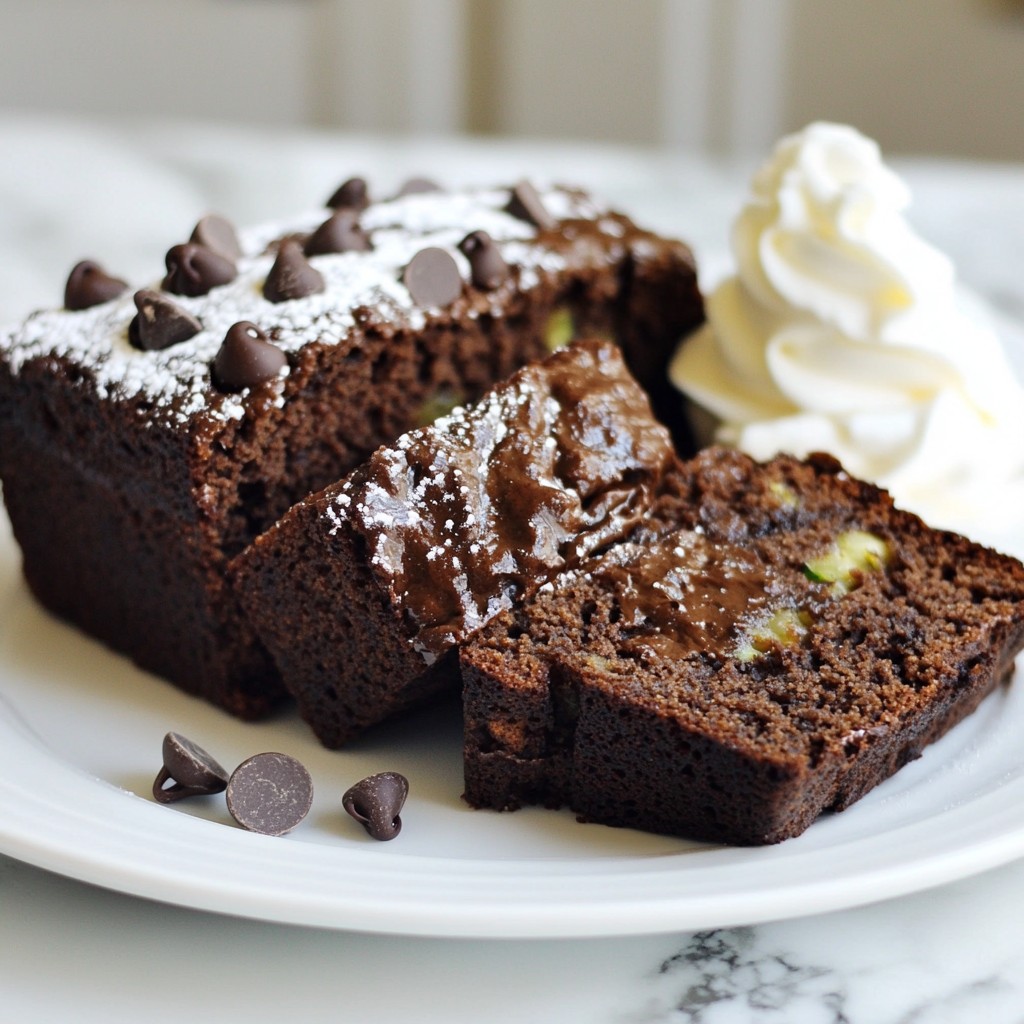
Cooling and Presentation Tips
Let your brownies cool completely before cutting. This helps them hold their shape. For a beautiful display, serve them on a colorful plate. Top each brownie with a chocolate-covered strawberry. Drizzle any leftover chocolate over the top for a fancy look. Adding fresh mint leaves gives a nice pop of color. This makes your dessert not only tasty but also stunning!
Pro Tips
- Use Fresh Strawberries: Make sure to select ripe, fresh strawberries for the best flavor and texture. They should be firm and bright red for optimal sweetness.
- Don’t Overmix the Batter: When combining the wet and dry ingredients, mix just until combined. Overmixing can lead to dense brownies instead of light and fudgy ones.
- Let Brownies Cool Completely: Allow the brownies to cool completely in the pan before cutting them. This helps them set and makes for cleaner cuts.
- Customize Your Chocolate: Feel free to use dark chocolate or white chocolate for the coating based on your preference. Each will give a unique flavor to the finished brownies.
Variations
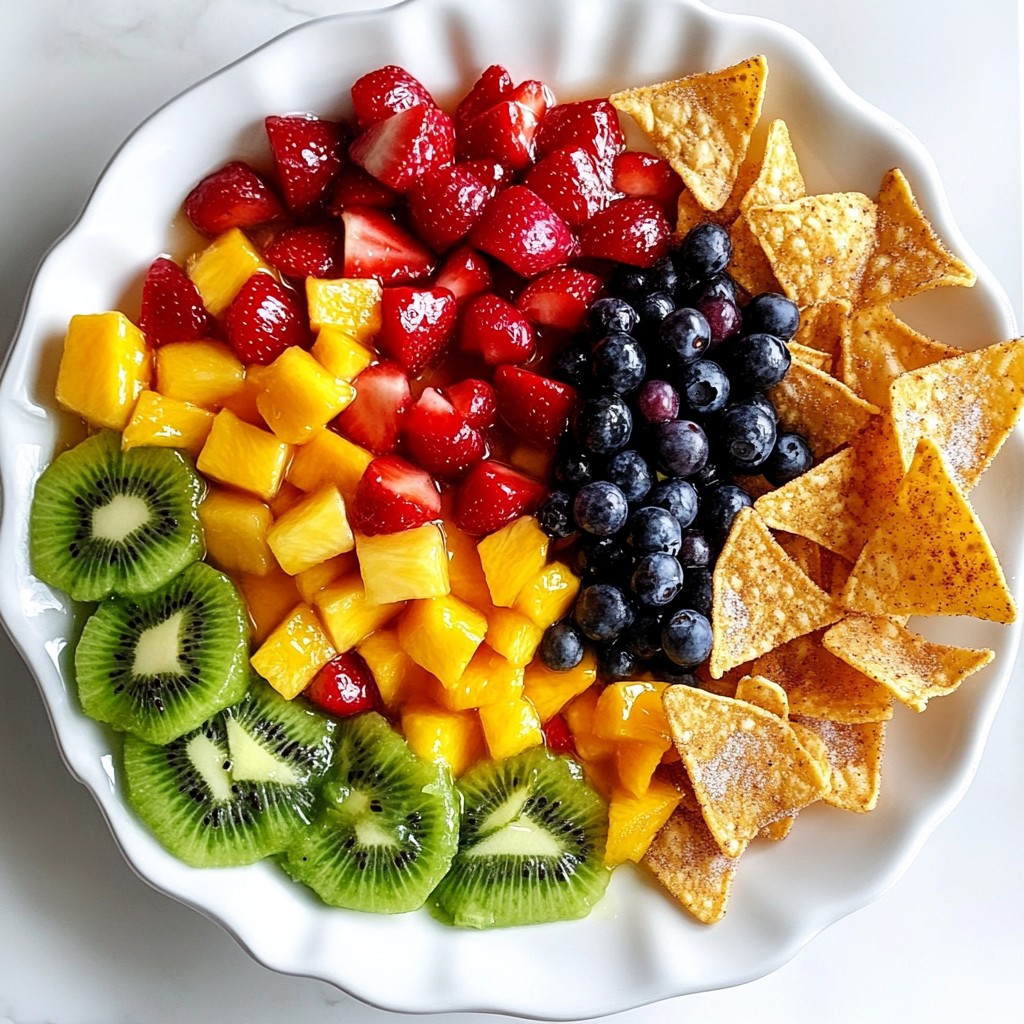
Other Fruit Options for Topping
You can use many fruits with chocolate brownies. Try raspberries, blueberries, or bananas. Each adds a different taste. For raspberries, use fresh ones for a tart kick. Blueberries will give a sweet burst. Sliced bananas bring a creamy texture. Mix and match your favorites for a fun twist!
Flavor Combinations to Try
Experimenting with flavors makes these brownies even better! Add a splash of mint extract for a fresh taste. A hint of orange zest can brighten the chocolate. For a nutty flavor, mix in chopped nuts or almond extract. You can also layer in caramel or peanut butter for a rich treat. Each flavor can create a new favorite!
Gluten-Free Adaptation
If you need a gluten-free option, swap the all-purpose flour for almond flour or coconut flour. These flours will change the texture slightly but still taste amazing. Make sure to check the chocolate chips too, as some may contain gluten. Enjoy your tasty treat without worry!
Storage Info
Best Storage Practices
To keep your chocolate covered strawberry brownies fresh, store them in an airtight container. You can layer them with parchment paper to prevent sticking. If you plan to eat them within a few days, leave them at room temperature. For longer storage, keep them in the fridge. The cool air helps maintain their taste and texture.
Reheating Suggestions
If you want to enjoy warm brownies, you can reheat them. Place a brownie on a microwave-safe plate. Heat it for about 10-15 seconds. Check if it's warm enough for your liking. Be careful not to overheat, or they may become tough.
Shelf Life of Brownies
These brownies can last about 3-4 days at room temperature. If stored in the fridge, they can last up to a week. For best quality, eat them within a few days. If you want to keep them longer, consider freezing them. Wrap each brownie well in plastic wrap, then place them in a freezer bag. They can last up to three months in the freezer.
FAQs
Can I use frozen strawberries?
Yes, you can use frozen strawberries. Just thaw and drain them first. This prevents excess moisture from making the brownies soggy. If you use them, chop them smaller for even distribution.
How do I know when the brownies are done?
Check your brownies after 25 minutes. Insert a toothpick in the center. If it comes out with a few moist crumbs, they are done. If it has wet batter, bake for a few more minutes.
Can I make these brownies ahead of time?
Absolutely! You can make the brownies a day in advance. Store them in an airtight container at room temperature. Just add the chocolate-covered strawberries when you're ready to serve for the best taste.
This guide covered all you need for delicious brownies. We discussed key ingredients, useful substitutions, and tools to have on hand. I shared easy steps to mix and bake your brownies perfectly. Plus, I offered tips for texture and presentation to impress everyone.
Consider trying different toppings or flavors to keep things fun. Store your brownies well to enjoy them longer. With these insights, you can make brownies that truly shine. Happy baking!