If you love chocolate and bananas, get ready for a treat! These Chocolate Banana Nice Cream Bowls are a fun, easy dessert you can whip up in minutes. Not only are they creamy and delicious, but they’re also healthy. In this post, I will guide you through simple steps, share essential tips, and inspire you with tasty variations. Get ready to enjoy a sweet delight that you can feel good about!
Ingredients
List of Ingredients
– 4 ripe bananas, sliced and frozen
– 2 tablespoons unsweetened cocoa powder
– 1 tablespoon almond butter (or any nut butter)
– 1 tablespoon maple syrup (optional for sweetness)
– 1/2 teaspoon vanilla extract
– A pinch of sea salt
Optional Ingredients for Added Sweetness
– Extra maple syrup
– Honey or agave syrup
– A bit of powdered sugar
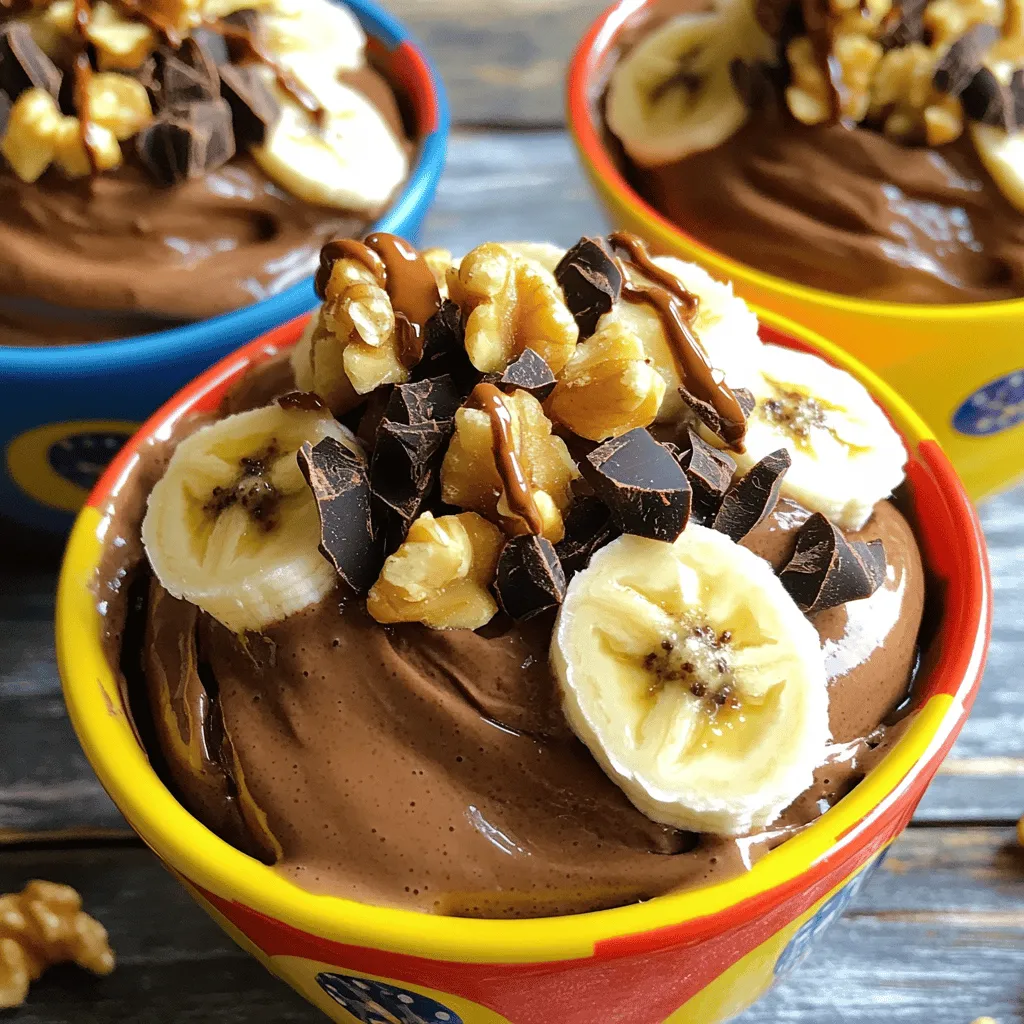
Suggested Toppings
– Sliced fresh bananas
– Chopped nuts (like walnuts or almonds)
– Dark chocolate shavings
– A drizzle of almond or peanut butter
These ingredients create a tasty, healthy treat. You can adjust sweetness using optional ingredients. Toppings add flavor and texture, making each bowl unique. Try different nuts or chocolate types for fun twists!
Step-by-Step Instructions
Preparing the Bananas
To start, slice the ripe bananas into rounds. Lay them flat on a baking sheet. Make sure they are in a single layer. Freeze the banana slices for at least 2 hours. They need to be completely frozen before you blend them.
Blending the Nice Cream
Once the banana slices are frozen, grab your food processor. Add the frozen bananas to the bowl. Then, mix in the unsweetened cocoa powder, almond butter, and vanilla extract. If you want it sweeter, add maple syrup. Toss in a pinch of sea salt. Blend everything on high speed. It will take about 2-3 minutes. You want it smooth and creamy. Scrape down the sides as needed. Taste it to see if you want more sweetness. If so, add more maple syrup.
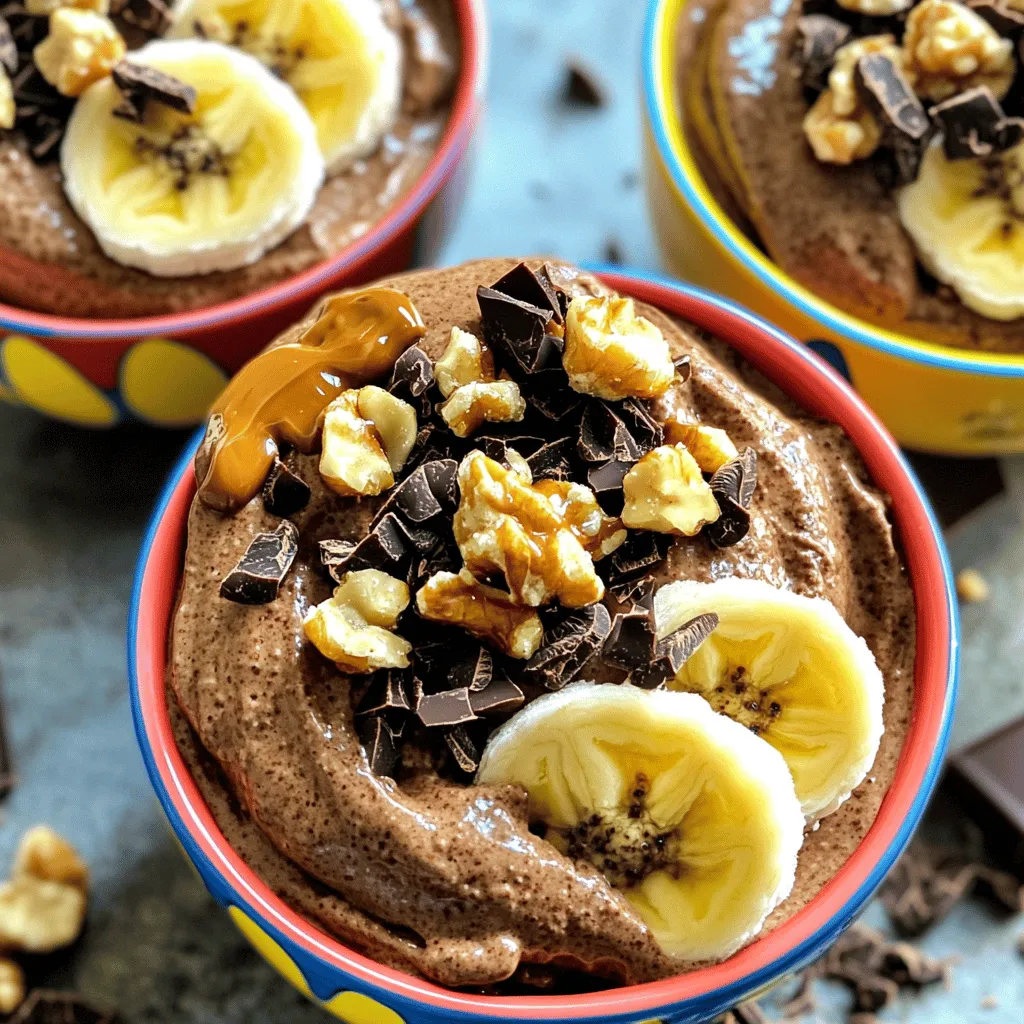
Serving Suggestions
Scoop the nice cream into bowls. Now, it’s time for toppings! Add sliced bananas, chopped nuts, and dark chocolate shavings. A drizzle of nut butter is a great touch too. Serve it right away for a soft-serve feel. If you want it firmer, freeze for another 30 minutes. Enjoy your delicious treat!
Tips & Tricks
Achieving the Perfect Texture
To create the best nice cream, use ripe bananas. Their natural sweetness gives great flavor. Freeze the banana slices for at least two hours. This keeps the nice cream creamy and smooth. Blend on high speed for 2-3 minutes. Scrape down the sides to mix well. This technique helps avoid lumps. If you want it firmer, freeze it for another 30 minutes.
Storing Leftover Nice Cream
If you have extra nice cream, store it in a container. Use a freezer-safe container to keep it fresh. Make sure to seal it tightly to avoid ice crystals. Nice cream can last up to a week in the freezer. When ready to eat, let it sit out for a few minutes. This will soften it for easier scooping.
Ideas for Alternative Flavors
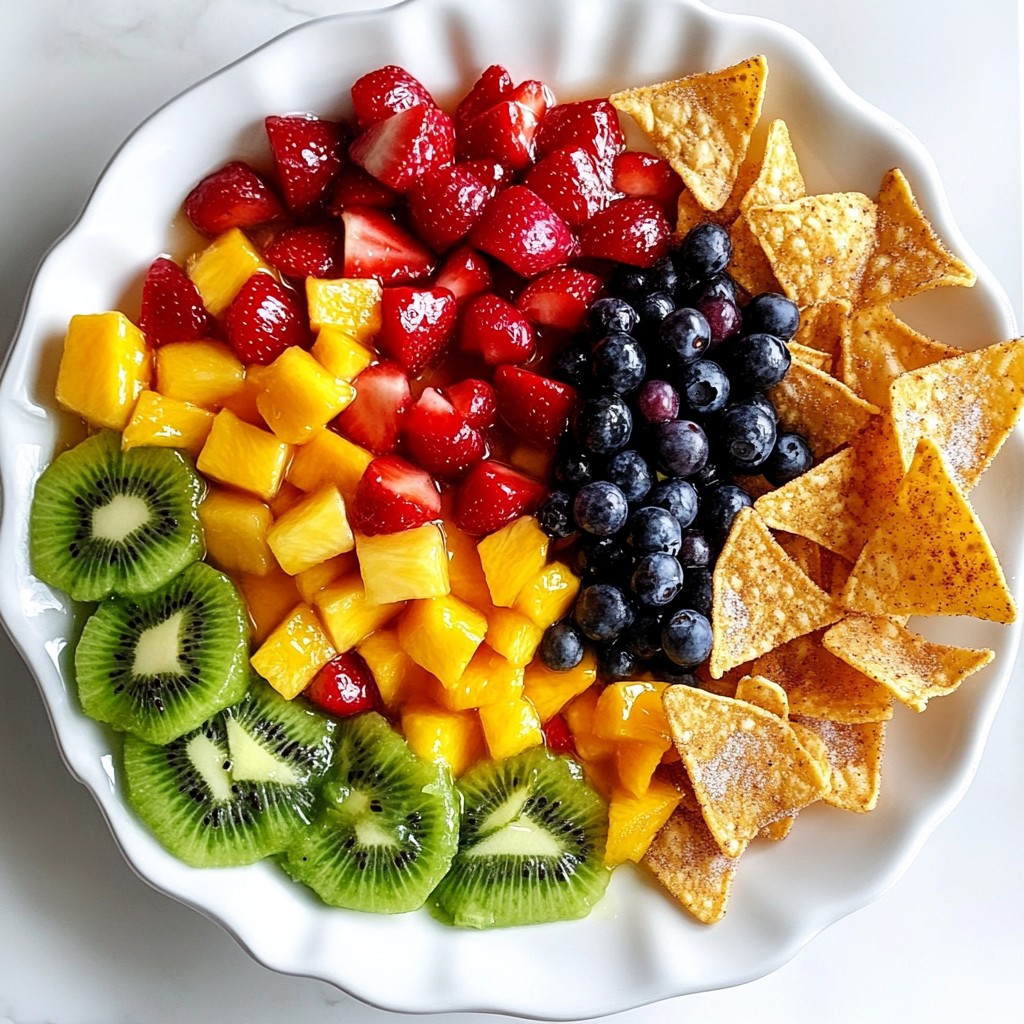
Feel free to play with flavors! Try adding fresh berries for a fruity twist. You can also mix in nutmeg or cinnamon for warmth. For a minty taste, add a few drops of peppermint extract. If you love coffee, mix in a bit of instant coffee granules. Each option creates a fun and unique treat!
Variations
Vegan Options
This recipe is naturally vegan! You use ripe bananas and cocoa powder, both plant-based. To keep it vegan, stick with almond or peanut butter. If you want to add sweetness, use pure maple syrup. This way, everyone can enjoy a creamy treat!
Additional Healthy Add-ins
You can easily boost nutrition with simple add-ins. Here are some ideas:
– Chia seeds: These add fiber and omega-3s. Just a tablespoon works well.
– Spinach: A small handful can blend in and add vitamins without changing the taste.
– Flaxseed meal: This boosts fiber and healthy fats. Add a tablespoon for a nutty flavor.
Seasonal Variation Ideas
You can change your nice cream bowls with the seasons. Here are a few fun ideas:
– Fall: Mix in pumpkin puree and pumpkin spice for a cozy flavor.
– Winter: Add peppermint extract for a refreshing minty twist.
– Summer: Blend in fresh berries for a fruity burst. Strawberries or blueberries work great.
These variations can keep your nice cream exciting and fun all year!
Storage Info
How to Freeze Nice Cream
To freeze nice cream, start with your blended mixture. Use a clean container that seals well. Pour the nice cream in and smooth the top with a spatula. Leave some space at the top for expansion. Cover it tightly. Freeze for at least two hours. This helps it firm up nicely.
Recommended Storage Containers
Use airtight containers or silicone molds for freezing. Glass jars are great, too. They let you see the nice cream. Small plastic containers work well for single servings. Always label your containers with the date. This way, you keep track of how long it’s been frozen.
Thawing Tips for Best Texture
When you want to eat your nice cream, take it out of the freezer. Let it sit at room temperature for about 10-15 minutes. This helps soften it. If it’s too hard, you can microwave it for a few seconds. Be careful not to melt it. Stir well before serving for a creamy texture. Enjoy your treat!
FAQs
Can I make this recipe without a food processor?
Yes, you can use a blender instead. A blender works well for mixing the ingredients. Just be sure to stop and stir the mix often. This helps to blend it evenly. If your blender is not powerful, you may need to blend in small batches.
How long can I store the nice cream in the freezer?
You can store the nice cream in the freezer for up to one week. Make sure to keep it in an airtight container. This helps to prevent freezer burn. Before serving, let it sit at room temperature for a few minutes. This makes it easier to scoop.
What can I substitute for almond butter?
You can use any nut butter you like, such as peanut butter or cashew butter. If you want a nut-free option, try sunflower seed butter. Each option gives a different taste, so choose what you enjoy most.
This nice cream recipe uses simple ingredients and easy steps. You can blend ripe bananas, achieve great texture, and even make vegan options. Adding toppings or sweeteners makes it fun and tasty. Remember, you can experiment with different flavors and store leftovers. Use the right containers to keep it fresh. Enjoy making your nice cream and share your favorite variations. It’s a cool treat that you can feel good about. Happy creating!