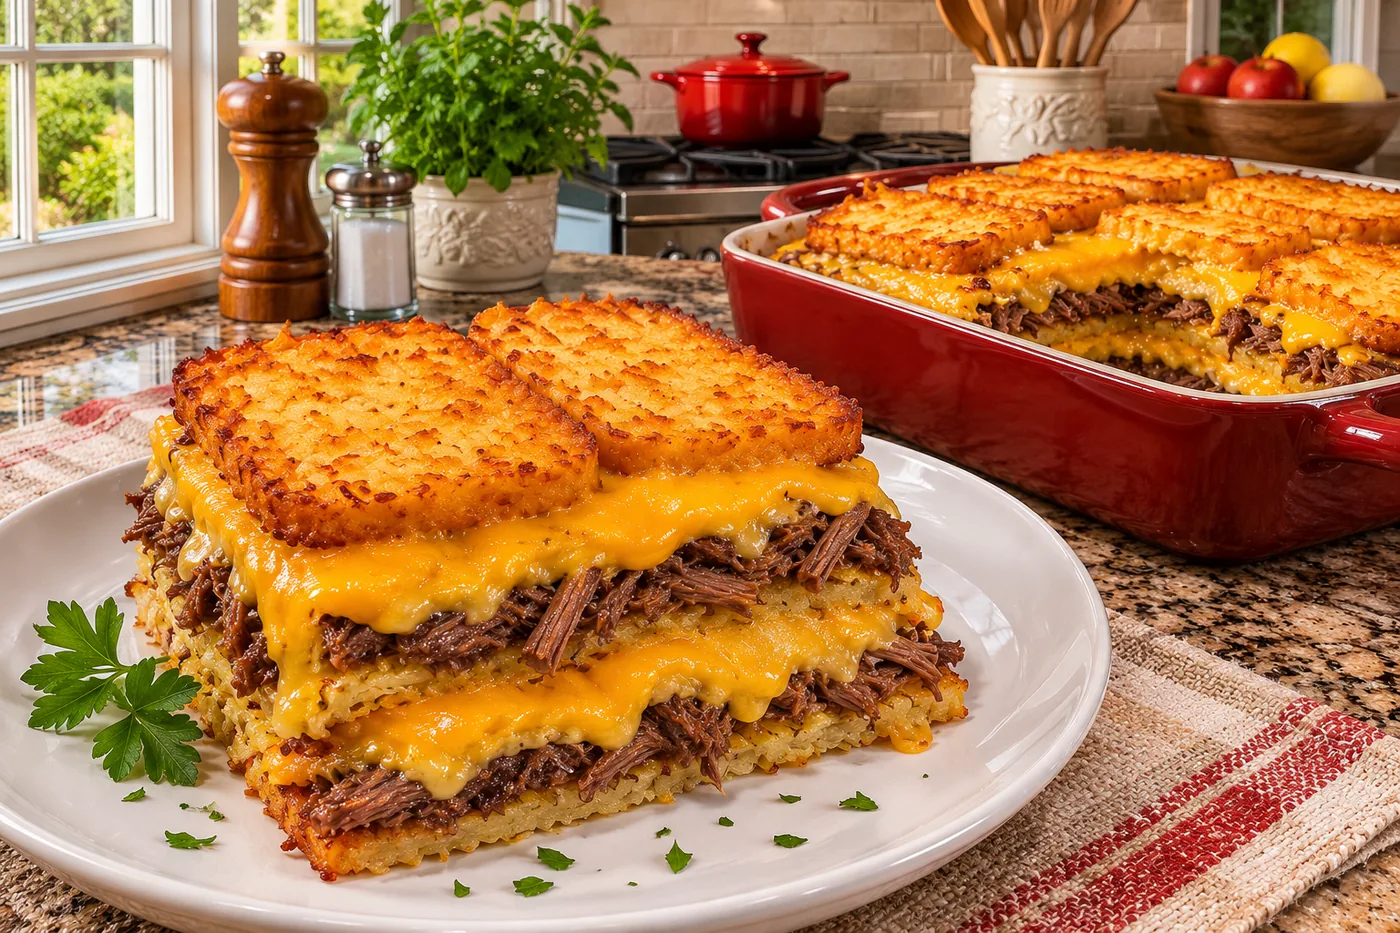
I remember the first time I made this cheesy hash brown beef casserole for a family gathering. The moment I pulled it from the oven, the cheesy aroma filled the kitchen, and everyone rushed to the table, eager to dig in.
What sets this recipe apart is the perfect balance of sharp cheddar and gooey mozzarella, creating a melty layer of cheese that complements the crispy hash browns and savory beef. It's a comforting meal, and trust me, you'll want to make it again and again.
Why This Recipe Works
- Ground Beef Choice: Using 80/20 ground beef strikes a perfect balance between flavor and juiciness. The fat content provides rich taste while also keeping the casserole moist during baking. I’ve tried leaner beef, but the dish turned out dry, lacking that comforting texture.
- Frozen Hash Browns: Thawing the frozen hash browns ensures they cook evenly and absorb flavors from the beef and seasonings. I made the mistake of using them straight from the freezer once, and they didn’t crisp up nicely. The thawed version gives a better texture and helps bind the casserole.
- Cheese Combo: Using a mix of cheddar and mozzarella creates a pleasureful flavor and texture contrast. Cheddar adds sharpness while mozzarella gives that gooey stretch we all love. I’ve tested different cheese ratios, and this combination worked best for both taste and meltiness.
- Sour Cream Addition: Sour cream adds a creamy richness that balances the savory elements. It also helps to create a smooth sauce that coats the hash browns and beef. I found that omitting it made the casserole feel one-dimensional, missing that creamy comfort.
Ingredients
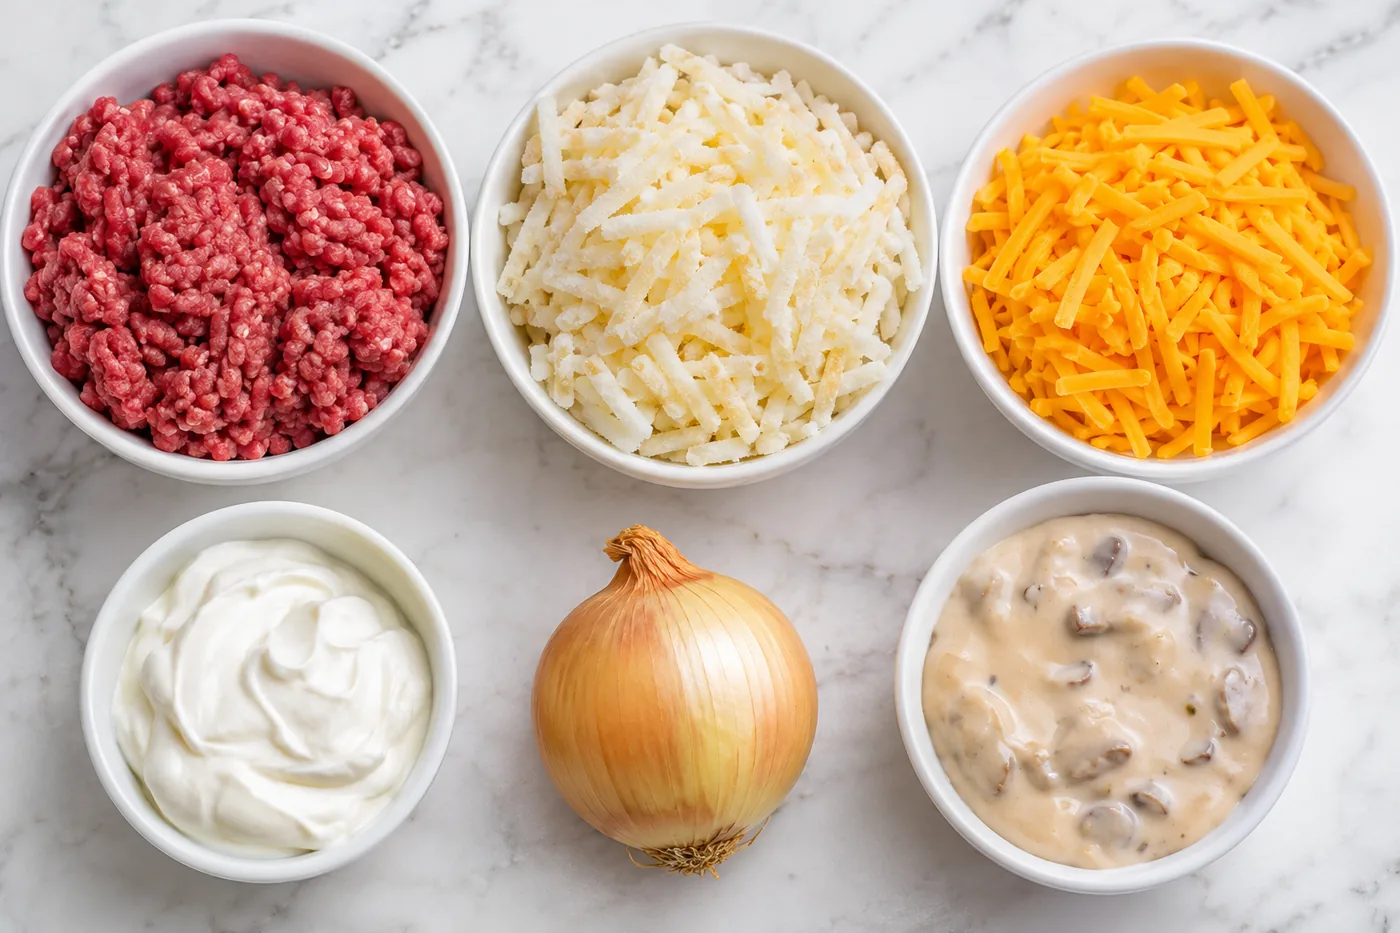
What You'll Need
- 1 lb ground beef preferably 80/20 for flavor; the fat adds richness to the casserole.
- 1 small onion finely chopped; it adds sweetness and depth to the dish.
- 2 cloves garlic minced; fresh garlic gives a robust flavor that enhances the beef.
- 1 tsp salt essential for bringing out the flavors in the casserole.
- 1/2 tsp black pepper adds a mild kick without overpowering the other ingredients.
- 1 tsp paprika for a subtle smokiness and vibrant color.
- 2 cups frozen hash browns thawed; they provide a crispy texture that contrasts with the creamy filling.
- 1 cup cheddar cheese shredded; sharp cheddar gives a nice tang and enhances the cheesy goodness.
- 1/2 cup sour cream adds creaminess and a slight tang, balancing the richness.
- 1/2 cup beef broth to keep everything moist and flavor-packed.
- 1 cup green bell pepper diced; it adds crunch and a fresh note to the casserole.
- 1 cup cream of mushroom soup for creaminess and a hint of umami.
- 1 cup mozzarella cheese shredded; it melts beautifully and adds stretchiness.
- 2 tbsp chopped fresh parsley for garnish; adds a pop of color and freshness.
Step-by-Step Instructions
Prep & Cook
- 1. Preheat your oven to 350°F (175°C) — this ensures a perfectly cooked casserole that bubbles and browns just right.
- 2. In a large skillet over medium heat, add the ground beef. Cook for 5-7 minutes until browned, breaking it up with a spatula. This step builds a savory base for your casserole.
- 3. Add the chopped onion and minced garlic to the skillet, cooking for another 3-4 minutes until softened and fragrant. The aroma will make your mouth water as the flavors meld together.
- 4. Stir in salt, black pepper, paprika, and diced green bell pepper, along with the beef broth. Cook for 2-3 minutes until everything is well combined, creating a rich filling that brings the dish to life.
Assemble & Bake
- 5. In a large mixing bowl, combine the thawed hash browns, sour cream, and cream of mushroom soup, mixing until everything is well blended. This creamy mixture will create a lovely base that holds the casserole together.
- 6. Spread the hash brown mixture evenly in a greased 9x13 inch baking dish. Make sure it's smooth and even — this helps with even cooking.
- 7. Layer the cooked beef mixture over the hash browns, then sprinkle the cheddar cheese evenly on top. The cheese will melt and create a gooey, delicious topping.
- 8. Cover the dish with aluminum foil and bake in the preheated oven for 25 minutes. This traps steam, ensuring the hash browns cook through without drying out.
- 9. Remove the foil and sprinkle mozzarella cheese on top, then bake for an additional 10-15 minutes until the cheese is bubbly and golden. You want that enticing golden crust for added flavor and texture.
Cool & Serve
- 10. Remove the casserole from the oven and let it cool for 5 minutes — this helps it set up a little, making it easier to serve.
- 11. Garnish with chopped fresh parsley for a pop of color and freshness, then serve warm. Each bite of this cheesy hash brown beef casserole will be a comforting delight.
Tips & Tricks
The Power of Frozen Hash Browns
Using frozen hash browns is a great choice for this cheesy hash brown beef casserole. They’re already pre-cooked, which means you’ll save time and effort. I’ve made the mistake of using fresh potatoes before, and let me tell you, they just don’t crisp up the same way. Frozen hash browns create that perfect texture—crispy on top and tender underneath, making every bite delightful.
Cheese Layering Technique
When it comes to cheese, layering is key. Instead of mixing all the cheese into the meat mixture, I like to sprinkle some directly on top of the casserole before baking. This creates a deliciously gooey layer that gets beautifully golden and bubbly. Plus, it adds a visual appeal that makes your casserole look extra tempting when it comes out of the oven.
Pro Tips
- Pre-cook the beef for better flavor: Searing the beef before adding it to the casserole enhances the flavor dramatically. I learned this after my first attempt when the meat tasted a bit bland. Browning it allows those delicious caramelized bits to develop, making the final dish so much richer.
- Use different cheese for complexity: Mixing cheeses like sharp cheddar and Monterey Jack adds depth to your cheesy hash brown beef casserole. I love the sharpness of cheddar paired with the creaminess of Jack — it creates a pleasureful contrast. Experiment with Gruyère or pepper jack for a fun twist!
- Season the hash browns directly: Before layering, sprinkle some salt and pepper on the frozen hash browns. It might seem minor, but this simple step ensures even seasoning throughout the dish. I made the mistake of skipping this once, and the bottom layer turned out a bit bland.
- Let it rest before serving: Allow the casserole to rest for about 10-15 minutes after baking. This helps the layers set up a bit, making it easier to serve. Trust me, the wait is worth it for that perfect slice!
- Use a cast iron skillet: Baking your casserole in a cast iron skillet not only creates a beautiful crust but also retains heat effectively. I love the rustic look it gives, plus it keeps everything warm while serving, which is perfect for family gatherings.
Variations & Customizations
Flavor Twists
Southwest Style
Mix in 1 cup of black beans, 1 cup of corn, and 1 tablespoon of taco seasoning. This version adds a zesty kick, with the beans and corn providing a hearty texture and vibrant color, all while the taco seasoning brings a warm, spicy flavor that makes it a fiesta on your plate.
Italian Twist
Substitute 1 can of diced tomatoes with Italian herbs for the cream of mushroom soup, and mix in 1 cup of grated Parmesan cheese along with the mozzarella. The casserole takes on a rich, tangy flavor profile, with the herbs providing a fragrant aroma and a beautiful red hue that contrasts nicely with the creamy cheeses.
Kid-Friendly
Pizza Casserole
Add 1 cup of mini pepperoni and 1 cup of diced bell peppers (red and yellow) instead of just green. The result is a playful, colorful dish that resembles pizza, and the children will love the chewy, savory bits of pepperoni that add a fun twist to the traditional casserole.
Storage & Meal Prep
Room Temperature
Keep the cheesy hash brown beef casserole at room temperature for no more than 2 hours in an airtight container to prevent bacterial growth.
Refrigerator
Store leftovers in a sealed glass or plastic container for up to 3 days. Make sure to cool the casserole completely before sealing to avoid moisture buildup.
Freezer
You can freeze this dish for up to 3 months. For best results, flash freeze individual portions on a sheet pan before wrapping them tightly in plastic wrap and aluminum foil. To reheat, thaw overnight in the refrigerator before baking at 350°F for 25-30 minutes until heated through.
Meal Prep
I recommend doubling the recipe for great leftovers. Prep it on the weekend to enjoy throughout the week. Store in individual portions in meal prep containers, and they'll stay fresh for up to 3 days. Reheat in the microwave for 2-3 minutes or until hot.
Frequently Asked Questions
Can I use different types of cheese in this casserole?
Absolutely! You can mix and match cheeses like cheddar, Monterey Jack, or even pepper jack for a bit of heat. Just keep in mind that some cheeses may melt differently, affecting the texture.
Why did my casserole turn out too dry?
If your casserole is too dry, it might be due to overcooking or using leaner ground beef. Make sure to check for doneness and consider adding a splash of broth or cream for extra moisture.
Can I make this casserole ahead of time?
Yes, you can prep the casserole a day in advance and store it in the fridge before baking. Just allow extra time in the oven if it's chilled when you bake it.
What can I substitute for ground beef?
Ground turkey or chicken works well as a substitute for ground beef, offering a lighter option. Just be sure to season it well, as it tends to be milder in flavor.
Is this casserole suitable for gluten-free diets?
Yes, this cheesy hash brown beef casserole can easily be made gluten-free by using gluten-free hash browns. Just double-check any additional ingredients like seasonings or sauces.
This cheesy hash brown beef casserole has become a family favorite in my house — it's comforting, hearty, and perfect for busy weeknights. For an extra layer of flavor, consider adding some sautéed onions or bell peppers to the mix. I can't wait for you to try it, so let me know how it turns out or share your version with me on Pinterest!