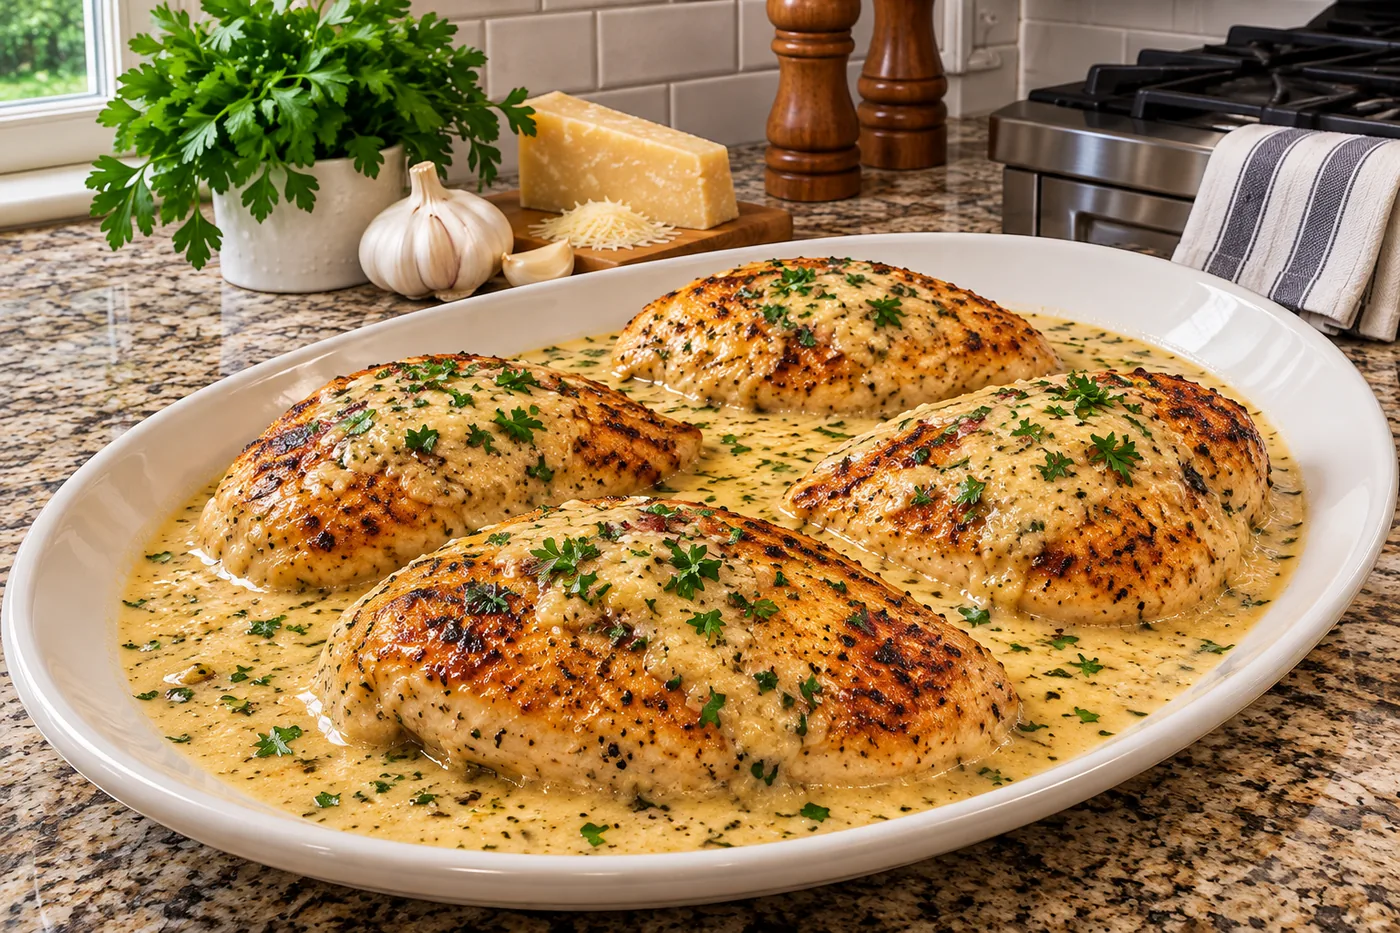
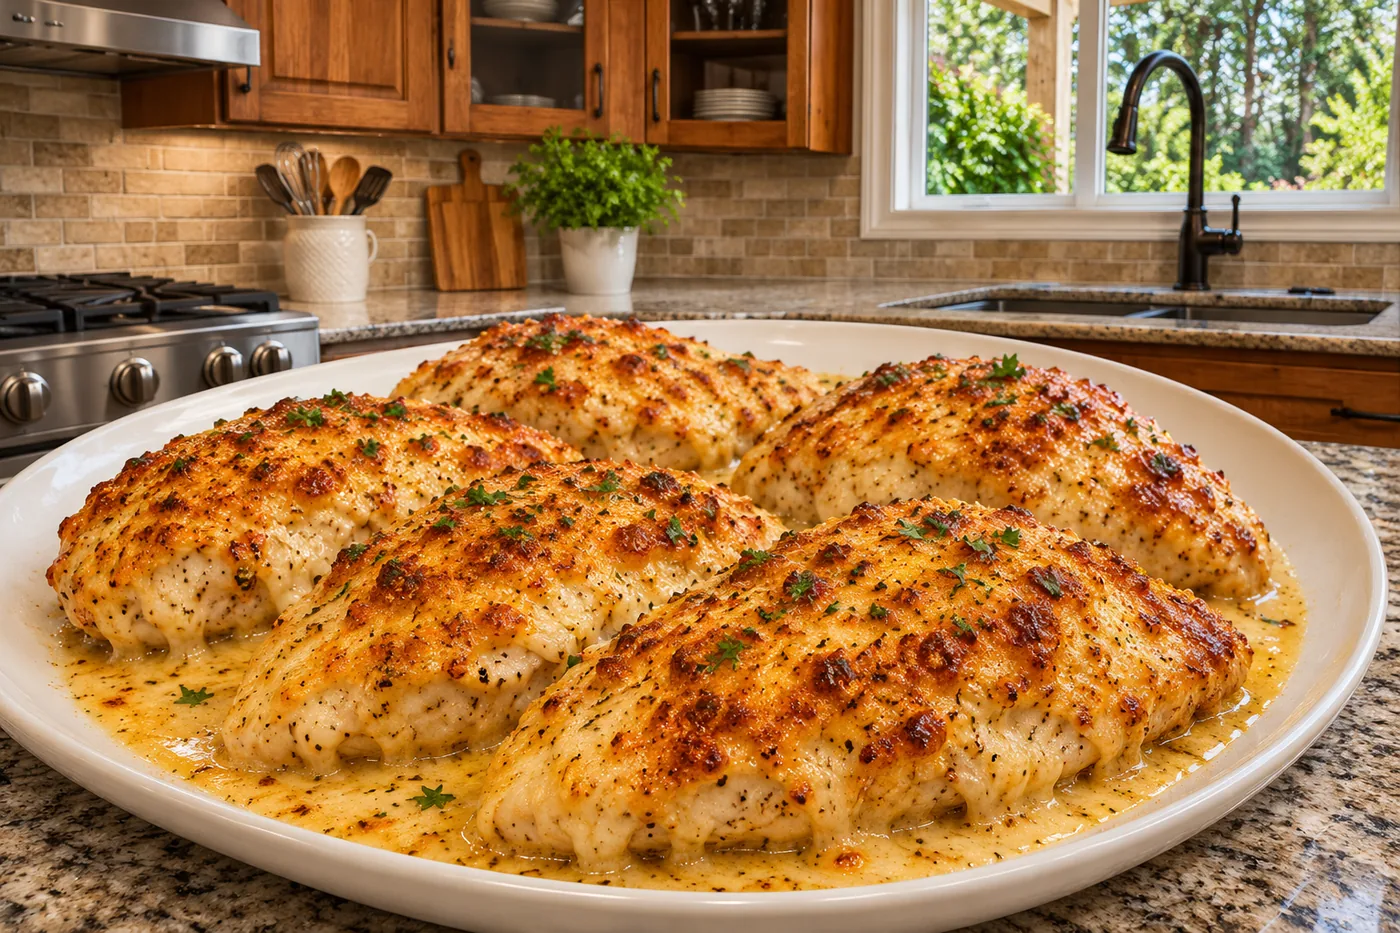
I remember the first time I made cheesy baked chicken breasts for dinner. The aroma of melted cheese and roasted broccoli filled the kitchen, and my family couldn't resist coming back for seconds.
What sets this recipe apart is the perfect balance of creamy cheese, tender chicken, and vibrant tomatoes, creating a deliciously satisfying meal that’s quick enough for weeknights but special enough for guests.
Why This Recipe Works
- Moisture Retention: The olive oil helps to lock in moisture during baking, ensuring the chicken breasts remain juicy and tender. I found that using too little oil made the chicken dry, so two tablespoons is just right.
- Flavor Enhancement: The combination of garlic powder, onion powder, and paprika infuses the chicken with layers of flavor. I tested various spice blends, and this mix provided the perfect balance without overpowering the dish.
- Cheesy Crust: The mozzarella and Parmesan create a deliciously gooey and golden crust that adds texture. I experimented with different cheeses, but this combination provided the best melt and flavor profile.
- Nutrient Boost: Adding steamed broccoli and cherry tomatoes not only brightens the dish visually but also enhances its nutritional value. I noticed that the veggies kept their color and crunch, making each bite satisfying.
Ingredients
What You'll Need
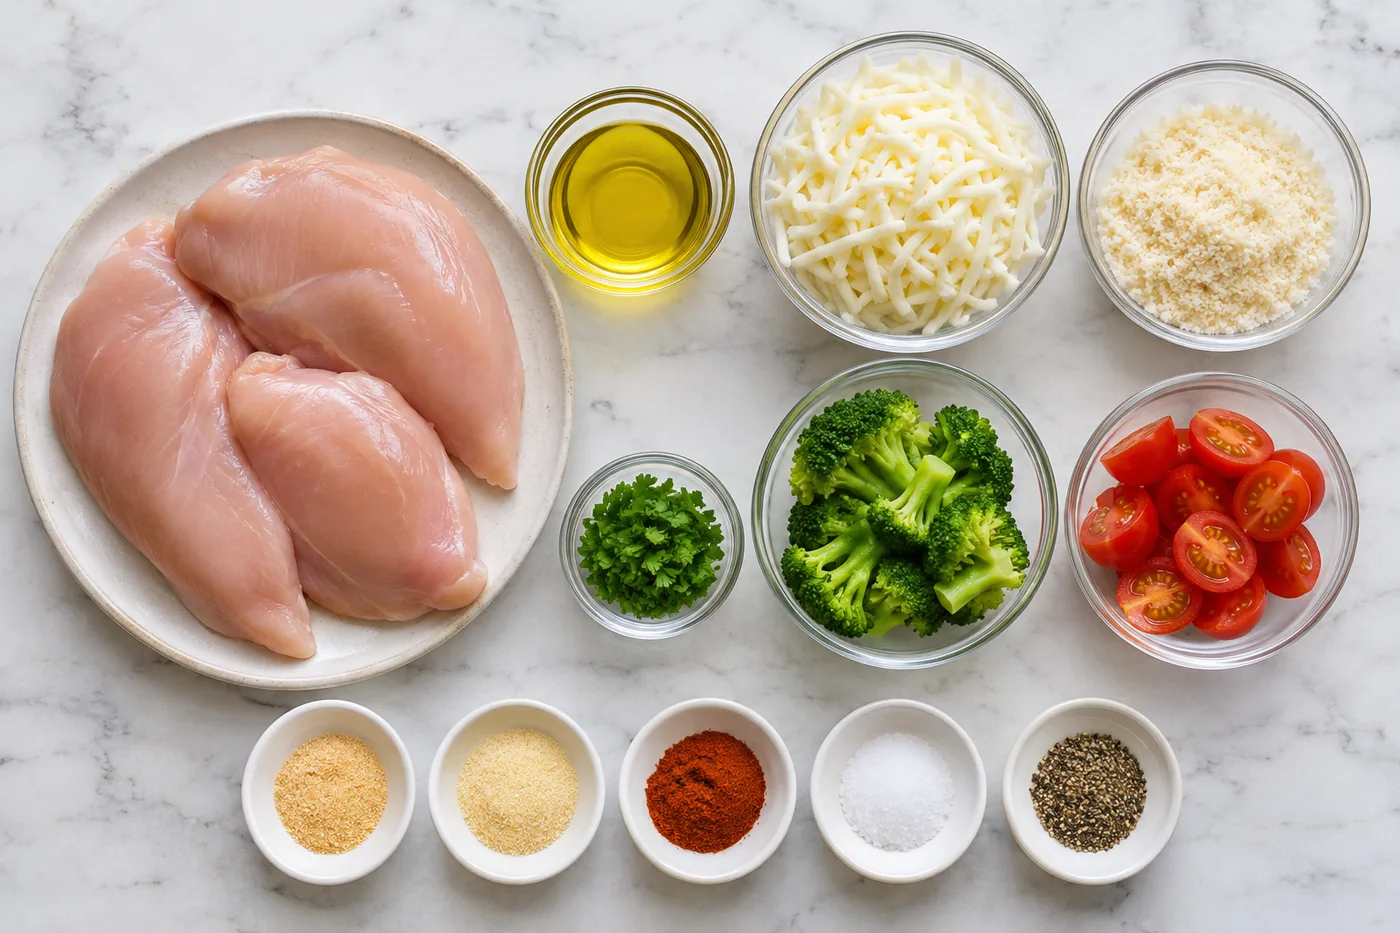
- 1.5 lb boneless chicken breasts trimmed of excess fat for juicy, tender bites; look for plump, pale-colored breasts.
- 2 tbsp olive oil adds moisture and helps the seasonings stick; extra virgin has the best flavor.
- 1 tsp garlic powder brings a rich, savory depth; fresh garlic can be used for a sharper taste.
- 1 tsp onion powder enhances the overall flavor without the texture of fresh onions.
- 1 tsp paprika adds a subtle smokiness and color; choose sweet or smoked based on your preference.
- 1 tsp salt essential for bringing out all the flavors; adjust to your taste.
- 1/2 tsp black pepper adds a nice kick without overwhelming the dish.
- 1 cup shredded mozzarella cheese meltiness is key for that gooey, cheesy topping; use whole milk for creaminess.
- 1/2 cup grated Parmesan cheese adds a nutty, salty flavor that complements the mozzarella.
- 1/2 cup broccoli florets, steamed provides a pop of color and nutrition; fresh or frozen works well.
- 1/2 cup cherry tomatoes, halved sweetness balances the dish; choose ripe, vibrant tomatoes.
- 1 tbsp fresh parsley, chopped, for garnish adds freshness and a touch of color for presentation.
For these cheesy baked chicken breasts, choose high-quality chicken breasts for the best texture. Fresh produce like broccoli and cherry tomatoes will enhance the dish, ensuring vibrant colors and flavors.
Easy Substitutions
- Dairy-free: swap shredded mozzarella with dairy-free cheese — the texture will be less gooey but still provide a cheesy flavor.
- Gluten-free: this recipe is naturally gluten-free; just ensure your seasonings and cheese are gluten-free certified.
- Lower calorie: swap olive oil with a light cooking spray — this will reduce calories significantly but may slightly alter the richness.
Step-by-Step Instructions
Prep & Coat
- Preheat your oven to 425°F (220°C) and line a baking dish with parchment paper to prevent sticking — this makes cleanup a breeze later.
- In a large bowl, combine 3 tablespoons of olive oil, 1 teaspoon each of garlic powder, onion powder, and paprika, along with 1 teaspoon of salt and ½ teaspoon of black pepper. Mix well until you have a smooth, fragrant paste — this blend infuses the chicken with flavor.
- Add 4 boneless, skinless chicken breasts to the bowl, tossing them gently until they're evenly coated with the spice mixture. This ensures every bite is full of flavor and aroma.
Bake & Top
- Arrange the coated chicken breasts in a single layer in the prepared baking dish, making sure they aren't crowded — this helps them cook evenly and develop a nice texture.
- Bake in the preheated oven for 15 minutes. You'll want to see the edges starting to turn white and the chicken firming up — that’s your cue that they are cooking nicely.
- After 15 minutes, carefully remove the dish from the oven and sprinkle 1 cup of shredded mozzarella and ½ cup of grated Parmesan cheese over each chicken breast. The cheese will melt and create a delicious, gooey topping.
- Top with 1 cup of steamed broccoli florets and halved cherry tomatoes for a colorful burst of nutrition and flavor. These veggies add freshness and balance to the cheesy baked chicken breasts.
- Return the dish to the oven and bake for an additional 10 minutes, or until the chicken is cooked through and the cheese is bubbly and golden. A good visual cue is when the cheese starts to brown slightly — that’s when you know it’s ready.
Rest & Garnish
- Remove the baking dish from the oven and let the chicken rest for 5 minutes. This step allows the juices to redistribute, keeping the chicken tender and juicy.
- Before serving, garnish with chopped fresh parsley for a pop of color and a hint of freshness — it brightens the dish beautifully.
Tips & Tricks
The Importance of Patting Dry
Before you coat the chicken breasts, make sure to pat them dry with paper towels. This simple step helps the seasoning stick better and promotes a nice, crispy exterior. I learned the hard way that excess moisture can lead to steamed chicken instead of that golden-brown finish we all crave.
Choosing the Right Cheese
Not all cheeses melt the same way, so I recommend sticking with high-quality mozzarella and Parmesan for this recipe. Freshly shredded cheese melts beautifully and provides that gooey texture you want. I once used pre-shredded cheese, and it just didn’t have the same satisfying melt — live and learn!
Pro Tips
- Use a Meat Thermometer: To ensure perfectly cooked chicken, invest in a meat thermometer. Aim for an internal temperature of 165°F (75°C) for juicy, safe-to-eat chicken. I’ve learned the hard way that overcooking can lead to dry meat, so trust your thermometer.
- Add Fresh Herbs for Flavor: Before baking, sprinkle some fresh herbs like thyme or basil on top of the chicken. The aroma that fills your kitchen is tempting, and the herbs add a depth of flavor that dried spices just can’t match. I always keep a pot of fresh herbs on my windowsill for this reason.
- Broil for a Crispy Top: If you love a crispy cheese crust, switch to broil for the last 2-3 minutes of cooking. Keep a close eye on it, though! This step transforms the dish, giving it that golden, bubbly finish that’s so satisfying.
- Brine for Extra Juiciness: For even juicier chicken, consider brining the breasts in a simple saltwater solution for 30 minutes before cooking. This technique enhances flavor and moisture, ensuring every bite is tender. I often brine chicken when I have a little extra time, and it’s always worth it.
- Experiment with Cheese Blends: Don't hesitate to mix different cheeses for a unique flavor profile. Combining mozzarella with a sharp cheddar or creamy gouda can enhance your cheesy baked chicken breasts. I tried a blend once, and it took the dish to a whole new level!
Variations & Customizations
Flavor Twists
Mediterranean Delight
Add 1/2 cup diced sun-dried tomatoes, 1/3 cup black olives, and 1 tsp dried oregano. This version bursts with vibrant Mediterranean flavors, bringing a tangy sweetness from the sun-dried tomatoes and a briny kick from the olives.
BBQ Cheesy Chicken
Mix in 1/2 cup of your favorite BBQ sauce and top with 1 cup shredded cheddar cheese instead of mozzarella. The result is a smoky, tangy explosion that pairs beautifully with the gooey cheese, offering a pleasureful contrast in flavors.
Kid-Friendly
Pizza Style
Incorporate 1/2 cup mini pepperoni slices and use 1 cup shredded mozzarella cheese with 1/2 cup marinara sauce drizzled over the top. This version resembles a delicious pizza, perfect for little ones, with the gooey cheese and savory pepperoni making it a hit.
Storage & Meal Prep
Room Temperature
Cheesy baked chicken breasts can sit at room temperature for up to 2 hours. Store them in a covered dish or airtight container to keep them fresh.
Refrigerator
They'll stay good in the fridge for up to 4 days. Make sure to let them cool completely, and wrap each breast individually in plastic wrap before placing them in an airtight container to prevent moisture loss.
Freezer
In the freezer, these can last for about 3 months. For the best results, flash freeze them on a sheet pan first, then wrap each piece in plastic wrap and place them in a freezer-safe bag. Thaw in the refrigerator overnight before reheating.
Meal Prep
I recommend doubling the recipe for meal prep — it’s perfect for lunches throughout the week. Prep them over the weekend and store in individual containers for easy grab-and-go meals. They’ll stay fresh for up to 4 days in the fridge. To reheat, pop them in the oven at 350°F for about 20 minutes until warmed through.
Frequently Asked Questions
Can I use other cheeses for cheesy baked chicken breasts?
Absolutely! You can experiment with cheeses like mozzarella, gouda, or even pepper jack for a spicier kick. Just keep in mind that melting characteristics may vary, so adjust your baking time accordingly.
What should I do if my cheesy baked chicken breasts are dry?
If your chicken turns out dry, it may be due to overcooking. Always use a meat thermometer to check for doneness at 165°F (74°C) and consider brining the chicken beforehand for added moisture.
Can I make cheesy baked chicken breasts ahead of time?
Yes, you can prepare the chicken breasts and coat them with cheese a few hours in advance. Just keep them covered in the fridge until you're ready to bake.
Is there a gluten-free option for the coating?
Definitely! You can substitute regular breadcrumbs with gluten-free breadcrumbs or crushed gluten-free crackers. This will give you that crunchy texture without any gluten.
What side dishes pair well with cheesy baked chicken breasts?
Some great sides include roasted vegetables, a fresh garden salad, or creamy mashed potatoes. These will complement the richness of the chicken nicely.
These cheesy baked chicken breasts are a guaranteed crowd-pleaser at my dinner table, with their melty goodness and crispy topping making everyone go back for seconds. For the best results, let the chicken rest for a few minutes after baking to lock in all that juicy flavor. I can't wait for you to try this recipe — leave a comment to share your experience or pin it for later!