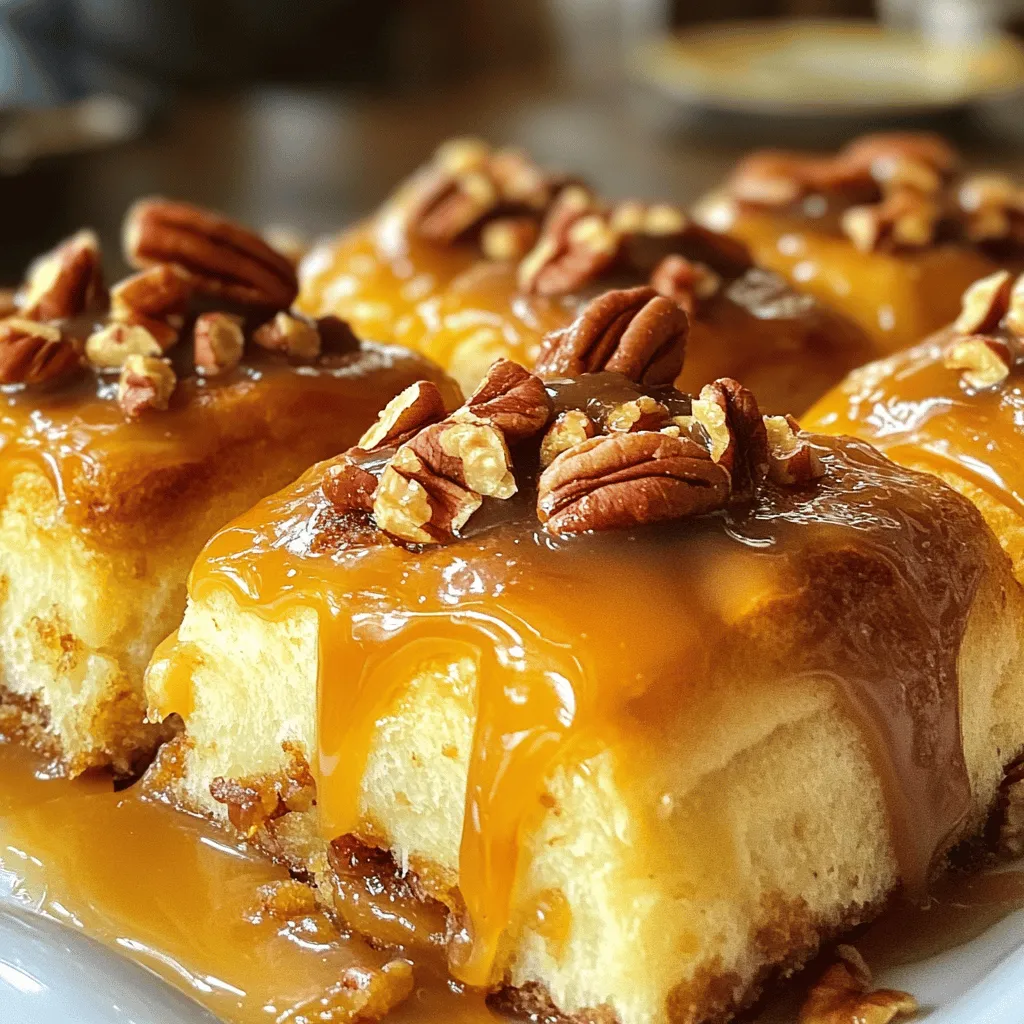
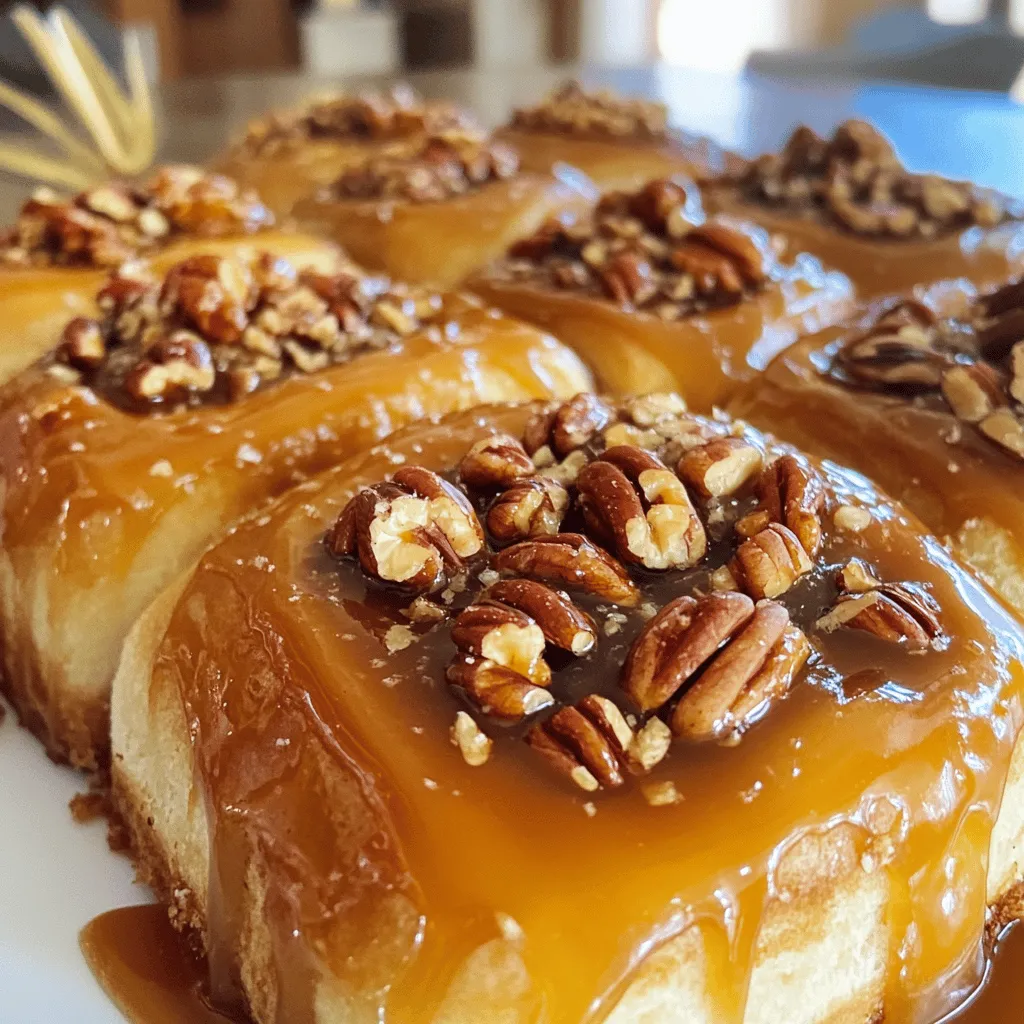
Get ready to treat your taste buds with my Caramel Pecan Sticky Buns! These gooey delights combine rich caramel and crunchy pecans, creating a sweet, sticky experience you won’t forget. Whether you want to impress guests or enjoy a cozy morning treat, I’ve got step-by-step instructions, tips, and flavor variations waiting for you. Let’s dive into this recipe that’s sure to become a family favorite!
Ingredients
List of Required Ingredients
To make Caramel Pecan Sticky Buns, you need these key ingredients:
– 4 cups all-purpose flour
– 1/4 cup granulated sugar
– 1 packet (2 1/4 tsp) active dry yeast
– 1 teaspoon salt
– 1 cup warm milk (110°F)
– 1/2 cup unsalted butter, melted
– 2 large eggs
– 1 teaspoon vanilla extract
– 1/2 cup brown sugar, packed
– 1 cup pecans, chopped
– 1/4 cup corn syrup
– 1 tablespoon ground cinnamon
These ingredients work together to create a soft, sweet dough with rich, gooey caramel.
Optional Ingredients for Extra Flavor
If you want to add unique flavors, consider these options:
– A pinch of nutmeg for warmth
– A splash of maple syrup for depth
– A handful of raisins or dried cranberries for sweetness
These ingredients can elevate your sticky buns and make them even more special.
Ingredient Substitutions
You can easily swap some ingredients if needed:
– Use almond milk instead of regular milk for a dairy-free option.
– Substitute coconut oil for butter for a vegan touch.
– If you don’t have pecans, walnuts or almonds work well too.
These swaps can help you adapt the recipe to your dietary needs or preferences.
Step-by-Step Instructions
Preparing the Dough
To start, you need to make the dough. First, take a bowl and mix warm milk with yeast. Let it sit for 5 to 10 minutes until frothy. This step wakes up the yeast and helps it grow. In a large mixing bowl, combine 4 cups of all-purpose flour, 1/4 cup granulated sugar, and 1 teaspoon salt. Next, add the yeast mixture, 1/2 cup melted butter, 2 large eggs, and 1 teaspoon vanilla extract. Mix until a dough forms. Then, knead the dough on a floured surface for 5 to 7 minutes. You want it smooth and elastic. Place the dough in a greased bowl, cover it, and let it rise in a warm area for 1 hour. It should double in size.
Making the Caramel Mixture
While the dough rises, prepare the caramel mixture. In a small saucepan, combine 1/2 cup brown sugar, 1/4 cup corn syrup, and a pinch of salt. Heat this over medium heat, stirring until smooth. This mixture will create that rich, gooey caramel layer. Once it’s ready, remove it from the heat and set it aside. This caramel will go into the baking dish and coat your buns.
Assembling and Baking the Sticky Buns
After the dough has risen, preheat your oven to 350°F (175°C). Pour the caramel mixture into a greased baking dish. Sprinkle 1 cup of chopped pecans evenly over the top. Roll out the risen dough into a large rectangle, about 1/2 inch thick. Brush melted butter over the dough, then sprinkle with brown sugar and 1 tablespoon ground cinnamon. Roll the dough tightly into a log and slice it into 12 equal pieces. Place these slices into the baking dish, on top of the caramel and pecans. Cover and let them rise for another 30 minutes. Finally, bake for 25 to 30 minutes until golden brown. Let them cool for 5 minutes, then invert the pan onto a serving platter. Watch the caramel flow over the buns.
Tips & Tricks
Perfecting the Dough Texture
To make great caramel pecan sticky buns, the dough must be just right. You want a soft and smooth dough. Start by using warm milk to help the yeast work better. If the milk is too hot, it can kill the yeast. Aim for 110°F. Knead the dough until it feels elastic and smooth. This usually takes about 5-7 minutes. If the dough sticks to your hands, add a bit more flour.
Avoiding Common Mistakes
Many people make the same mistakes when making sticky buns. One common error is not letting the dough rise enough. Make sure the dough doubles in size before rolling it out. Another mistake is not measuring the ingredients correctly. Use a kitchen scale for accuracy. If you skip this step, your buns may be too dry or too dense.
How to Ensure Even Baking
For even baking, preheat your oven well before placing the buns inside. This step is key to avoid uneven cooking. Place the baking dish in the center of the oven for the best results. This helps all sides cook at the same rate. Check the buns a few minutes before the end of the baking time. Every oven is different, so keep an eye on them. You want a golden brown color on top. Follow these tips, and your sticky buns will turn out perfect every time!
Variations
Adding Different Nuts
You can make your caramel pecan sticky buns even more exciting by swapping nuts. Try walnuts or hazelnuts for a different flavor. Both nuts add a nice crunch. You can also mix nuts for a fun texture. Just chop them up and sprinkle on top of the caramel. This small change can give your sticky buns a new twist.
Incorporating Fruits or Chocolate
Fruits and chocolate can bring extra taste to your sticky buns. Try adding raisins or dried cranberries for some sweetness. If you love chocolate, add chocolate chips to the filling. To do this, sprinkle them over the dough after you spread the butter. This way, the chocolate melts while baking, making each bite rich and gooey. Feel free to be creative with flavors you enjoy!
Vegan or Gluten-Free Adaptations
If you need vegan or gluten-free options, you can still enjoy these sticky buns. For vegan buns, replace eggs with flax eggs and use plant milk. Substitute the butter with coconut oil or vegan butter. To make them gluten-free, swap all-purpose flour for a gluten-free blend. Just ensure your other ingredients are also gluten-free. With these tweaks, you can still enjoy the same great taste.
Storage Information
How to Store Leftovers
To store leftover caramel pecan sticky buns, let them cool completely. Place them in an airtight container. You can also cover them tightly with plastic wrap. Keep them at room temperature for up to two days. If you want them to last longer, refrigerate them. They will stay fresh for about a week in the fridge.
Freezing Instructions
If you want to freeze sticky buns, wrap each bun tightly in plastic wrap. Then, place them in a freezer bag or container. You can freeze them for up to three months. When you’re ready to enjoy them, simply thaw them overnight in the fridge. This keeps them fresh and tasty.
Reheating Tips
To reheat the sticky buns, preheat your oven to 350°F (175°C). Place the buns on a baking sheet. Cover them with aluminum foil to keep them soft. Heat for about 10-15 minutes. For a quick option, you can use the microwave. Heat each bun for 20-30 seconds. Just watch that they don’t get too hot. Enjoy your warm and gooey treats again!
FAQs
What Can I Use Instead of Pecans?
If you do not have pecans, try walnuts or almonds. Both add great flavor. You can also use sunflower seeds for a nut-free option. Just chop them up like you would the pecans. This keeps the texture and adds crunch.
How Long Do Sticky Buns Last?
Sticky buns taste best fresh, but they last up to three days. Store them in an airtight container at room temperature. You can also keep them in the fridge for about a week. If you want to savor them longer, freeze them for up to three months.
Can I Make Sticky Buns in Advance?
Yes, you can make sticky buns in advance! Prepare the dough and shape the buns. Place them in the baking dish, cover with plastic wrap, and refrigerate overnight. The next day, let them rise for 30 minutes before baking. This saves time and keeps them fresh.
You learned about essential ingredients and tasty options for sticky buns. We went through how to prepare the dough and make the caramel. You now know tips for the best texture and how to avoid mistakes. We also explored fun variations and how to store your leftovers.
Sticky buns can be a tasty treat for any occasion. Enjoy the process and get creative! Happy baking!