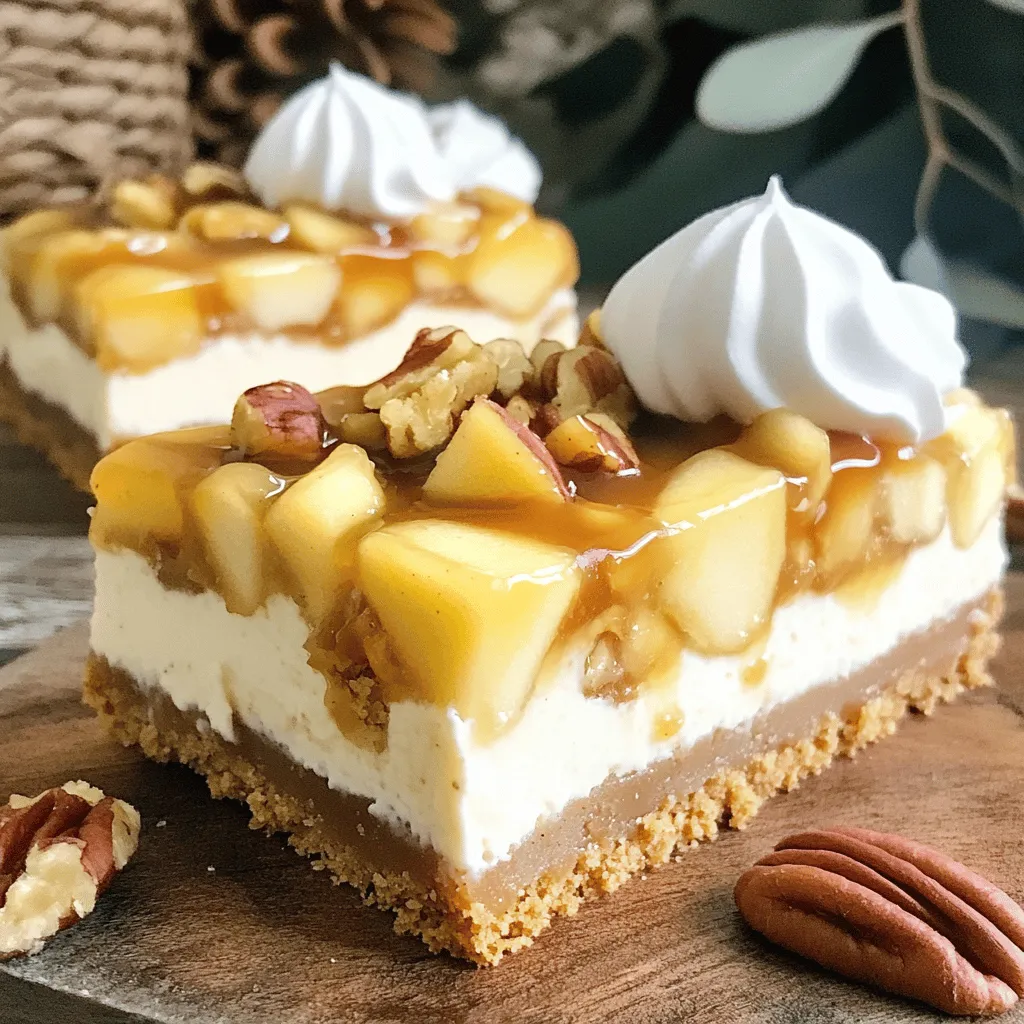
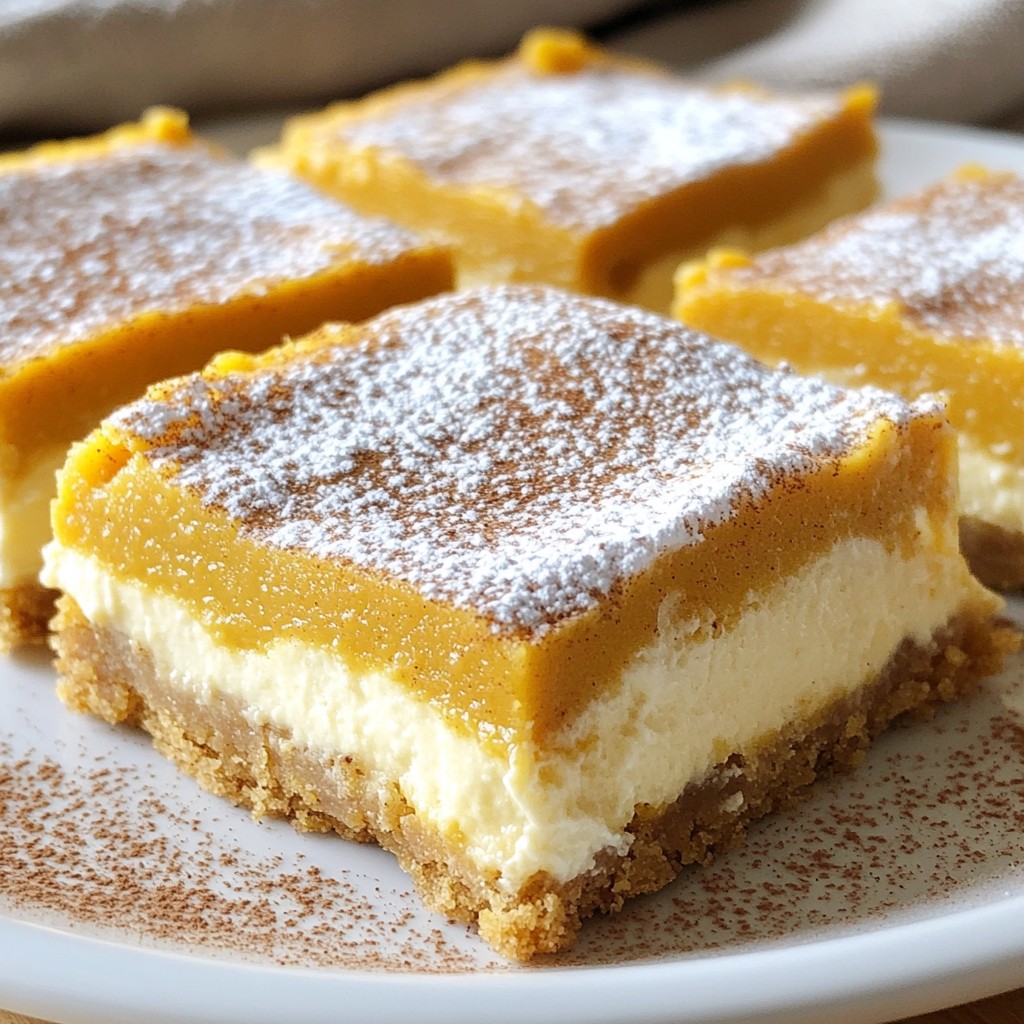
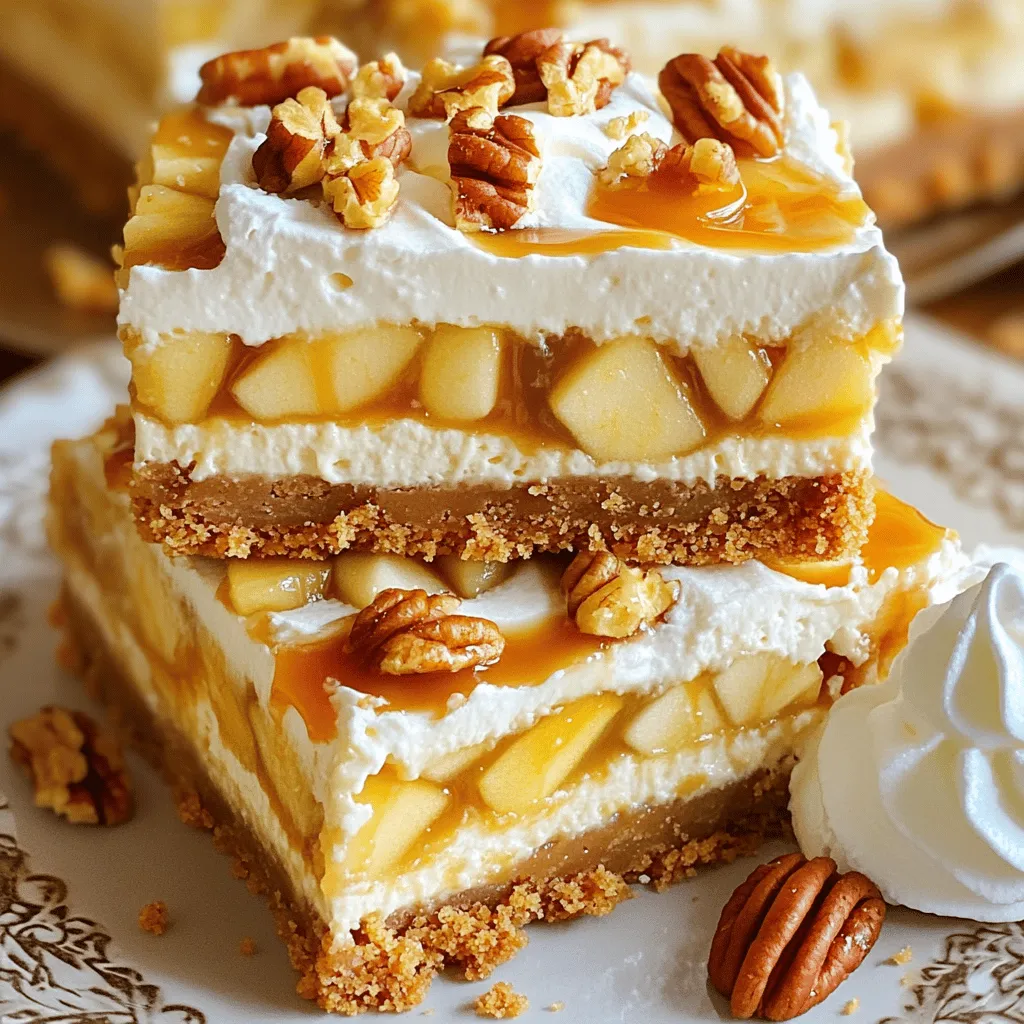
Craving a dessert that’s both easy to make and utterly delicious? Get ready for Caramel Apple Cheesecake Bars! I’ll guide you through simple steps to create this sweet treat that combines creamy cheesecake, tender apples, and rich caramel. Whether you’re a baking newbie or a seasoned pro, these bars will impress everyone. Let’s dive into the recipe and discover how to make this fantastic dessert!
Ingredients
Essential Ingredients for Caramel Apple Cheesecake Bars
To make these tasty bars, you need some key items:
– 2 cups graham cracker crumbs
– 1/2 cup unsalted butter, melted
– 1/4 cup granulated sugar
– 2 (8 oz) packages cream cheese, softened
– 1/2 cup brown sugar
– 1 teaspoon vanilla extract
– 2 large eggs
– 2 cups apples, peeled and diced (about 2 medium apples)
– 1 teaspoon ground cinnamon
– 1/4 teaspoon nutmeg
– 1 cup caramel sauce (store-bought or homemade)
– Whipped cream for serving (optional)
– Chopped pecans for garnish (optional)
These ingredients come together to create a creamy, sweet, and crunchy treat. The apples and caramel give it a rich flavor that will wow everyone.
Optional Garnishes to Enhance Flavor
To make your bars even better, consider adding these fun toppings:
– Whipped cream
– Chopped pecans
– Extra caramel sauce
These garnishes add texture and flavor. They make each bite special and fun.
Tools and Equipment Needed
To prepare these cheesecake bars, you will need a few tools:
– 9×13 inch baking pan
– Parchment paper
– Medium mixing bowl
– Large mixing bowl
– Electric mixer or whisk
– Knife for cutting
Having the right tools makes cooking easier and more enjoyable. You can find most of these items in your kitchen.Enjoy making this easy and delicious treat!
Step-by-Step Instructions
Preparing the Crust
Start by preheating your oven to 325°F (163°C). Line a 9×13 inch baking pan with parchment paper. Leave some paper hanging over the sides. This helps with easy removal later. In a medium bowl, mix 2 cups of graham cracker crumbs, 1/2 cup of melted unsalted butter, and 1/4 cup of granulated sugar. Stir until the crumbs feel moist. Press this mixture into the bottom of the pan. Make sure it’s even and compact. Bake the crust for 10 minutes. Take it out and let it cool a bit.
Making the Cheesecake Mixture
In a large mixing bowl, beat together 2 packages of softened cream cheese, 1/2 cup of brown sugar, and 1 teaspoon of vanilla extract. Mix until it is smooth and creamy. Add in 2 large eggs, one at a time. Make sure to mix well after each addition. In another bowl, take 2 cups of peeled and diced apples. Toss them with 1 teaspoon of ground cinnamon and 1/4 teaspoon of nutmeg. Fold this apple mix into the cream cheese mixture gently. This will add great flavor.
Baking and Cooling the Bars
Now, pour the cheesecake batter over the cooled crust in the pan. Spread it out evenly. Drizzle 1 cup of caramel sauce over the top. Use a knife to swirl it around a bit for a marbled look. Bake everything in the oven for 35-40 minutes. The center should be set but still have a slight jiggle. Let the bars cool on a wire rack for at least 1 hour. Once cooled, put them in the fridge for at least 3 hours or overnight. This makes cutting easier. When ready to serve, lift the bars out using the parchment paper. Cut them into squares. You can drizzle more caramel on top if you like. Add whipped cream and chopped pecans for a tasty finish.
Tips & Tricks
How to Achieve the Perfect Cheesecake Texture
To get the best cheesecake texture, start with room temperature cream cheese. Cold cream cheese can turn lumpy. Beat the cream cheese well until it is smooth and creamy. This step is key for a rich filling. When you add eggs, mix them in one at a time. This keeps the batter smooth. Avoid over-mixing after adding eggs. Over-mixing can make the cheesecake too airy and cause cracks.
Caramel Swirling Techniques
Swirling caramel into your cheesecake adds a fun look and flavor. After pouring the batter into the pan, drizzle your caramel sauce over the top. Use a knife or a toothpick to create swirls. Don’t overdo it; you want to see both the cheesecake and caramel. If you prefer more caramel flavor, add extra swirls. Just remember, a little goes a long way.
Common Mistakes to Avoid
There are a few mistakes to watch for when making these bars. First, don’t skip the cooling steps. Allow the crust to cool before adding the cheesecake mix. This helps keep the layers separate. Second, avoid opening the oven door while baking. This can change the temperature and make your bars sink. Lastly, refrigerating the bars is a must. This helps them set well and makes cutting easier.
Variations
Gluten-Free Alternatives for the Crust
If you need a gluten-free crust, use ground almonds or gluten-free graham crackers. Both options give a nice flavor and texture. Just mix these with melted butter and sugar as you would with regular crumbs. Press it down firmly in the pan for a solid base.
Dairy-Free Substitutes for Cream Cheese
To make this recipe dairy-free, you can use vegan cream cheese. Brands like Tofutti or Kite Hill work well. They have a similar texture and taste. You can also try silken tofu blended until smooth. This option is lighter and still creamy.
Flavor Tweaks for Different Seasonings
You can play with flavors in this recipe. Try adding a pinch of ginger or allspice for warmth. You can also use vanilla bean paste instead of extract for a richer taste. For a fun twist, mix in some chopped caramel candies in the batter for extra sweetness.
Explore these variations to make the caramel apple cheesecake bars fit your needs and preferences.
Storage Info
Best Practices for Storing Leftovers
To keep your caramel apple cheesecake bars fresh, store them in the fridge. Place the bars in an airtight container. This prevents them from drying out. You can also cover them tightly with plastic wrap. They will stay good for up to five days. If you plan to enjoy them later, think about freezing.
How to Freeze Caramel Apple Cheesecake Bars
Freezing these bars is simple. First, let them cool completely. Then, cut them into squares. Wrap each square in plastic wrap. Place the wrapped bars in a freezer bag or container. Label it with the date. These bars can last in the freezer for up to three months. When you’re ready, take out only what you need.
Reheating Tips for Enjoying Later
To enjoy your frozen bars, thaw them in the fridge overnight. If you want them a bit warm, you can heat them in the microwave. Just place a bar on a microwave-safe plate. Heat it for about 15-20 seconds. This will make the caramel gooey and delicious again. Serve with a drizzle of caramel sauce or whipped cream for extra delight.
FAQs
Can I use different fruits in this recipe?
Yes, you can use different fruits in these bars. Pears, peaches, or berries work well. Just remember to adjust the spices to match the fruit. For example, you might skip the nutmeg when using berries.
What can I substitute for cream cheese?
If you need a substitute for cream cheese, try mascarpone or Greek yogurt. Both will give a creamy texture. You can also use a dairy-free cream cheese if you prefer.
How long can I store these bars in the fridge?
You can store these bars in the fridge for about five days. Make sure to keep them in an airtight container. This helps keep them fresh and tasty.
Is it necessary to refrigerate the cheesecake bars before serving?
Yes, refrigerating the cheesecake bars is important. It helps them set properly. Chilling makes them easier to cut and gives the flavors time to blend. I recommend chilling them for at least three hours, or even overnight for best results.
In this article, we explored how to make delicious caramel apple cheesecake bars. We covered essential ingredients, tools needed, and clear steps for a perfect bake. I shared tips for texture, caramel techniques, and common mistakes to avoid. Plus, we looked at tasty variations and best storage practices for leftovers.
With these insights, you can confidently create your own bars. Enjoy experimenting with flavors, and don’t hesitate to make this recipe your own!
