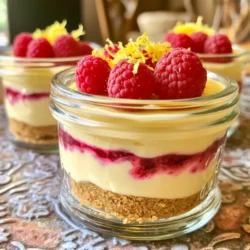
Ready to treat yourself? These No-Bake Lemon Raspberry Cheesecake Jars are a game-changer. Perfect for hot days, this easy dessert combines sweet and tangy flavors. You’ll love how simple they are to make. With layers of creamy filling and a buttery crust, these jars are ready to impress. Stick around, and I’ll guide you through the steps to create this delightful treat!
Ingredients
Essential Ingredients for Cheesecake Jars
To make these No-Bake Lemon Raspberry Cheesecake Jars, you need some key ingredients. Here’s a list:
– 1 cup graham cracker crumbs
– 1/4 cup unsalted butter, melted
– 2 cups cream cheese, softened
– 1 cup powdered sugar
– 1/4 cup fresh lemon juice
– Zest of 1 lemon
– 1 teaspoon vanilla extract
– 1 cup heavy whipping cream
– 1 cup fresh raspberries
These ingredients create a creamy and tangy cheesecake base, paired with a sweet crust.
Optional Garnishes and Toppings
You can add fun touches to your jars. Here are some ideas:
– Additional fresh raspberries
– Lemon zest for extra flavor
– Mint leaves for a pop of color
– Whipped cream for a creamy top
These garnishes add flair and enhance the taste of your dessert.
Substitutions for Allergies or Preferences
If you have allergies or special diets, don’t worry! Here are some swaps:
– Use gluten-free graham crackers for a gluten-free option.
– Swap cream cheese with a dairy-free cream cheese for a vegan choice.
– Substitute powdered sugar with coconut sugar for a healthier option.
These substitutions help you enjoy the cheesecake jars without worry.
Step-by-Step Instructions
Preparing the Crust
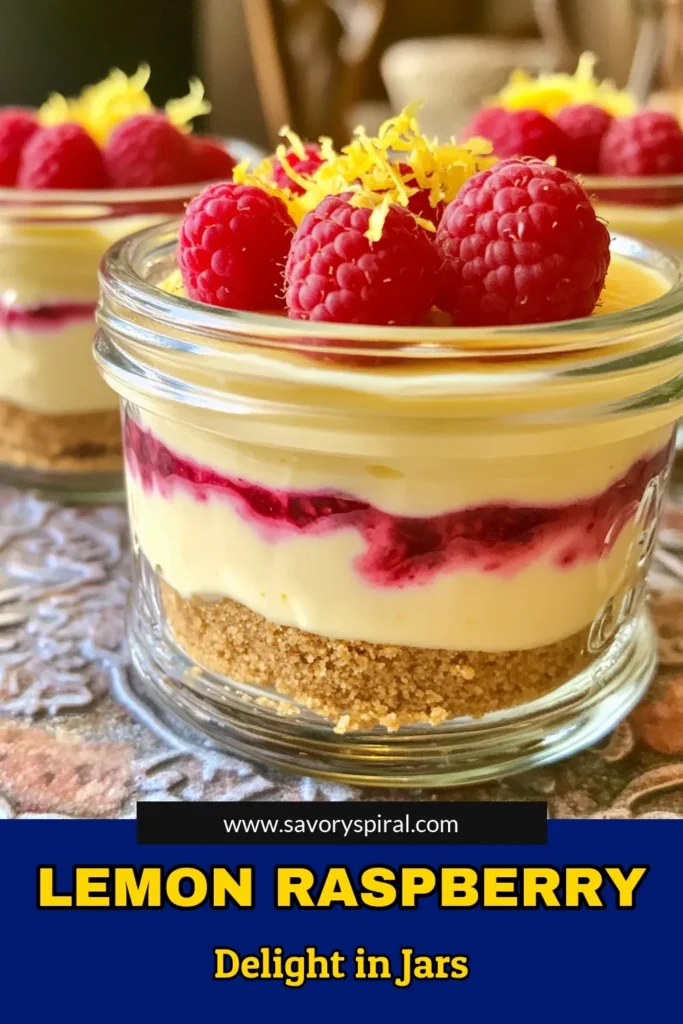
To make the crust, start with graham cracker crumbs. In a medium bowl, mix 1 cup of crumbs with 1/4 cup of melted butter. Use a fork to blend until the crumbs look wet. This mix will hold together well. Next, take about 1/4 cup of this crumb mix and spoon it into each jar. Press it down firmly. This step creates a solid base for your cheesecake. Set the jars aside while you make the filling.
Making the Cheesecake Filling
Now, let’s make the filling. In a large bowl, beat 2 cups of softened cream cheese using an electric mixer. Keep mixing until it’s creamy and smooth. Gradually add in 1 cup of powdered sugar, 1/4 cup of fresh lemon juice, the zest of 1 lemon, and 1 teaspoon of vanilla extract. Mix until everything is well combined. In another bowl, whip 1 cup of heavy cream until you see soft peaks. Gently fold the whipped cream into the cream cheese mix. This makes your filling light and fluffy.
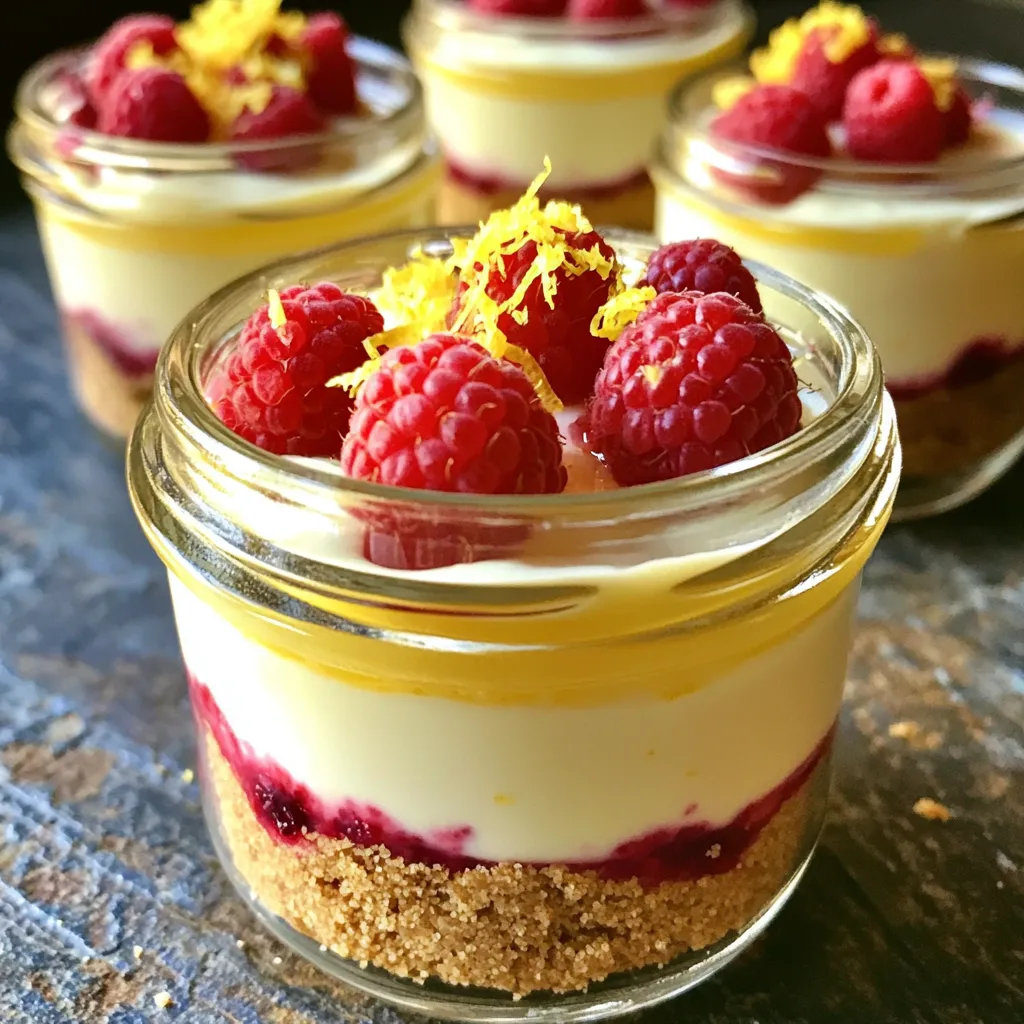
Assembling the Jars
It’s time to assemble! Spoon or pipe the cheesecake filling over the crust in each jar. Fill them almost to the top but leave a bit of space. Smooth the surface with a spatula. Next, take 1 cup of fresh raspberries and place them on top of each jar. Gently press them into the filling. Cover each jar with a lid or plastic wrap. Put them in the fridge for at least 4 hours, or overnight if you can wait. This helps the cheesecake set nicely. Before serving, add more raspberries and a sprinkle of lemon zest on top for a pretty finish!
Tips & Tricks
How to Achieve the Best Texture
To get a smooth and creamy texture, start with softened cream cheese. If it’s too cold, it will be lumpy. Beat it well until it’s fluffy. Next, fold in the whipped cream slowly. This keeps the mixture light and airy. Avoid stirring too roughly, as that can deflate the whipped cream. The goal is to mix until just combined.
Tips for Whipping Cream
Whipping cream needs to be cold for the best results. Chill your mixing bowl and beaters in the fridge for about 10 minutes. Start on low speed to avoid splattering. Gradually increase to high speed until soft peaks form. This means the cream should hold its shape but still be smooth. If you over-whip, it can turn grainy, so watch it closely!
Making Ahead and Serving Suggestions
You can make these cheesecake jars a day ahead. They need time to set, so refrigerate them for at least four hours, or overnight is best. When ready to serve, add fresh raspberries and lemon zest on top. This adds a pop of color and flavor. You can also use a piping bag for a fancy touch. These jars not only taste great, but they also look wonderful on any table.
Variations
Different Fruit Options
You can change the fruit in your cheesecake jars. Try blueberries, strawberries, or peaches. Each fruit adds its own flavor. You can mix berries for a fun twist. Just remember to adjust the sweetness. Some fruits are sweeter than others.
Alternative Sweeteners
If you want to cut sugar, use honey or maple syrup. These sweeteners add a different taste. You can also try stevia or monk fruit for a low-calorie option. Just be careful with the amount. Some are much sweeter than sugar.
Cheesecake Flavor Variations
Lemon is bright and fresh, but you can try other flavors too. Add cocoa powder for chocolate cheesecake. Use vanilla extract for a classic taste. You can even stir in some peanut butter for a nutty kick. Just keep the basic recipe the same and have fun!
Storage Info
How to Store Leftovers
To store your leftover cheesecake jars, cover each jar tightly. You can use a lid or plastic wrap. This keeps the flavors fresh and prevents drying. Place them in the fridge. They will stay tasty for about three to four days.
Freezing the Cheesecake Jars
You can freeze these cheesecake jars if you want to save some for later. First, make sure they are well-covered. Use a lid or wrap them in plastic. They can last up to two months in the freezer. When you are ready to eat, move them to the fridge for a few hours to thaw.
Shelf Life and Safety Tips
These cheesecake jars are best fresh but can last in the fridge for a few days. Make sure to check for any signs of spoilage. If the cream cheese smells sour or the crust feels hard, it’s time to toss it. Always keep your jars cold until you are ready to serve. This keeps them safe to eat and ensures great flavor.
FAQs
Can I use low-fat cream cheese?
Yes, you can use low-fat cream cheese. It will change the texture slightly. The cheesecake may be less rich but still tasty. Look for brands that whip well. They can create a lighter filling. Just remember, the taste may not be as creamy.
How can I make this recipe gluten-free?
To make this recipe gluten-free, use gluten-free graham crackers. Many brands offer gluten-free options. You can also use crushed nuts for the crust. Almonds or pecans work well. Just mix them with melted butter like you would with graham crackers.
What’s the best way to whip cream?
The best way to whip cream is to start with cold cream. Use a bowl that is also cold. A metal bowl works best for this. Begin at a low speed and slowly increase it. Whip until soft peaks form. Watch closely so you don’t overwhip it. Overwhipped cream will become butter.
In this post, we explored making cheesecake jars. We covered essential ingredients, step-by-step instructions, helpful tips, tasty variations, and smart storage methods. You can choose different flavors and toppings, so get creative! Remember, you can make adjustments for allergies or dietary needs. Cheesecake jars are easy to whip up and perfect for sharing. Keep these tips in mind, and enjoy your delicious treats!