Who doesn’t love warm, fluffy Apple Cider Donut Holes? They’re the perfect fall treat, and you can make them right at home! This simple recipe guide walks you through each step, from gathering ingredients to coating these delicious bites in cinnamon sugar. Whether you’re a beginner or an experienced cook, I’ll help you achieve golden-brown perfection. Get ready to impress your friends and family with these tasty delights!
Ingredients
List of Ingredients
– 1 cup apple cider
– 2 cups all-purpose flour
– 1/2 cup granulated sugar
– 1/4 cup packed brown sugar
– 1 tsp baking powder
– 1/2 tsp baking soda
– 1/2 tsp ground cinnamon
– 1/4 tsp ground nutmeg
– 1/4 tsp salt
– 1/2 cup unsweetened applesauce
– 1 large egg
– 2 tbsp melted butter
– Vegetable oil for frying
– Coating: 1/2 cup granulated sugar and 1 tsp ground cinnamon
These ingredients are key for making apple cider donut holes. They create a soft, fluffy texture and a rich flavor. The apple cider adds a nice sweetness and warmth. The spices like cinnamon and nutmeg give a cozy taste.
You need to measure each ingredient accurately. This helps the donut holes rise well and have the right taste. Use fresh apple cider for the best flavor. If you can, buy it from local farms. It adds a lovely touch.
Gather all the items before you start cooking. This makes the process smoother and more fun. Enjoy choosing your ingredients as you prepare for some tasty baking!
Step-by-Step Instructions
Preparation of Apple Cider
1. First, pour 1 cup of apple cider into a saucepan.
2. Bring the cider to a boil over medium heat.
3. Reduce the heat and let it simmer.
4. Keep simmering until it reduces to about 1/2 cup. This takes around 10 to 15 minutes.
5. Once reduced, remove it from heat and let it cool to room temperature.
Mixing Dry Ingredients
1. In a large bowl, add 2 cups of all-purpose flour.
2. Next, add 1/2 cup of granulated sugar and 1/4 cup of packed brown sugar.
3. Then, include 1 teaspoon of baking powder, 1/2 teaspoon of baking soda, 1/2 teaspoon of ground cinnamon, 1/4 teaspoon of ground nutmeg, and 1/4 teaspoon of salt.
4. Use a whisk to mix everything until well combined.
Combining Wet Ingredients
1. In another bowl, combine the cooled apple cider, 1/2 cup of unsweetened applesauce, 1 large egg, and 2 tablespoons of melted butter.
2. Beat these wet ingredients together until they are smooth.
Forming the Dough
1. Pour the wet mixture into the dry ingredients.
2. Gently mix them together until just combined. The batter should be thick, which is perfect for donut holes.
Frying Instructions
1. Heat vegetable oil in a deep fryer or a heavy-bottomed pot. Aim for 350°F (175°C).
2. Use a small cookie scoop or spoon to drop about 1 tablespoon of batter into the hot oil.
3. Fry in small batches to avoid overcrowding.
4. Cook until golden brown, which takes about 2 to 3 minutes per side.
Coating the Donut Holes
1. In a shallow bowl, mix 1/2 cup of granulated sugar with 1 teaspoon of ground cinnamon.
2. Once the donut holes are out of the oil, let them drain on paper towels.
3. While they are still warm, roll each donut hole in the cinnamon-sugar mixture until fully coated.
4. Repeat the frying and coating until all batter is used.
Tips & Tricks
Achieving the Perfect Texture
To make your apple cider donut holes truly shine, avoid overmixing. When you mix the wet and dry ingredients, do it gently. This keeps the donut holes light and fluffy. If you mix too much, they might turn out dense and tough.
Frying is where the magic happens. Heat your oil to 350°F (175°C). This is the sweet spot for golden-brown donut holes. If the oil is too cool, they will soak up too much oil. If it’s too hot, they will burn. Fry each donut hole for 2-3 minutes on each side. Watch them closely to get that perfect color.
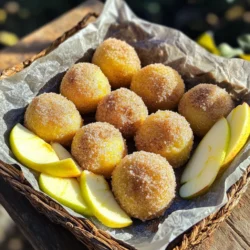
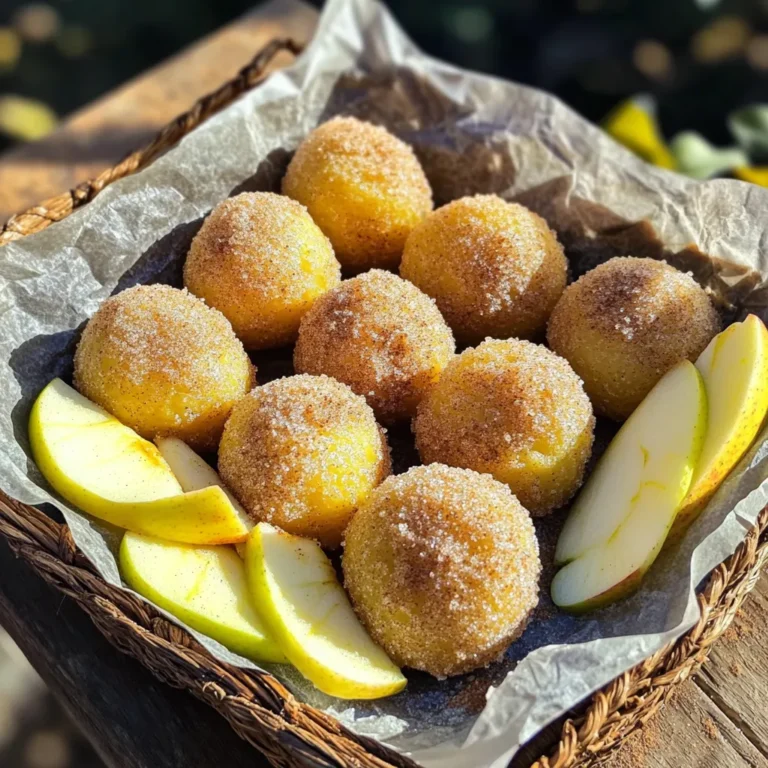
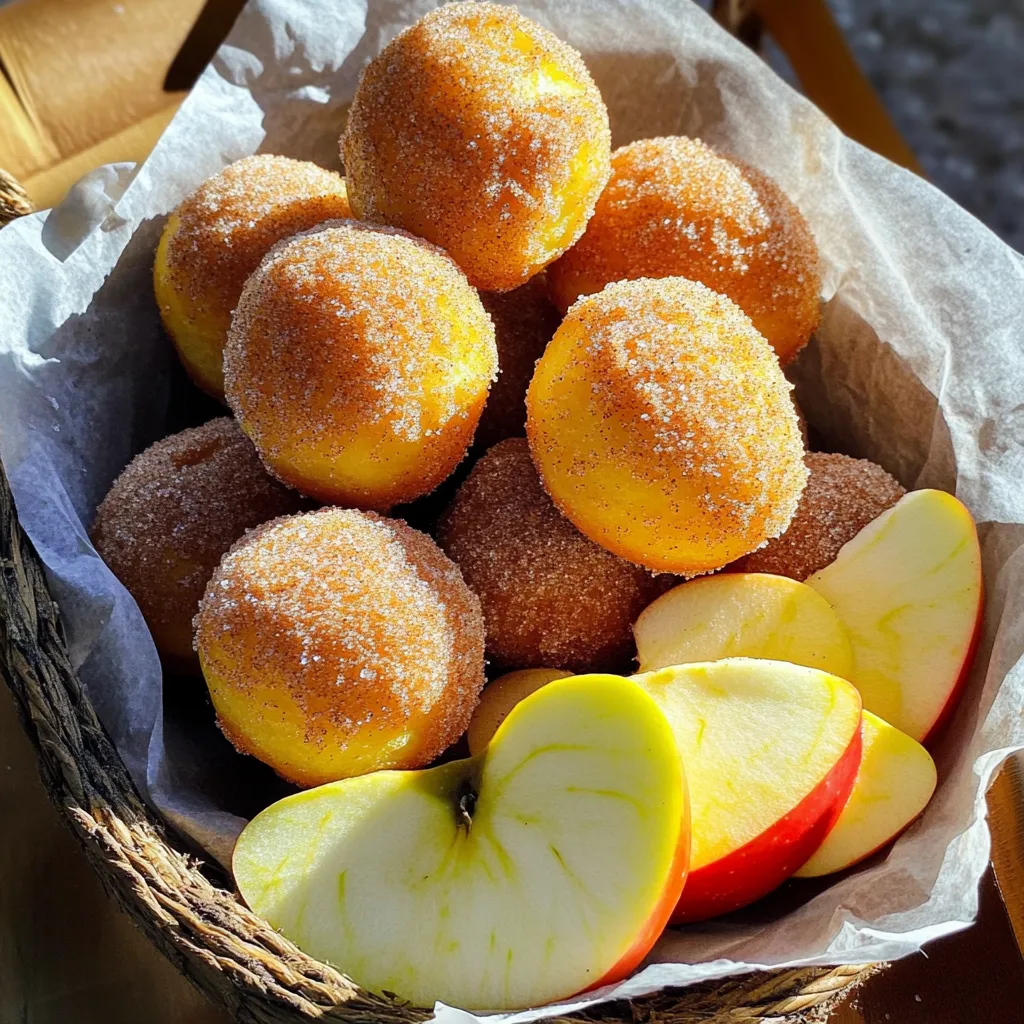
Serving Suggestions
Presentation matters! Serve your donut holes in a basket lined with parchment paper. Dust them with extra cinnamon sugar to make them look even more appealing. For a fun twist, pair them with fresh apple slices. This adds a nice crunch and balances the sweetness.
You can also enjoy these donut holes with warm drinks. Hot apple cider, coffee, or tea enhances their flavor. A sweet dipping sauce, like caramel, can make them even more indulgent.
Best Practices for Frying
Keep an eye on oil temperature. Use a thermometer to make sure it stays at 350°F (175°C). If you don’t have one, drop a small piece of batter into the oil. If it sizzles right away, the oil is ready.
To prevent soggy donut holes, avoid overcrowding the pot. Fry them in small batches. This helps maintain the oil temperature and gives each donut hole room to cook evenly. After frying, let them drain on paper towels for a moment. This removes excess oil and keeps them light.
Variations
Flavor Alternatives
You can change the taste of your donut holes with spices. Try adding ground ginger or cloves. These spices give your treats a warm and cozy flavor. Just add about 1/2 teaspoon of each to the dry mix. You can also play with cinnamon and nutmeg amounts. This way, you create a flavor that feels just right for you.
Healthier Options
Want a healthier twist? Use whole wheat flour instead of all-purpose flour. This change adds fiber and nutrients. You can also reduce sugar by using less granulated sugar or brown sugar. Applesauce can sweeten your donut holes while keeping them moist. These swaps let you enjoy the taste without the guilt.
Glazing Options
Glazing your donut holes can add fun flavors. Try a chocolate glaze by melting chocolate chips with a bit of butter. Dip the warm donut holes in the glaze for a rich touch. Another idea is to make a maple glaze. Mix powdered sugar with maple syrup and a splash of milk. This creates a sweet, sticky coating that pairs well with the apple flavor. Choose your favorite glaze or try them all!
Storage Info
How to Store Donut Holes
Store your apple cider donut holes at room temperature for up to two days. Place them in an airtight container to keep them fresh. If you want to keep them longer, put them in the fridge. They can last about a week when refrigerated. Just remember, they may lose some of their soft texture in the fridge.
Reheating Recommendations
To reheat donut holes, you can use an oven or an air fryer. Preheat your oven to 350°F (175°C). Place the donut holes on a baking sheet and warm them for about 5-7 minutes. For the air fryer, set it to 300°F (150°C) and heat for about 3-4 minutes. This way, they’ll regain some of their crispiness.
Tips for Freezing
Freezing is a great way to save extra donut holes. First, let them cool completely. Then, place them in a single layer on a baking sheet and freeze for about an hour. Once frozen, transfer them to a freezer bag. Seal tightly, and they can last for up to three months. When you’re ready to enjoy, thaw them in the fridge overnight before reheating.
FAQs
What can I substitute for apple cider?
You can use apple juice as a substitute for apple cider. Apple juice gives a sweeter taste. For a more complex flavor, try a mixture of unsweetened apple juice and a bit of vinegar. This will mimic the tangy notes of cider.
Can I bake these donut holes instead of frying?
Yes, you can bake these donut holes! Preheat your oven to 350°F (175°C). Use a mini muffin pan and fill each cup with batter. Bake for about 10-12 minutes. Check for a golden color and a toothpick should come out clean.
How do I know when the oil is hot enough for frying?
To check if the oil is hot enough, use a thermometer. Aim for 350°F (175°C). If you don’t have a thermometer, drop a small bit of batter into the oil. If it sizzles and rises, the oil is ready.
What is the best way to keep donut holes fresh?
To keep them fresh, store donut holes in an airtight container. Place them at room temperature for up to two days. If you want to keep them longer, freeze them. Just thaw them at room temperature when you want to enjoy them again.
These delicious donut holes come together easily with just a few key ingredients. You bake, fry, and then coat them in cinnamon sugar for a sweet treat. Remember to control your oil temperature to avoid soggy results. You can also explore fun flavor twists or healthier options when you make them. Enjoy these tasty bites fresh or store them properly for later. You’ll impress your family and friends with your cooking skills! Keep experimenting, and enjoy your time in the kitchen!